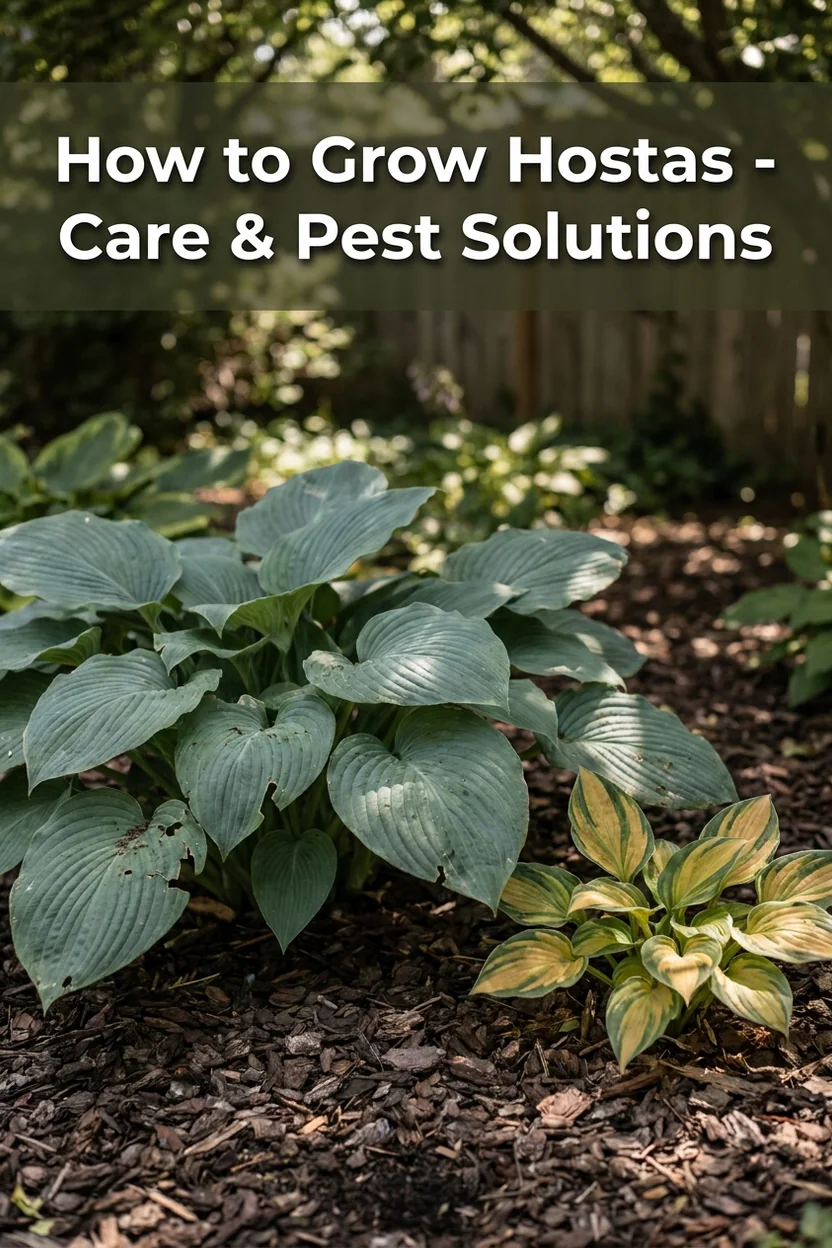
How to Grow Hostas: Varieties, Care & Pest Solutions
Pets & Toxicity
Recorded toxicity for plants linked in this guide. An unknown status is not a safety assessment.
Toxic to pets: hostas, sum and substance hosta, patriot hosta and 1 moreDetailsHide
Hosta 'Sum and Substance' — Toxicity Warning
Toxic to petsView Hosta 'Sum and Substance' plant profile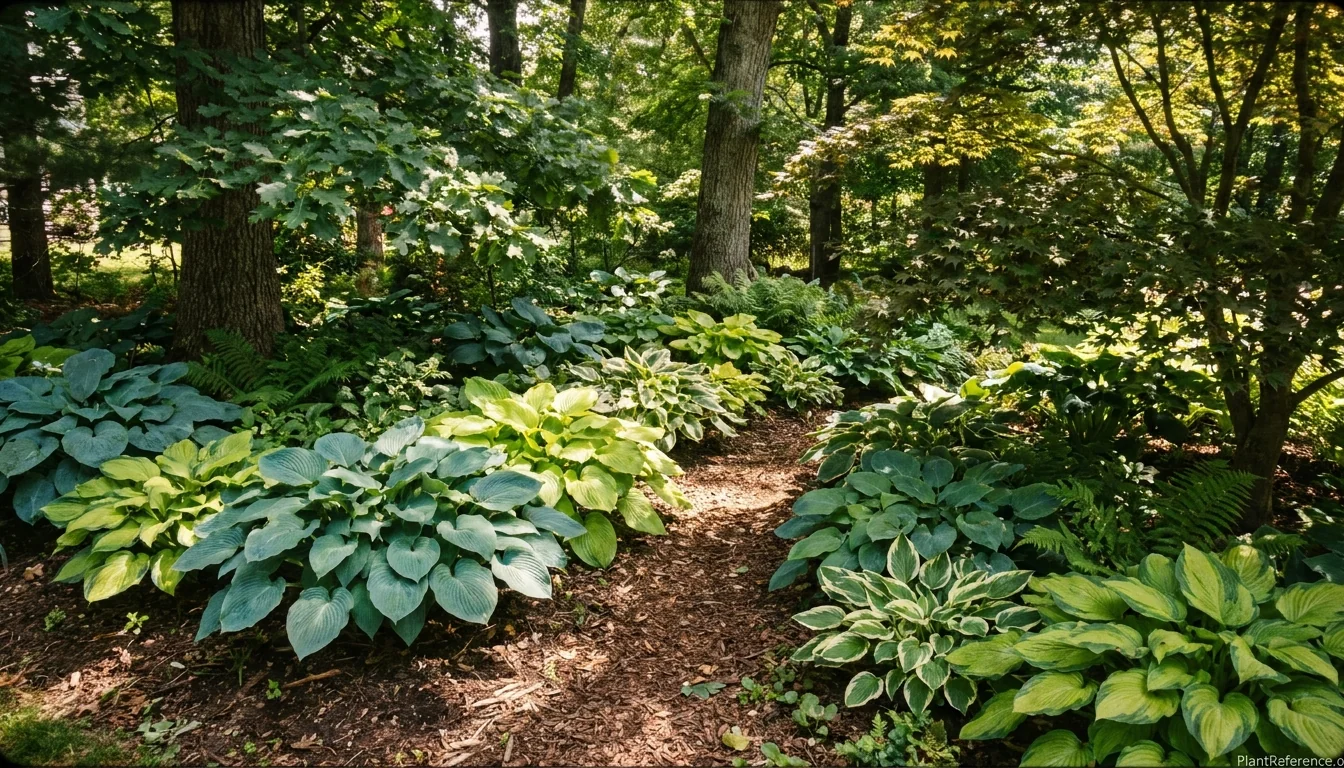
— Image © PlantReference.org 2026
Every garden has that one spot where the grass won't grow and nothing seems happy—deep shade under a maple, the north side of the house, a bed the sun forgot. That's hosta country. After two decades building shade gardens around Boston, I reach for 🌿Hosta spp. (HOSS-tuh) more than any other plant to fill those difficult corners with lush, dependable foliage. This complete guide covers how to grow hostas from choosing varieties through the slug battle that every hosta grower eventually fights.
Understanding Hostas: Foliage First
Hostas break the usual rule of ornamental gardening. You don't grow them for their flowers—though the lavender or white summer spikes are a pleasant bonus—you grow them for their leaves. Belonging to the family Asparagaceae, 🌿Hosta spp. is prized for foliage that ranges from intense blue-green to chartreuse gold, with countless variegated patterns of ivory and cream layered in.
Those leaves do real work in a garden. Their bold, often corrugated texture fills gaps in shaded beds and provides a calm backdrop for anything blooming nearby. A mature clump can span 3 to 4 feet (90 to 120 cm) and hold its shape all season, which is why designers lean on hostas as structural anchors in the shade.
There's a physiological catch to all that leaf surface: hostas transpire heavily, so they demand consistent moisture. A hosta in dry soil scorches at the leaf margins and sulks. Get the water right and everything else about this plant is easy. The clump emerges from a crown at the soil line, sending up tightly rolled leaves in spring that unfurl into the season's display.
Choosing the Right Hosta Varieties
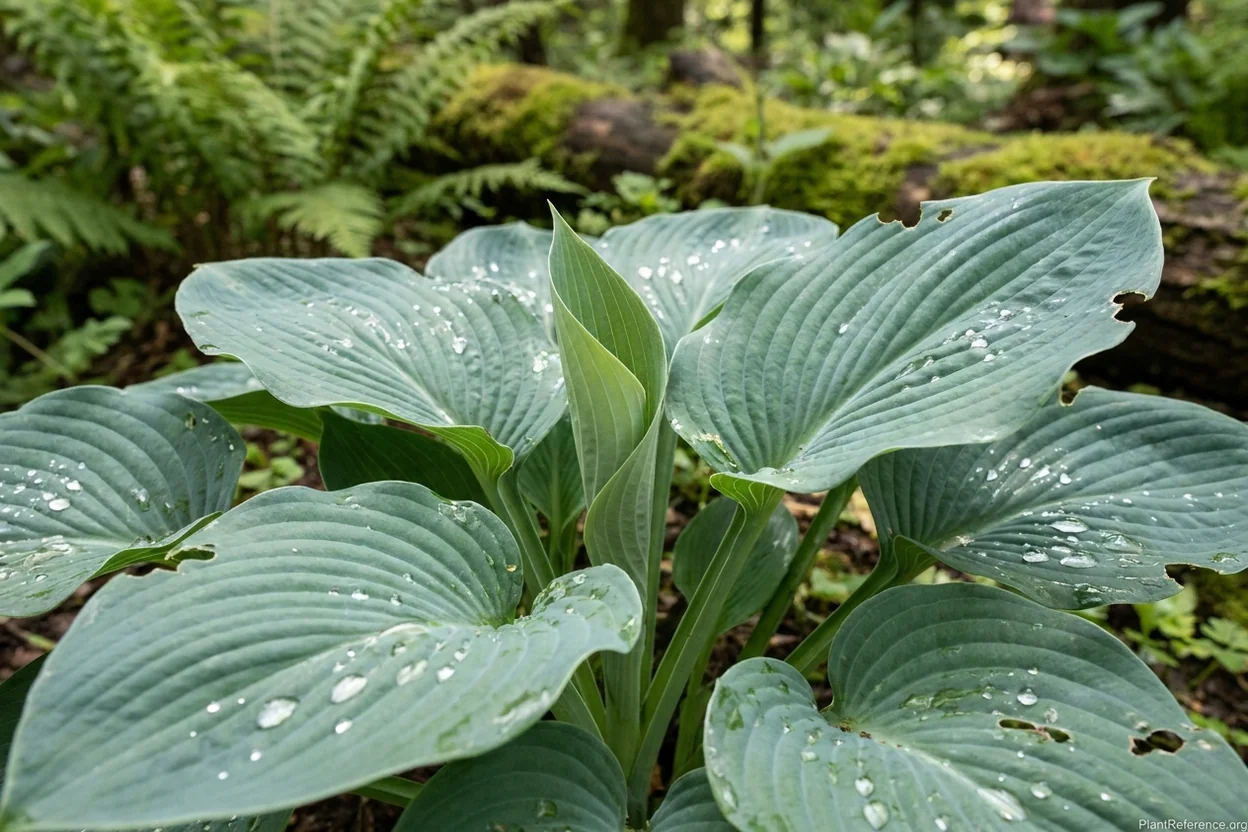
Hostas are sorted by leaf size and color, and matching the right one to your light and space saves a lot of grief. For the deepest shade, I lean on the blues; for a splash of light in a dark bed, the golds and variegated types earn their keep.
Hosta 'Halcyon' is my go-to for intense blue. Hardy in Zones 3 to 9 and happiest in part shade, it holds heavy-textured blue leaves that resist slugs better than thin-leaved types. For a bold gold statement, 🌿Hosta 'Sum and Substance' grows into a giant 4-foot (120 cm) mound of chartreuse that lights up shade. 🌿Hosta 'Patriot' brings crisp green-and-white variegation to the middle of a border, while 🌿Hosta 'Blue Mouse Ears', a miniature with thick rounded blue leaves, is perfect for edging and containers. The classic Hosta 'Frances Williams' pairs blue-green centers with wide gold margins for a two-tone effect.
Here's how these varieties compare for a shade garden:
Variety | Size | Leaf Color | Light | Notes |
|---|---|---|---|---|
Hosta 'Halcyon' | Medium, 18 in (45 cm) | Intense blue | Part shade | Thick leaves resist slugs |
Giant, 48 in (120 cm) | Chartreuse gold | Light shade | Brightens dark corners | |
Medium, 22 in (55 cm) | Green with white edge | Part shade | Reliable variegated classic | |
Mini, 8 in (20 cm) | Blue-green | Shade to part sun | Edging and containers | |
Hosta 'Frances Williams' | Large, 30 in (75 cm) | Blue-green, gold margin | Part shade | Bold two-tone foliage |
A quick rule of thumb: blue hostas need shade to keep their waxy blue coating, gold hostas take more light and color up better with a few hours of morning sun, and white-variegated types burn in hot afternoon sun. If your problem spot is under trees where even lawn struggles, hostas are a far better answer than fighting the shade—see our take on Best Grass Seed for Shade Under Trees: 5 Species That Actually Work and Lawn Alternatives That Actually Work: 5 Options Beyond Grass if you're deciding between turf and a planted bed. To sharpen your eye for foliage differences at the nursery, our How to Identify Any Plant: A Beginner's Guide to Leaves, Flowers, and Stems guide helps.
How to Plant Hostas
Site selection comes down to light and moisture. Most hostas want part shade—morning sun with afternoon protection is ideal—though blues prefer deeper shade and golds tolerate more light. In the hottest zones, full shade keeps leaves from scorching. Around Boston I plant them anywhere from dappled woodland light to the deep north-side shade where little else thrives.
Soil is the other half of the equation. Hostas want rich, moist, well-drained ground high in organic matter. Before planting, work 2 to 3 inches (5 to 8 cm) of compost into the bed. Heavy clay that stays soggy is a problem—hosta crowns rot in standing water—so if drainage is poor, amend generously or build up the bed. Our guidance on Poor Drainage in Raised Beds: Causes and Fixes for Waterlogged Soil applies to any bed prone to sitting wet, and Fix PNW Garden Drainage: Glacial Till, Hardpan & Raised Beds covers the compacted subsoils common in northern gardens.
Aim for a slightly acidic to neutral pH of 6.0 to 7.0. A quick soil test tells you where you stand; see Raised Bed Soil pH Problems: Testing, Adjusting, and Maintaining Balance for the method.
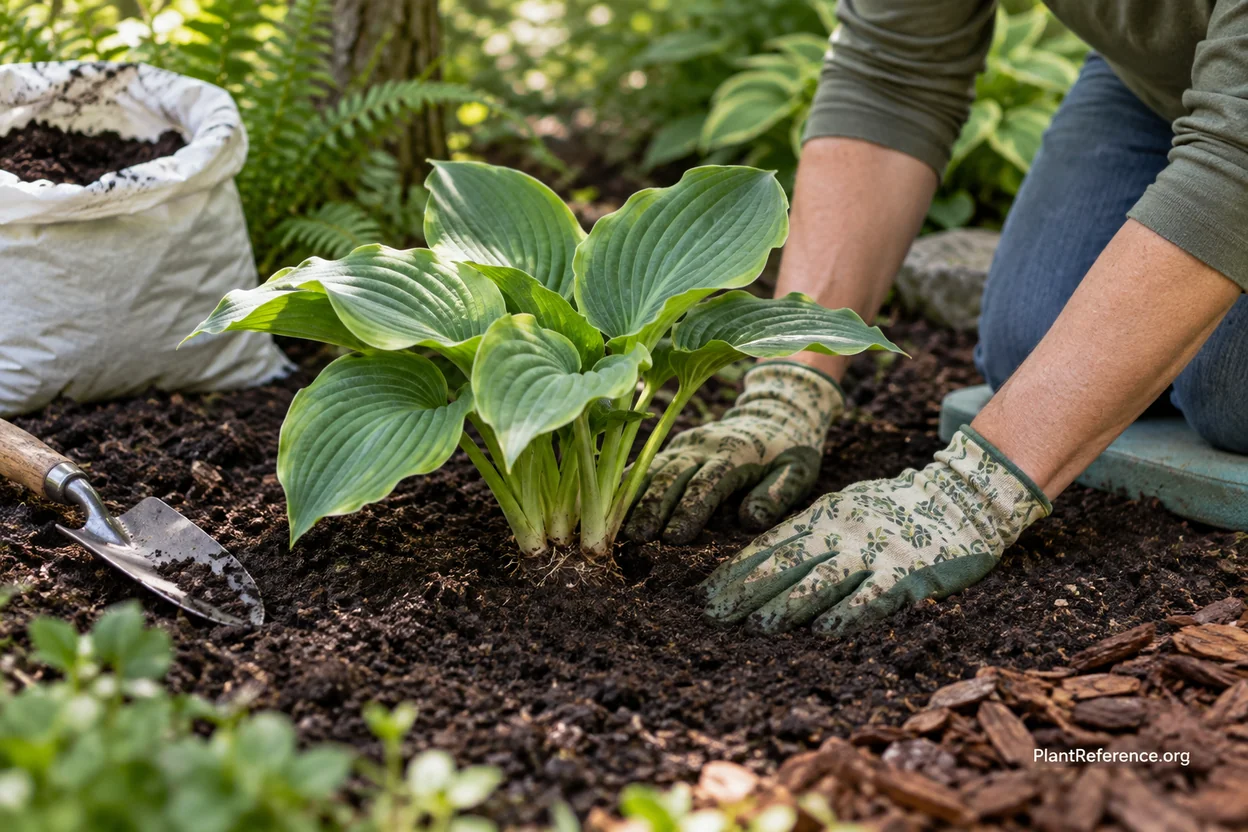
Dig a hole as deep as the root ball and twice as wide
Set the crown level with the soil surface—never buried below it
Spread the roots outward and backfill with compost-enriched soil
Water deeply to settle the soil around the roots
Space plants at the mature width of the variety—8 inches (20 cm) for minis, up to 4 feet (120 cm) for giants
Plant in spring or early fall so roots establish before summer heat or winter cold. The crown should sit right at the soil line; bury it too deep and the plant is prone to crown rot, exactly the outcome hostas' moisture love makes them vulnerable to.
Season-Long Hosta Care
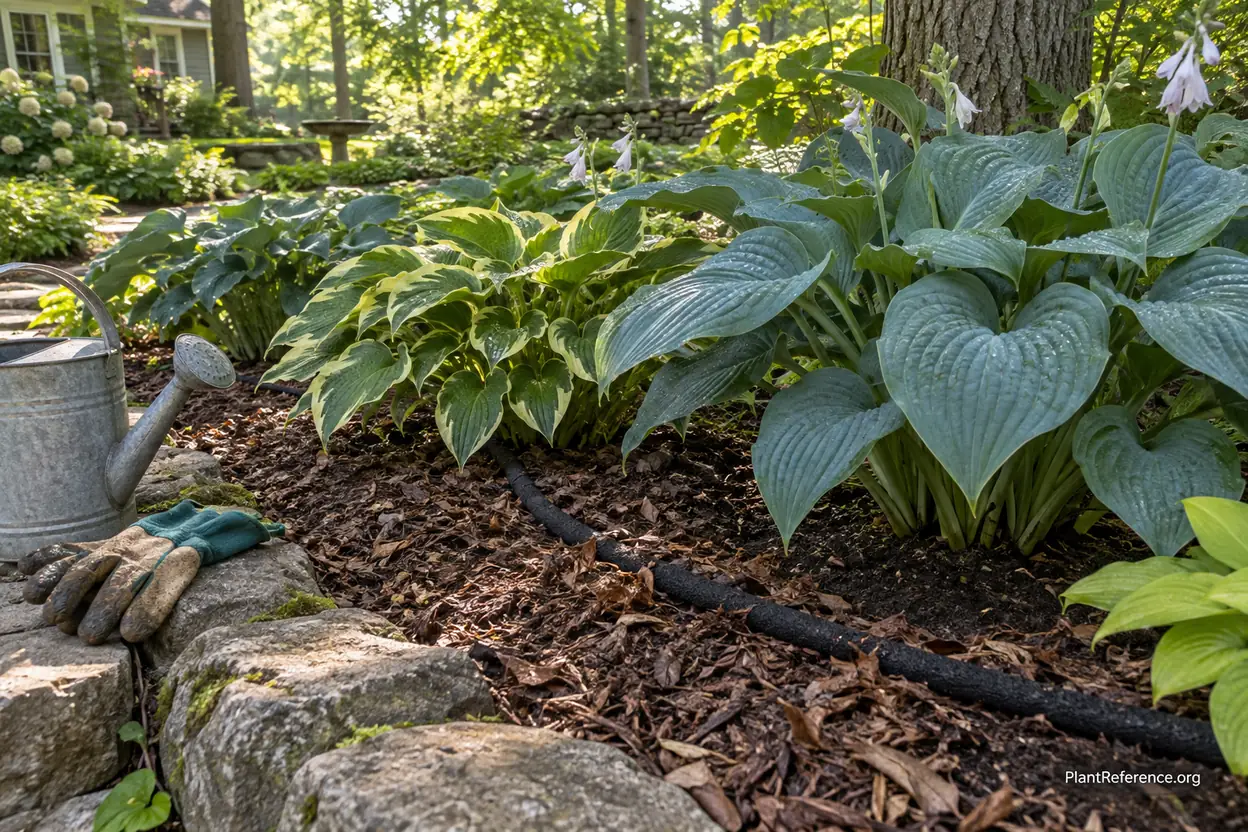
Consistent water is the single most important thing you'll do for hostas. They need about 1 inch (2.5 cm) of water per week, more during hot, dry stretches. Water at the base in the morning—wet foliage overnight invites disease and, worse, gives slugs the damp conditions they love. Drip irrigation or a soaker hose under the mulch delivers water exactly where hostas want it.
Feeding is light work. A single application of balanced organic fertilizer in early spring as the shoots emerge carries most hostas through the season. In rich, compost-amended soil you may not need to feed at all. If leaves look pale or growth stalls, our guide to Nutrient Deficiencies in Raised Beds: Visual Diagnosis and Treatment helps you read the symptoms before you fertilize blindly.
Mulch is a hosta's best friend. A 2 to 3 inch (5 to 8 cm) layer of shredded bark conserves the steady moisture hostas crave, suppresses weeds, and moderates soil temperature. Keep it pulled back from the crown, though—mulch piled against the plant traps moisture and encourages the crown rot hostas are already prone to, and it gives slugs a daytime hiding spot right where they can do the most damage.
Provide 1 inch (2.5 cm) of water weekly, more in heat and drought
Water at the base in the morning to keep foliage dry
Apply balanced organic fertilizer once in early spring
Maintain 2-3 inches (5-8 cm) of bark mulch, pulled back from the crown
Remove flower spikes after bloom if you prefer to focus energy on foliage
Hostas also shine in combination. Their bold leaves contrast beautifully with the lacy foliage of ferns and astilbe, and they mask the yellowing leaves of spring bulbs as those fade. That textural layering is what turns a shade bed from a problem area into the most restful corner of the garden.
How to Stop Slugs on Hostas
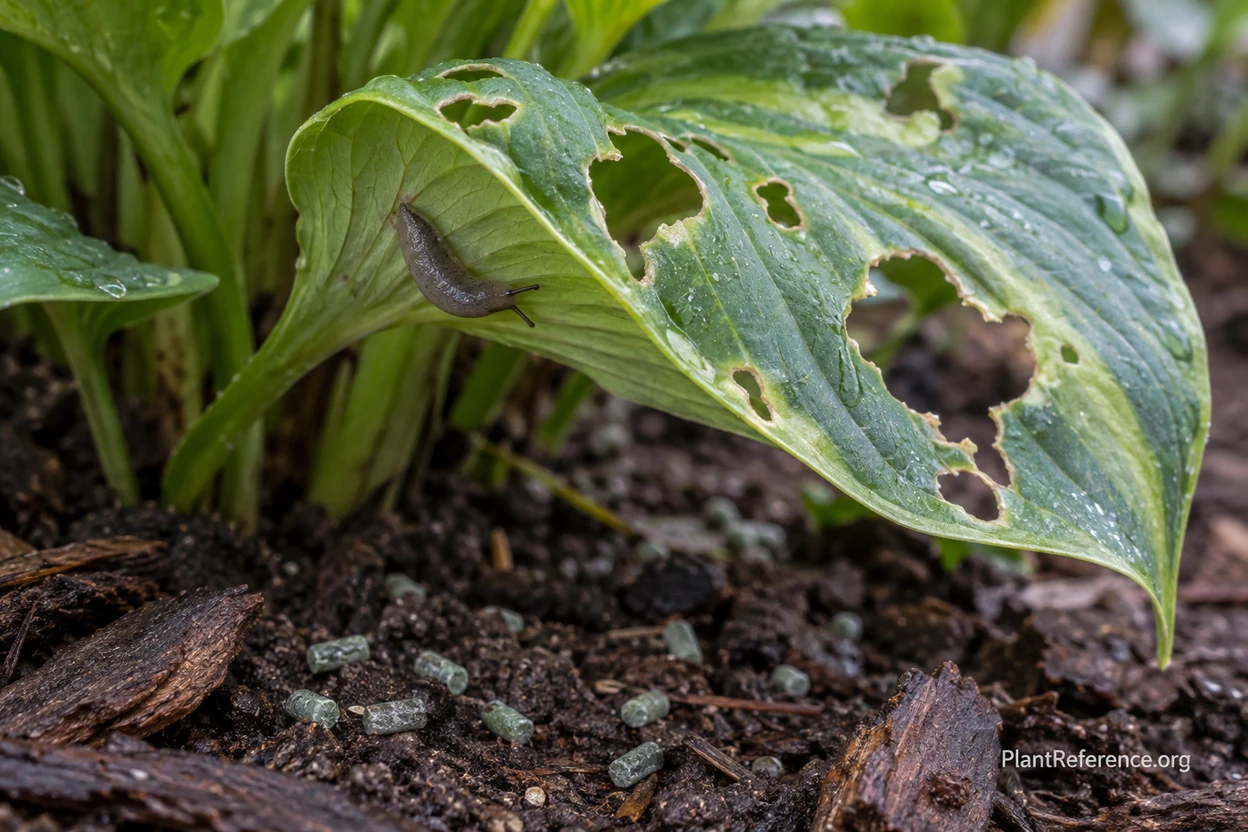
If hostas have one true enemy, it's slugs. The same damp, shaded conditions hostas love are exactly where slugs thrive, and they chew ragged holes through the leaves overnight—especially in thin-leaved varieties. The good news is that a layered defense reliably keeps damage cosmetic rather than devastating.
Start with iron phosphate bait. Unlike older metaldehyde products, iron phosphate is safe around pets, children, and beneficial insects, and it breaks down into soil nutrients after use. Scatter it lightly around your hostas in spring as new leaves emerge and reapply after heavy rain. This is the single most effective tool in the kit.
Garden hygiene does the rest. Slugs hide during the day under mulch, boards, leaf litter, and dense foliage, so clearing debris and keeping mulch pulled back from crowns removes their shelter. Watering in the morning rather than evening means the soil surface is dry by nightfall when slugs feed. Some gardeners ring plants with copper tape or coarse grit, which slugs dislike crossing.
Apply iron phosphate slug bait in spring and reapply after rain
Water in the morning so soil is dry by the evening slug-feeding hours
Clear leaf litter, boards, and debris where slugs shelter by day
Choose thick-leaved blue varieties like Hosta 'Halcyon' that resist chewing
Hand-pick slugs after dark with a flashlight during heavy infestations
Variety choice is an underrated defense. Thick, heavily textured leaves—the blues especially, like Hosta 'Halcyon' and Hosta 'Frances Williams'—are far more slug-resistant than thin, smooth-leaved types. If slugs are a chronic battle in your beds, our dedicated guide to Stop Slugs in the Pacific Northwest Garden Safely walks through organic control in wet climates, and the broader Raised Bed Pest Problems: Identification and Organic Control Methods covers the same principles across the garden.
Dividing Hostas and Other Problems
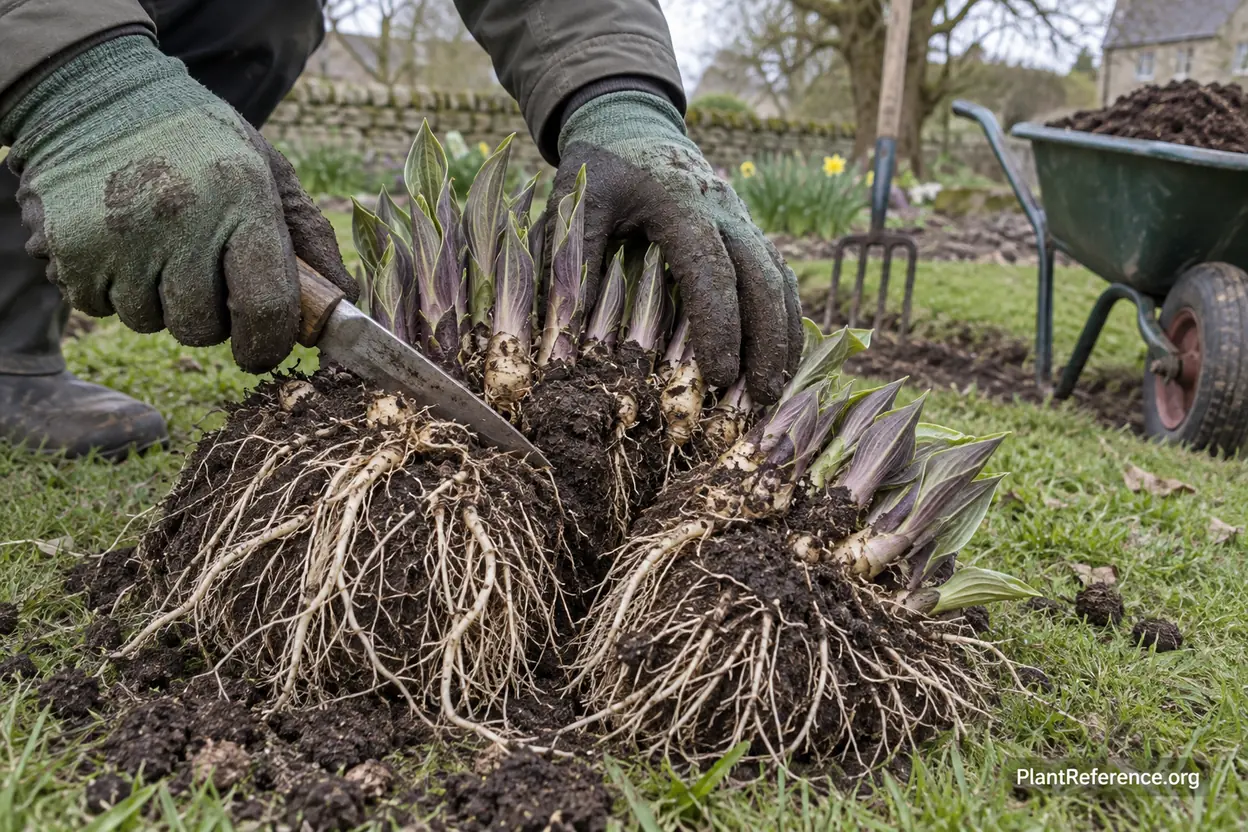
Hostas are long-lived and don't strictly need dividing, but splitting a clump every 4 to 5 years controls its spread, rejuvenates the center, and gives you free plants. Early spring, just as the pointed shoots—the "pips"—push through the soil, is the ideal window because you can see exactly where to cut.
Dig a full circle around the clump and lift the entire root mass
Wash or shake off soil so you can see the crowns and pips
Slice the clump into sections with a sharp knife or spade, each with several pips and healthy roots
Amend the planting hole with fresh compost before replanting at the original depth
Water divisions in well and keep the soil consistently moist until established
Hostas form dense clumping crowns, so a sharp spade or knife through the mass is the right tool—the same technique used for daylilies and astilbe. Replant divisions immediately at the same depth, crown level with the soil, and keep them watered through their first season.
Beyond slugs, hostas face a few other issues. Leaf scorch—brown, crispy margins—signals too much sun or too little water; move the plant to deeper shade or improve moisture. Crown and root rot appear in soggy soil, so fix drainage and never bury the crown. Foliar nematodes cause brown streaks between leaf veins and are best managed by removing affected leaves and cutting hostas back in fall to eliminate overwintering sites. Deer, unfortunately, consider hostas a favorite meal, so heavy deer pressure calls for fencing, repellents, or a perimeter of fragrant deer-resistant perennials.
Winter Care and Four-Season Value
A garden that only looks good from June through September isn't really designed—it's just planted. Hostas are deciduous, so they won't carry winter structure the way a grass or seed head does, but preparing them properly in fall protects next year's display and cuts down on pests.
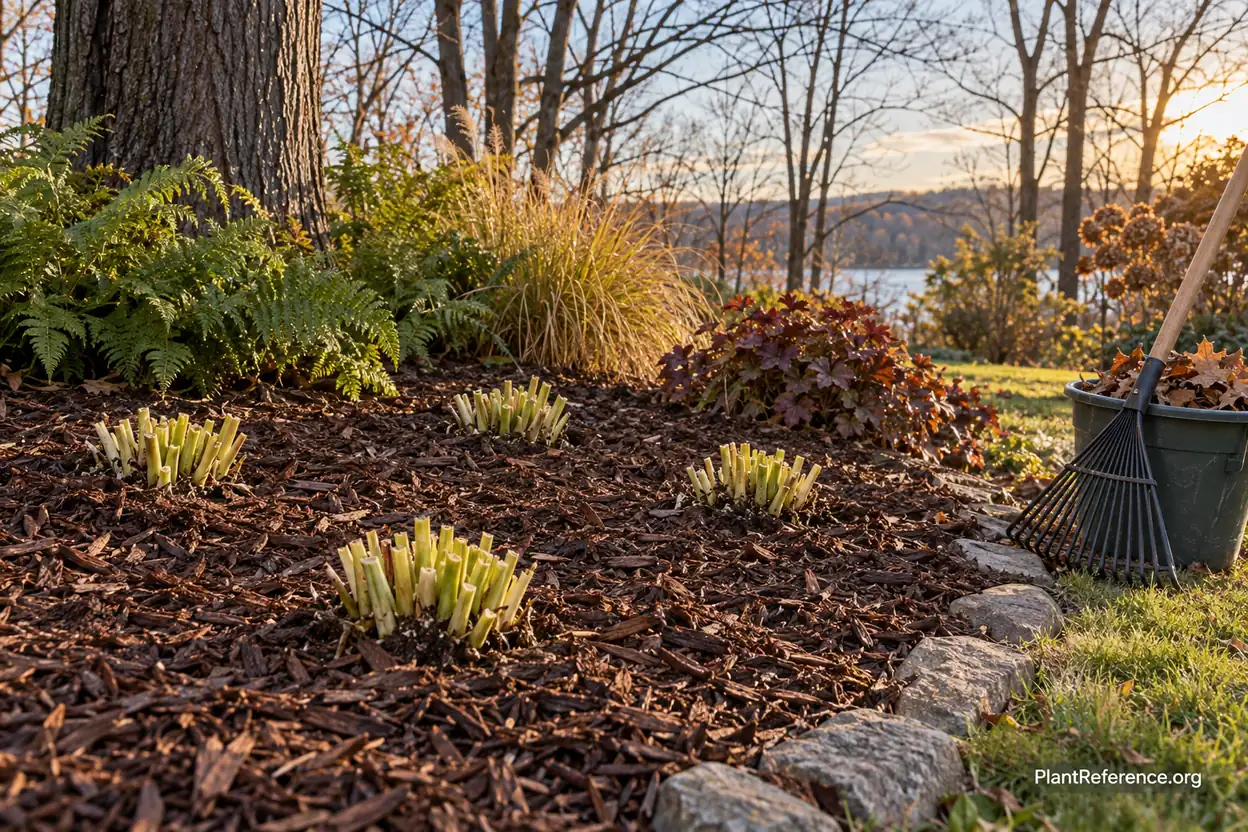
After the first hard frost turns the foliage yellow and mushy, cut hostas back to a few inches above the crown and remove the debris from the bed. This fall cleanup matters more for hostas than most perennials: rotting leaves left in place become the perfect winter shelter for slug eggs and harbor foliar nematodes. Clearing them breaks the pest cycle before it starts the next spring.
In Zones 3 through 9 hostas are fully hardy and need no special winter protection, though a 2 to 3 inch (5 to 8 cm) mulch layer applied after the ground freezes buffers new divisions against frost heaving. Because hostas vanish entirely in winter, I pair them with plants that hold the cold season—ornamental grasses, evergreen ferns, and shrubs with good structure—so the shade bed doesn't read as empty ground from November to April. Come spring, the pips push up fast and the whole lush display rebuilds itself. For more on assembling that resilient, layered framework, our guide to Pacific Northwest Native Plants: 10 Resilient Picks shows how shade perennials anchor a four-season bed.
Frequently Asked Questions

Reading about plants and recognising them are different skills. These three build the second.
- Daily PlantIdentify the day’s mystery plant from a close-up photograph.
- Keyed OutWork a dichotomous key, lead by lead, to name a hidden specimen.
- Name That PlantName a specimen from botanical clues dealt hardest first.
Free to play, no account needed
Tagged with
Kevin is a landscape contractor in the Boston area who specializes in cold-climate perennial gardens and hardscaping. He studied landscape design and worked at a prominent nursery on the North Shore before starting his own design-build firm. Kevin's gardens are built to handle New England weather—freeze-thaw cycles, nor'easters, late springs, and heavy snow loads. He's particularly interested in native perennials and shrubs that provide four-season interest without constant maintenance. Kevin writes about cold-hardy plant selection, winter garden structure, and building landscapes that look good even in February.