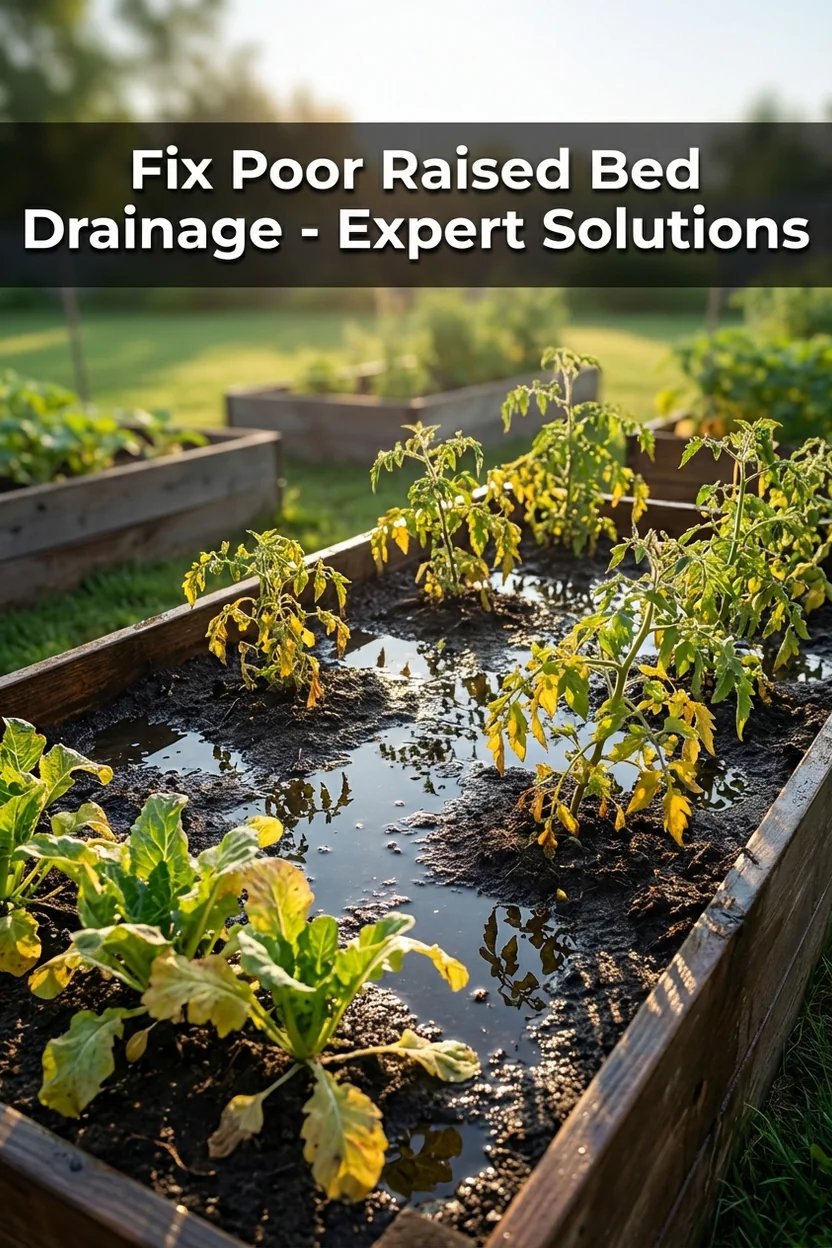
Poor Drainage in Raised Beds: Causes and Fixes for Waterlogged Soil
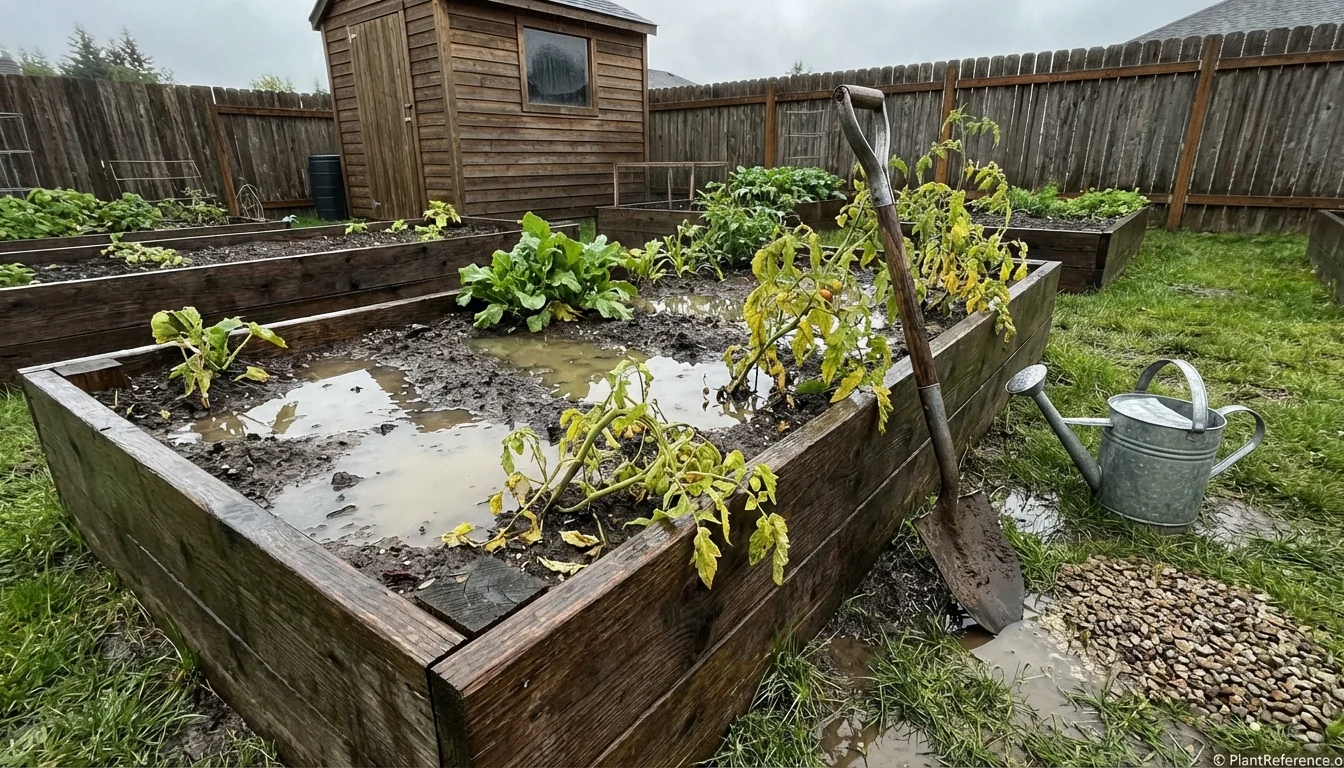
— Image © Plant Reference 2026
Nothing's more frustrating than discovering your raised bed has turned into a swamp after a good rain. Despite building that bed specifically to improve drainage, you're staring at standing water and yellowing plants that should be thriving. Poor drainage in raised beds isn't uncommon, but it's definitely fixable with the right approach and some preventive thinking.
After fifteen years building raised beds that last, I've learned that raised bed drainage problems usually stem from three main culprits: soil composition issues, inadequate base preparation, or construction mistakes that trap water instead of letting it flow. The good news? Most drainage problems can be solved without starting over completely.
Identifying Raised Bed Drainage Problems
Proper diagnosis comes before any fix. Standing water on the surface is the obvious red flag, but raised bed drainage problems often show subtler symptoms first.
Visual Signs of Poor Drainage:
Water pools on soil surface for more than 2-3 hours after rain or watering
Soil remains soggy to the touch 24-48 hours after watering
Plants wilt despite consistently moist soil
Fungal growth or mold appears on soil surface
Unpleasant, sour smell from soil (indicates anaerobic conditions)
Yellowing leaves starting from bottom of plants
Stunted growth despite adequate nutrients and sunlight
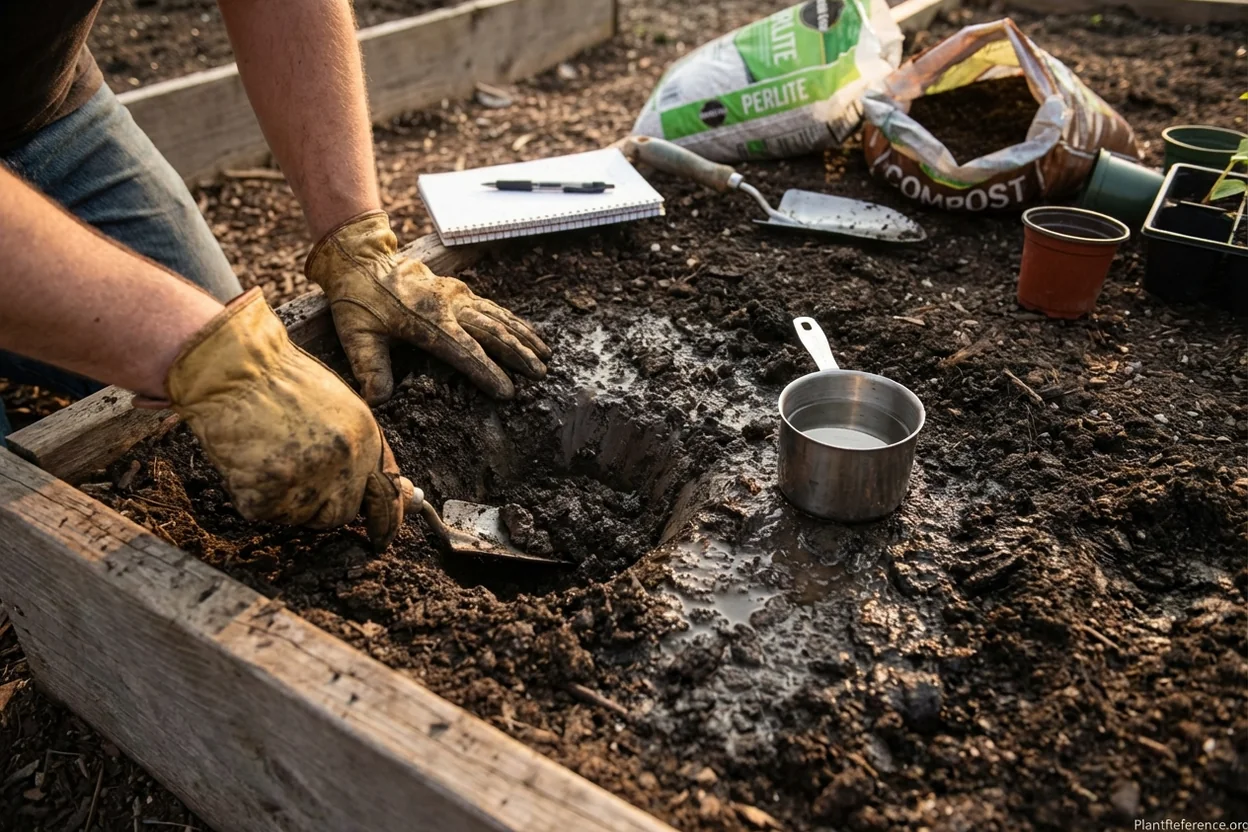
The Drainage Test: Dig a hole 12 inches (30 cm) deep and 6 inches (15 cm) wide in your bed. Fill it completely with water and time how long it takes to drain. Well-draining soil should empty the hole within 2-4 hours. If water remains after 6-8 hours, you've confirmed a drainage problem that needs addressing.
Root Health Assessment: Gently remove a struggling plant and examine the roots. Healthy roots appear white or cream-colored with firm texture. Roots affected by poor drainage turn brown, black, or gray and feel mushy when squeezed. This root rot confirms that drainage issues are already damaging your plants.
Why Raised Beds Develop Drainage Issues
Understanding why raised bed drainage problems develop helps prevent repeating the same mistakes. Despite the myth that raised beds automatically drain well, several factors can create waterlogged conditions.
Soil Composition Problems
Clay-Heavy Soil Mix: Many commercial "raised bed" soil mixes contain too much clay or fine particles. Clay holds water like a sponge and creates a dense barrier that prevents water movement. Even 30-40% clay content can cause drainage issues in a raised bed environment.
Missing Drainage Components: Proper raised bed soil requires coarse materials like perlite, coarse sand, or bark chunks to create air pockets and drainage channels. Soil mixes heavy on peat moss, fine compost, or topsoil without these amendments will compact and hold water.
Decomposed Organic Matter: Over time, compost and organic matter break down into fine particles that can clog drainage pores. This is why beds drain well initially but develop problems in their second or third season.
Base Preparation Issues
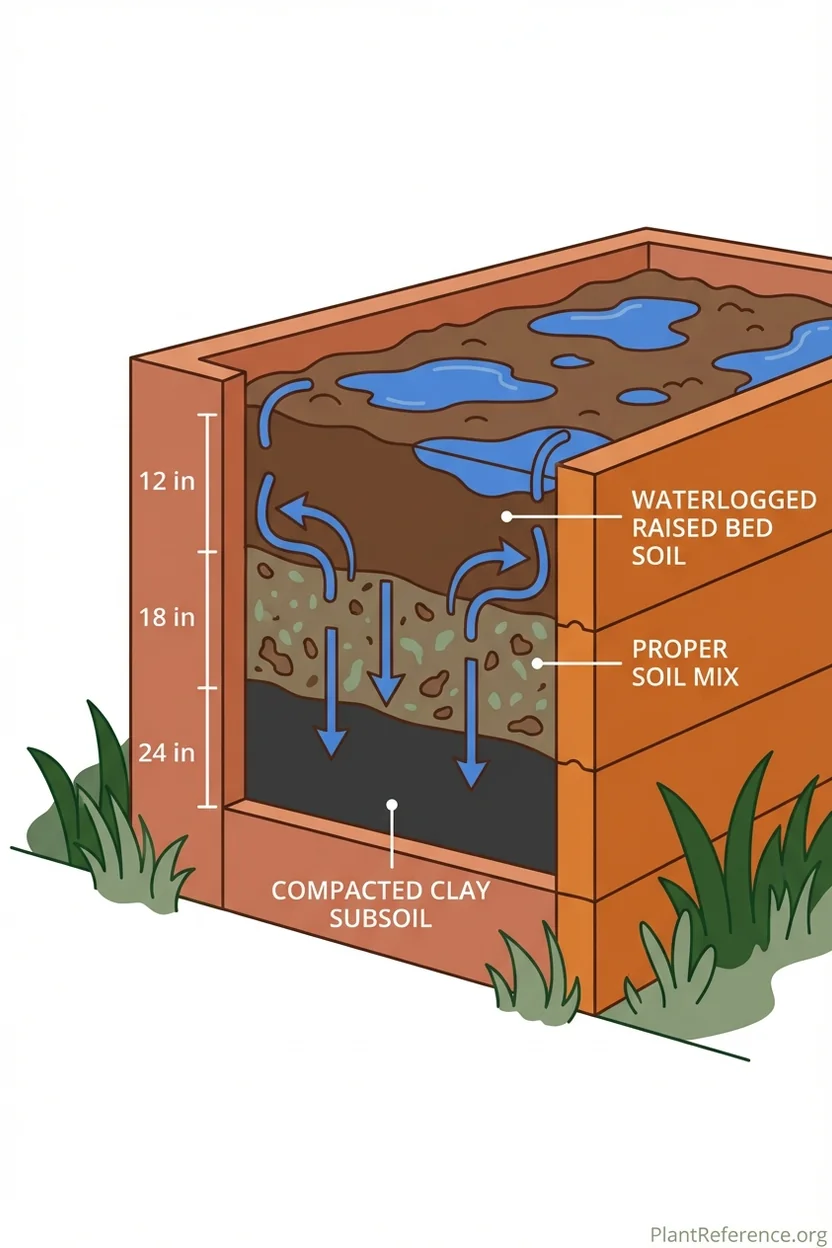
Inadequate Ground Preparation: Placing a raised bed directly over compacted lawn or clay subsoil creates a bottleneck effect. Water drains through the raised bed soil but then hits the impermeable layer below and backs up into the bed.
No Drainage Layer: While not always necessary, beds placed on concrete, pavement, or extremely heavy clay benefit from a drainage layer at the bottom. Without this layer, water has nowhere to go except back up into the growing medium.
Construction and Design Flaws
Solid Bottom Construction: Some bed designs include solid wooden bottoms or plastic liners that prevent drainage entirely. These create essentially large containers that can only drain through overflow at the top edges.
Insufficient Depth: Shallow beds (less than 8 inches/20 cm deep) don't provide enough soil volume for proper water percolation. Water hits the bottom quickly and can't move laterally fast enough to prevent pooling.
Immediate Solutions for Standing Water
When you discover raised bed drainage problems, quick action prevents further plant damage and soil degradation. These temporary fixes buy you time to implement permanent solutions.
Emergency Water Removal
Manual Drainage: If water is pooling on the surface, use a small pump, turkey baster, or even towels to remove standing water. This immediately reduces plant stress and prevents further root damage.
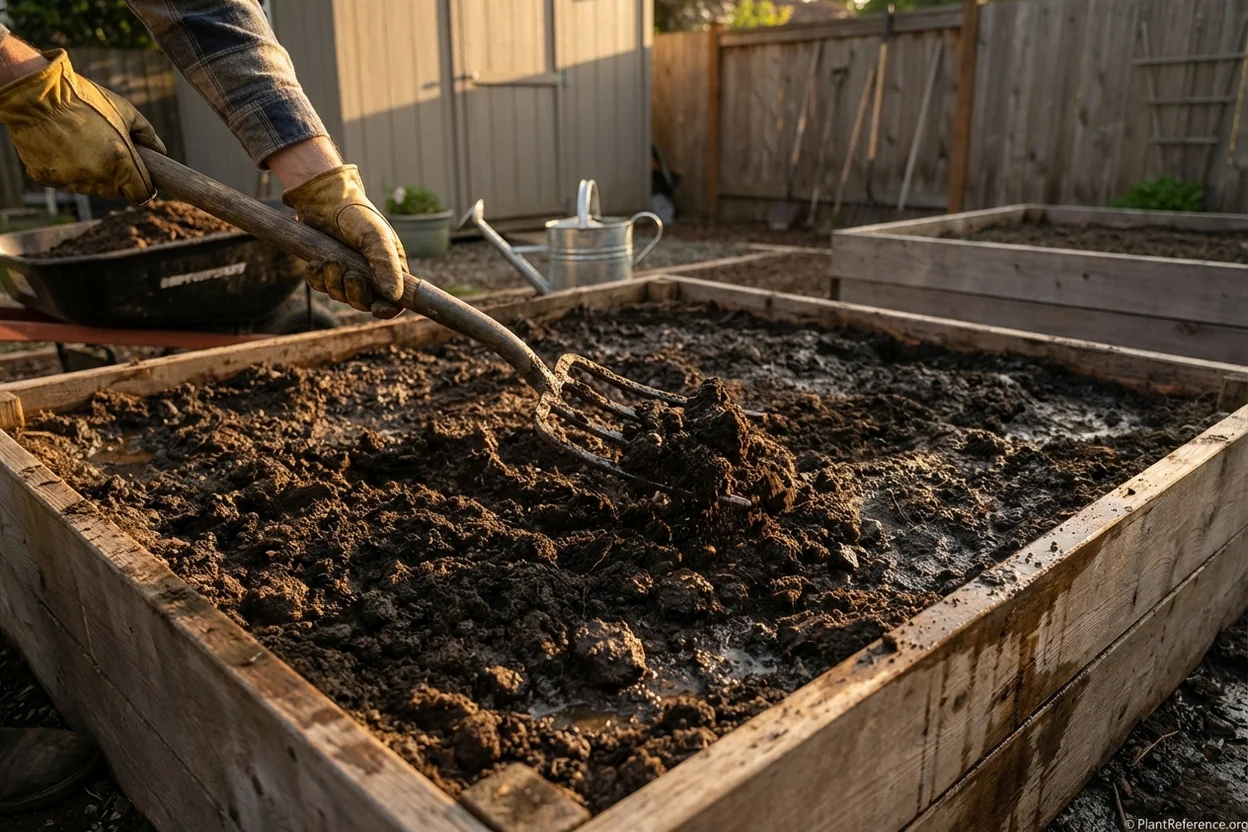
Temporary Drainage Channels: Use a garden fork or long screwdriver to create temporary drainage holes every 12 inches (30 cm) throughout the bed. Poke holes 6-8 inches (15-20 cm) deep to create pathways for water movement.
Surface Grading: Use a rake or hoe to create slight slopes that direct water toward the bed edges where it can overflow and drain away. Even a 1-2 inch (2.5-5 cm) slope helps water movement.
Quick Soil Improvements
Fork Aeration: Drive a garden fork 6-8 inches (15-20 cm) into the soil every 6 inches (15 cm) across the entire bed. Rock the fork back and forth to create air pockets and break up compacted layers. This immediately improves water infiltration.
Coarse Amendment Addition: Top-dress the bed with 2-3 inches (5-7.5 cm) of coarse materials like perlite, coarse sand, or small bark chips. Work these materials into the top 6 inches (15 cm) of soil to create immediate drainage improvement.
Gypsum Application: For clay-heavy soil, apply gypsum at the rate of 1-2 pounds per 100 square feet (0.5-1 kg per 10 square meters). Gypsum helps clay particles clump together, creating larger pore spaces for better water movement.
Temporary Plant Protection
While working on drainage solutions, protect your existing plants from further damage. Mulch removal helps soil dry faster—pull back any mulch that's holding moisture against plant stems. Reduce watering completely until drainage improves, even if plants look stressed. Improve air circulation around plants by pruning overcrowded growth and staking drooping stems off the wet soil surface.
Long-Term Drainage Fixes
Permanent solutions for raised bed drainage problems require more effort but prevent recurring issues. The right approach depends on your specific situation and how extensive the problems have become.
Soil Replacement and Amendment
Partial Soil Replacement: Remove the top 6-8 inches (15-20 cm) of waterlogged soil and replace it with a well-draining mix. The ideal raised bed soil contains 1/3 compost, 1/3 quality topsoil, and 1/3 coarse drainage material (perlite, coarse sand, or bark).
Progressive Amendment: If full replacement isn't feasible, gradually improve drainage over 2-3 seasons. Each spring and fall, add 2-3 inches (5-7.5 cm) of drainage amendments and work them into the existing soil. This slower approach costs less but takes longer to achieve optimal drainage.
Custom Soil Mix Recipe: Create your own drainage-optimized blend using 40% quality topsoil, 30% aged compost, 20% coarse sand or perlite, and 10% bark chips or coarse organic matter. This ratio provides nutrition while maintaining excellent drainage characteristics.
Base and Infrastructure Improvements
French Drain Installation: For severe drainage problems, install a French drain system beneath the bed. Dig out the bed area to 18 inches (45 cm) deep, install a 4-inch (10 cm) perforated drain pipe surrounded by gravel, then rebuild the bed on top. This system channels excess water away from the growing area.
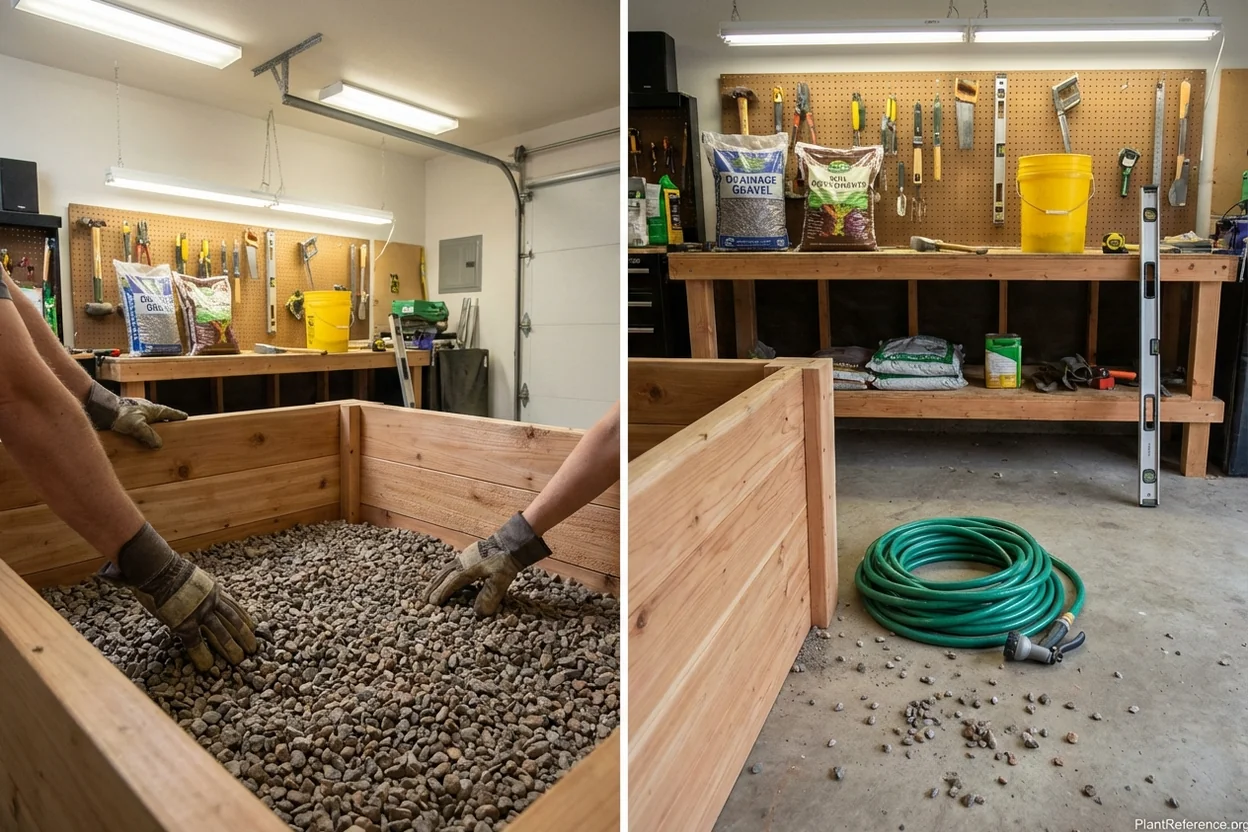
Gravel Drainage Layer: Add a 2-3 inch (5-7.5 cm) layer of coarse gravel or drainage stone beneath the soil mix. Use gravel sized 1/2 to 3/4 inch (1.3-1.9 cm) in diameter—too fine and it won't drain, too coarse and soil will wash into it.
Subsoil Improvement: If building new beds or completely rebuilding, break up compacted subsoil to 12-15 inches (30-38 cm) deep using a mattock or pickaxe. Mix coarse sand or gravel into the native soil to create a transition zone that prevents water backup.
Advanced Drainage Solutions
Raised Bed Elevation: If drainage problems persist despite soil improvements, consider raising the bed height by adding another course of boards. Additional depth provides more space for water percolation and reduces the impact of poor subsoil drainage.
Overflow Drain Installation: Install drain pipes or gaps in the bed walls at soil level to prevent water from rising above a certain point. This overflow system protects against extreme weather events that might overwhelm even well-draining soil.
Preventing Future Drainage Problems
Prevention costs far less than fixing established drainage issues. These strategies ensure your beds maintain good drainage for years.
Soil Maintenance Schedule
Annual Amendment: Add 1-2 inches (2.5-5 cm) of coarse compost or drainage-friendly organic matter each spring. Avoid fine, dense composts that can worsen drainage over time.
Biannual Aeration: Fork the beds twice yearly—once in early spring before planting and again in fall after harvest. This prevents compaction from foot traffic and natural settling.
Cover Crop Integration: Plant cover crops like crimson clover or winter rye during fallow periods. Their roots create natural drainage channels and prevent soil compaction from rain impact.
Smart Construction Choices
When building new beds or expanding existing ones, make drainage a priority from the start. Choose locations with natural slope for water runoff. Size beds no wider than 4 feet (1.2 m) so you never need to step on the soil. Use quality materials that won't deteriorate and change drainage characteristics over time.
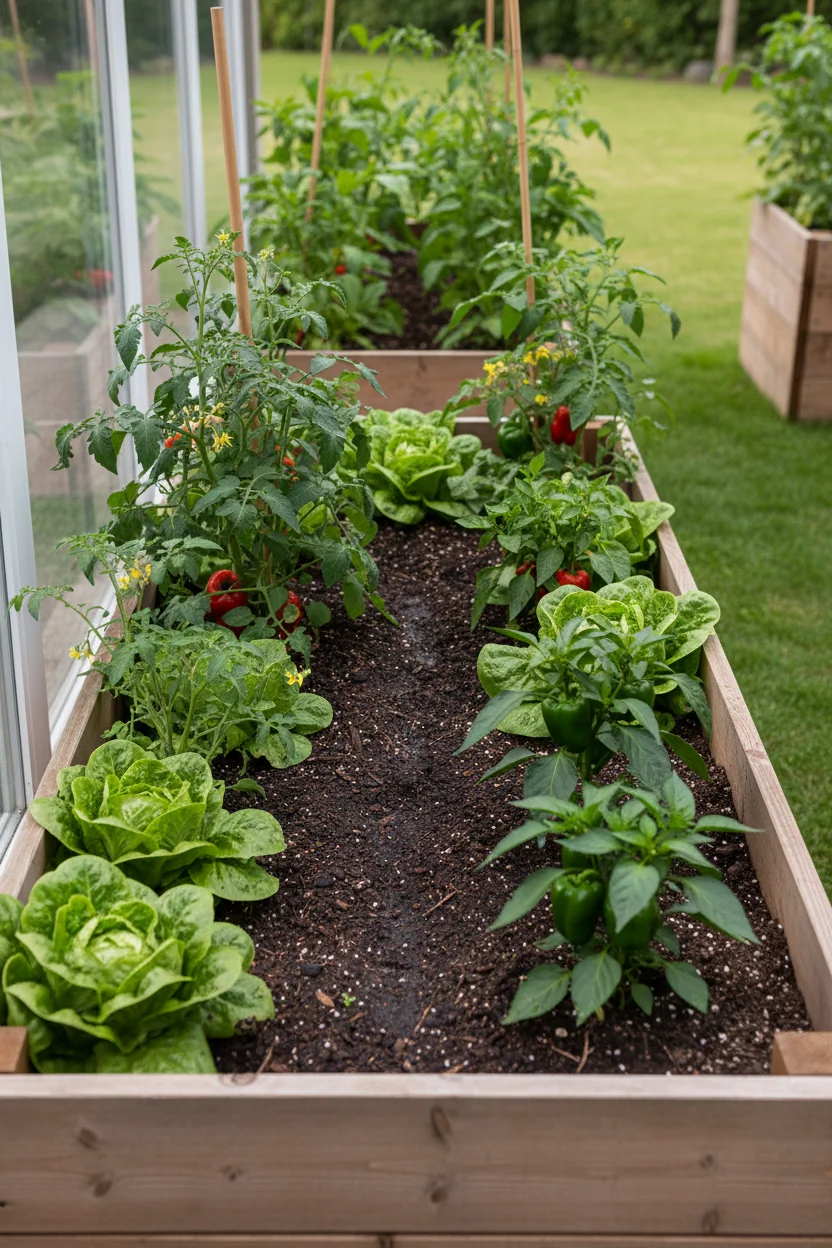
Seasonal Monitoring: Check drainage performance after heavy rains throughout the growing season. Early detection of drainage problems allows for simple fixes before they become major issues requiring complete bed reconstruction.
Most raised bed drainage problems stem from easily correctable issues in soil composition, base preparation, or construction details. With the right diagnosis and systematic approach to solutions, even severely waterlogged beds can become productive growing spaces. The key is understanding that good drainage requires ongoing attention—it's not a one-time achievement but part of regular garden maintenance.
Remember, preventing drainage problems costs far less time and money than fixing them after they develop. When building new beds or maintaining existing ones, always prioritize drainage alongside fertility and depth. Your plants—and your back—will thank you for the extra effort.
Frequently Asked Questions
Reading about plants and recognising them are different skills. These three build the second.
- Daily PlantIdentify the day’s mystery plant from a close-up photograph.
- Keyed OutWork a dichotomous key, lead by lead, to name a hidden specimen.
- Name That PlantName a specimen from botanical clues dealt hardest first.
Free to play, no account needed
Mike's been designing residential landscapes in the Seattle area, with a particular focus on Pacific Northwest natives and sustainable practices. He's a Washington State Master Gardener and worked in construction before landscaping, which gives him a practical edge when it comes to building raised beds and hardscaping projects. He runs a small side business propagating and selling unusual perennials at farmers markets on weekends. His property serves as a testing ground for low-maintenance, wildlife-friendly garden designs. Mike's philosophy: if it requires weekly maintenance, it's not sustainable.