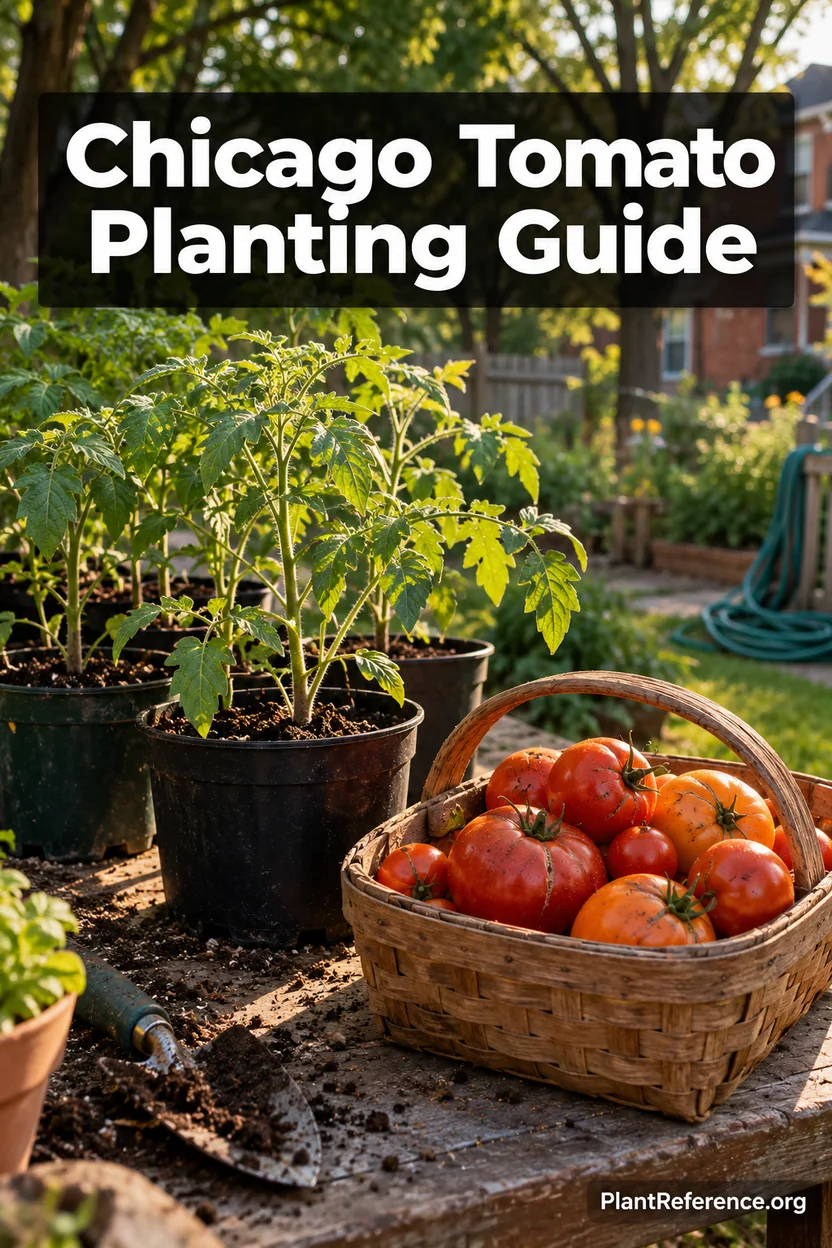
When to Plant Tomatoes in Chicago: Zone 6a Guide
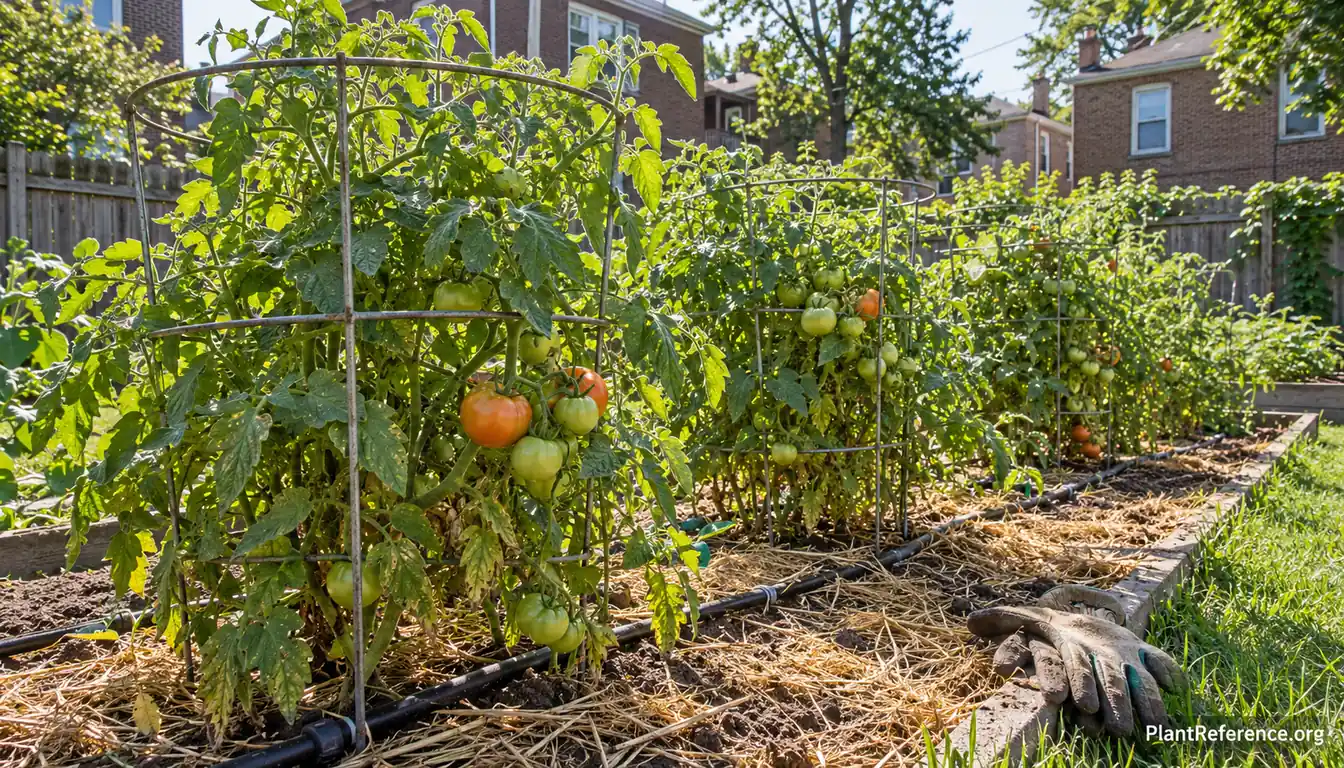
— Image © PlantReference.org 2026
Pets & Toxicity
Recorded toxicity for plants linked in this guide. An unknown status is not a safety assessment.
Toxic to pets: tomato, early girl tomato, Stupice tomato and 4 moreDetailsHide
Solanum lycopersicum — Toxicity Warning
Toxic to pets and humansView Solanum lycopersicum plant profileSolanum lycopersicum 'Early Girl' — Toxicity Warning
Toxic to petsView Solanum lycopersicum 'Early Girl' plant profileSolanum lycopersicum 'Stupice' — Toxicity Warning
Toxic to petsView Solanum lycopersicum 'Stupice' plant profileSolanum lycopersicum 'Sungold' — Toxicity Warning
Toxic to petsView Solanum lycopersicum 'Sungold' plant profileSolanum lycopersicum 'Cherokee Purple' — Toxicity Warning
Toxic to petsView Solanum lycopersicum 'Cherokee Purple' plant profileSolanum lycopersicum 'San Marzano' — Toxicity Warning
Toxic to petsView Solanum lycopersicum 'San Marzano' plant profileSolanum lycopersicum 'Brandywine' — Toxicity Warning
Toxic to petsView Solanum lycopersicum 'Brandywine' plant profileIf you are deciding when to plant tomatoes in Chicago, use May 17–24 as a planning window, not permission to ignore a cold forecast. Start seeds indoors March 15–29, then wait for warm soil and settled nights before moving tomato plants 🌿Solanum lycopersicum (so-LAY-num ly-koh-PER-sih-kum) outdoors. A warm spring afternoon is pleasant for the gardener, but it does not tell you whether tomato roots will be warm overnight.
The location record uses Zone 6a, a May 10 last-frost benchmark, and an October 15 first-frost benchmark. These are stored planning values, not a current-season forecast or a claim that every neighborhood shares one microclimate. Illinois gardens need patience in spring and regular attention once humid weather arrives. Keep the plants sheltered until conditions settle; waiting until late May is sensible if the earlier window stays cold.
Start underground. Soil Health 101: How to Build Living, Productive Garden Soil explains why soil structure and moisture management matter as much as the variety you choose.
Best Tomato Varieties for Chicago's Climate
Choose a harvest plan, not six competing favorites
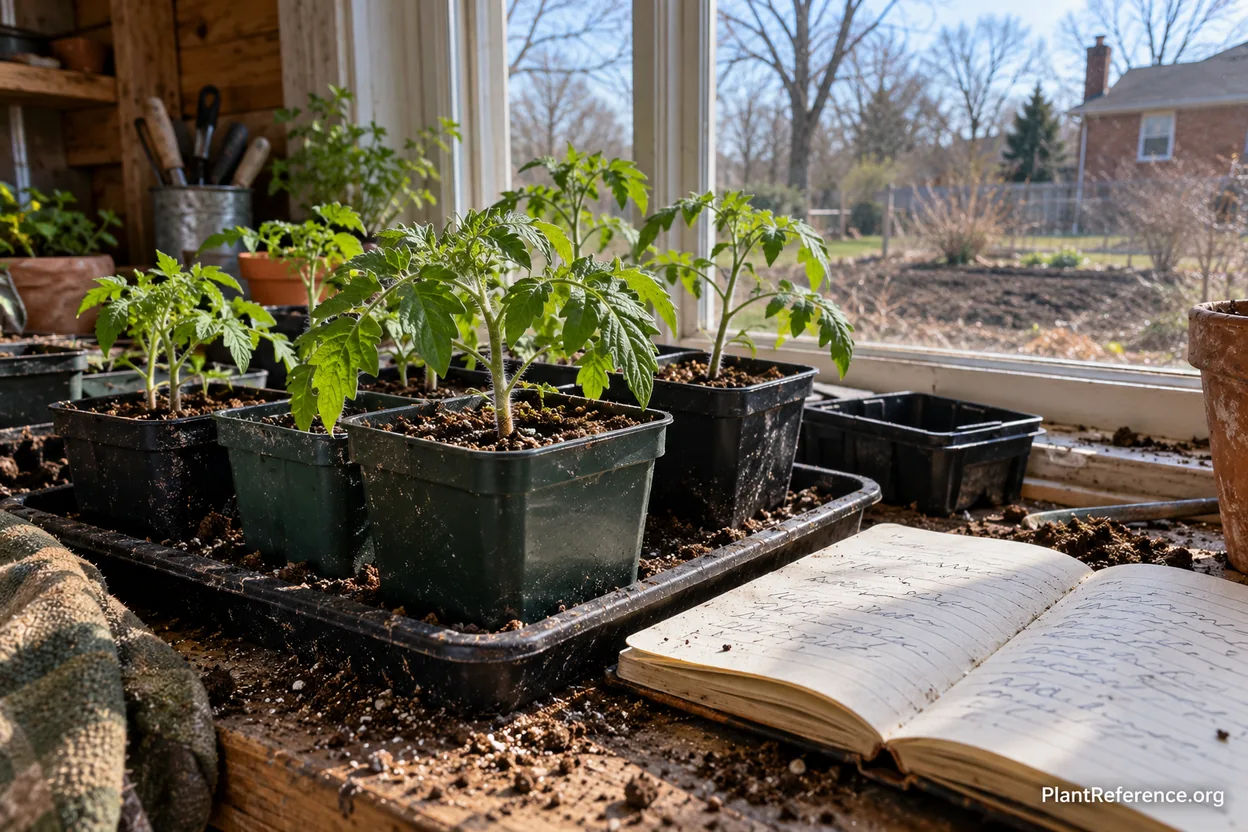
All six varieties below have indeterminate growth habits: they continue extending vines and flowering until weather, disease, or frost stops them. Give them sturdy support from planting day. Days to maturity describe an approximate interval after transplanting, not the time from sowing seed, and cool establishment can stretch that interval considerably.
For a small garden, choose one early producer and one variety matched to your kitchen. A cherry tomato provides frequent small harvests; a paste tomato supplies denser flesh for cooking; a beefsteak rewards patience with larger slices. Planting only late beefsteaks makes the whole season depend on favorable pollination and a long finish.
Variety | Days to Maturity | Best For | Local Growing Notes |
|---|---|---|---|
50–62 days | Early slicing | Useful harvest insurance; verify resistance codes on the seed packet | |
52–60 days | Early salad tomatoes | Handles cool conditions better than many large-fruited choices; not frost hardy | |
55–65 days | Sweet cherry tomatoes | Harvest frequently; thin skins split after moisture swings | |
75–90 days | Rich-flavored slicing | Allow room for vigorous vines and watch shoulder cracking | |
78–85 days | Sauces and cooking | Even root-zone moisture helps limit blossom-end rot | |
80–100+ days | Large heirloom slices | Treat as the later experiment, not the only crop |
🌿Solanum lycopersicum 'Early Girl' is the practical starting point when early slicing matters. Its relatively short maturity range gives more room for delays than a late heirloom. Some seed lines carry resistance to particular wilt diseases, but buy by the actual packet's resistance codes rather than assuming every similarly named plant has the same protection.
🌿Solanum lycopersicum 'Stupice' offers another early option, with smaller salad-sized fruit and an open-pollinated background. Its reputation for cool-weather performance does not mean you should expose it to freezing temperatures. Use that trait as a margin during an imperfect summer, not as an excuse to transplant into a cold bed.
Match later varieties to the care you can provide
🌿Solanum lycopersicum 'Sungold' is useful when you want a steady trickle of snack-sized fruit. The catch is splitting: dry soil followed by a heavy watering can push thin skins past their limit. Pick often and keep the irrigation pattern steady, especially as the first clusters color.
🌿Solanum lycopersicum 'Cherokee Purple' brings a different flavor and texture, but its larger fruit needs patient ripening and protection from abrupt water changes. Keep foliage over the shoulders. Heavily stripping leaves to make the plant look tidy can exchange one problem for sunscald during a sudden hot spell.
Choose 🌿Solanum lycopersicum 'San Marzano' if sauce is the point of the garden. Its elongated fruit makes water consistency especially important because blossom-end rot can spoil the end of an otherwise promising tomato. 🌿Solanum lycopersicum 'Brandywine' is a reasonable extra plant where space allows, but late maturity and temperature-sensitive fruit set make it a poor single-variety strategy.
Zone 6a describes winter hardiness, not summer ripening conditions. Record first harvest dates to improve next year's choices.
Specific Planting Dates for Chicago
Work backward from the frost benchmark
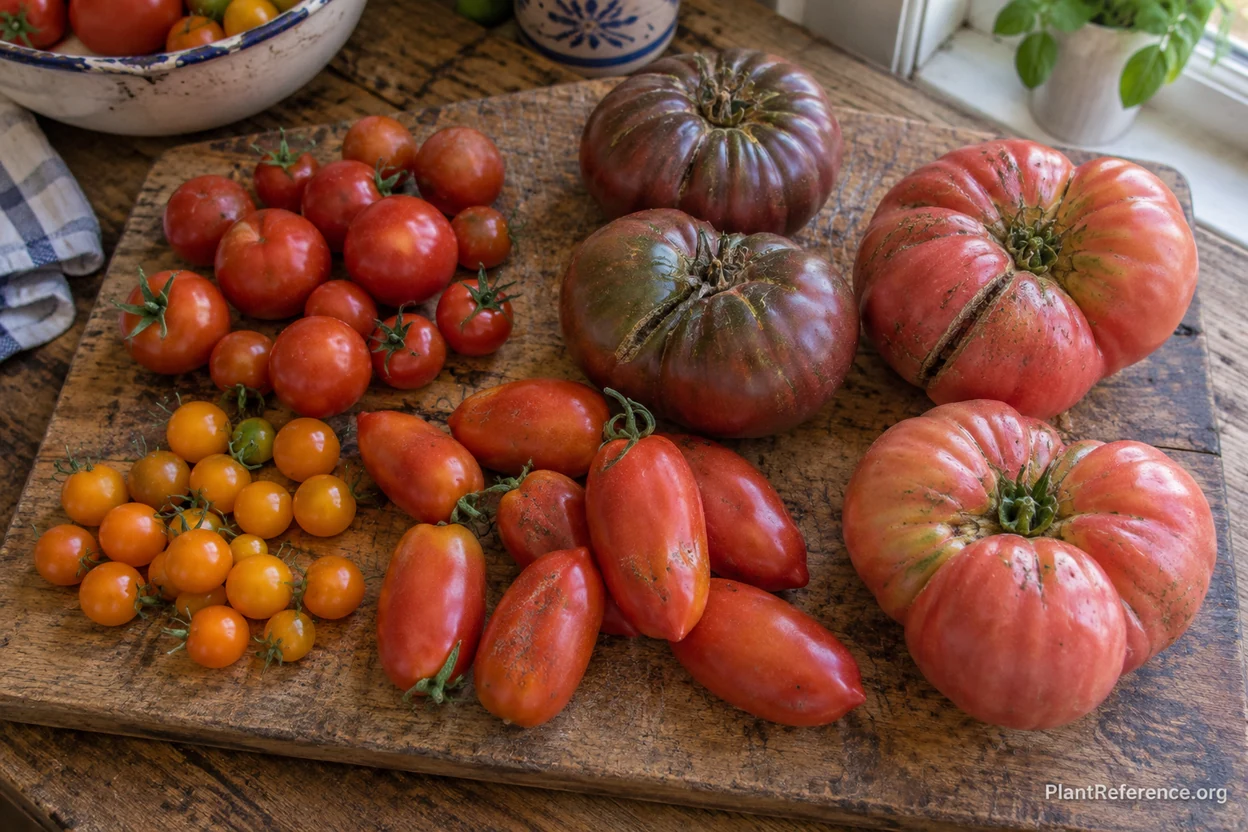
The stored dates span 158 days from May 10 to October 15. Subtracting eight and six weeks from May 10 gives March 15–29 for indoor sowing. Adding a seven- to fourteen-day buffer gives May 17–24 for an initial transplant plan, leaving roughly 144–151 days until the autumn benchmark.
Check morning soil temperature near planting depth and aim for at least 60°F (16°C), with nights consistently around 50°F (10°C) or warmer and no frost in the forecast. Delay if those conditions disagree with the calendar.
Sow in clean containers with drainage and fresh seed-starting mix. Keep the mix evenly moist rather than saturated, and provide strong light promptly after emergence. Warm germination conditions around 75–85°F (24–29°C) help; once seedlings emerge, avoid leaving them overheated beneath a closed humidity dome.
Allow time for hardening and delays
For a May 17 target, begin gradual outdoor exposure around May 7–10. Start with a sheltered, shaded period and increase light and wind exposure over seven to ten days. Bring plants inside during cold nights. A seedling grown behind glass has not yet learned to cope with wind and direct outdoor sunlight.
If planting slips, move crowded seedlings into larger containers rather than withholding water to keep them small. Keep roots moist and maintain good light.
Using May 17–24 plus the research maturity ranges, the earliest slicers calculate to roughly July 6–25, cherry tomatoes to July 11–28, and the later heirlooms and paste types to late July through August or beyond. These are estimated first-harvest windows. Cold soil, transplant stress, and heat-related blossom loss can all shift them.
March 15–29: sow indoors, using the May 10 benchmark for the calculation.
Early May: harden plants gradually and check the root-zone temperature.
May 17–24: consider transplanting only if conditions support it.
July onward: inspect ripening fruit often and maintain irrigation.
Before October 15: prepare for frost, responding sooner to an actual cold forecast.
Direct sowing outdoors sacrifices useful spring growing time. Use transplants for a more dependable head start.
Complete Growing Guide for Chicago
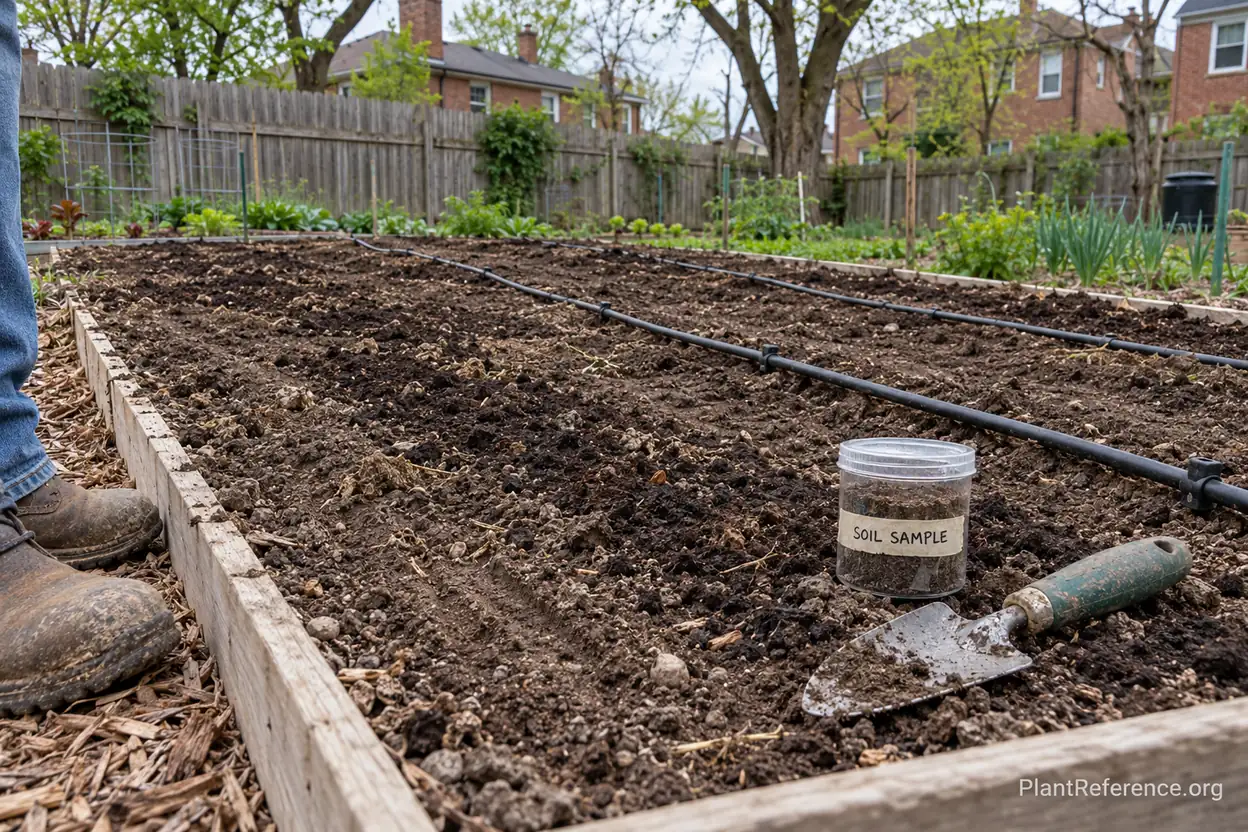
Prepare drainage before planting
Choose a site with six to eight hours of sun, irrigation access, and room to reach plants without walking over roots. Check afternoon exposure before planting beside a reflective wall.
Heavy soil is not hopeless soil. The first job is to keep its structure intact: do not dig or walk over a bed while it is wet enough to smear. A squeezed handful should crumble rather than form a sticky ribbon before you work it. How to Test Garden Soil: Jar, Ribbon & pH Tests helps you begin observing texture and pH, while a laboratory test guides nutrient additions.
Tomatoes prefer a mildly acidic root zone, roughly pH 6.0–6.8. Test before adding lime, sulfur, or fertilizer. City gardens can contain imported fill and years of different amendments, so two neighboring beds need not have the same chemistry. In an unfamiliar urban plot, include appropriate contamination testing before growing food directly in native soil.
Work mature compost through the planting area rather than creating a rich little pocket inside a hard clay bed. About 1–2 inches (2.5–5 cm) can be a starting addition for a new low-organic-matter bed, adjusted to its test results and amendment history. Repeated large additions can accumulate phosphorus or salts.
How to Improve Clay Soil Without Making It Worse explains why a little sand is not a dependable drainage fix. Raised beds help only when excess water can actually leave the root zone; Raised Bed Soil Settling and Compaction: Prevention and Solutions covers the structure needed to keep them functioning.
Plant deeply enough, then support immediately
Space supported indeterminate plants about 24–36 inches (60–90 cm) apart, allowing more room for large cages and vigorous vines. Keep walking routes open. Crowding makes tying, harvesting, and inspecting leaves harder, and dense wet foliage gives leaf diseases more opportunity.
Water the root ball before planting. For an ungrafted tomato, remove the lowest leaves and bury part of the bare stem in warm soil, keeping remaining foliage above ground. If the plant is grafted, keep the graft union above the soil surface so the scion does not root and bypass the selected rootstock.
Install cages or stakes immediately, anchoring them for wind before roots spread. Tie stems loosely with soft material and check ties as stems thicken. The goal is support, not a tight knot. Preserve enough foliage to shade fruit, removing damaged or soil-touching leaves without turning the plant into a bare stem.
Irrigate the root zone, not the calendar
Water thoroughly after planting, then inspect the root ball and surrounding soil as roots expand. A wet bed can still contain a dry nursery root ball; a damp surface can hide dry soil beneath. Check several inches below the surface rather than deciding from the color of the mulch alone.
Established plants often need roughly 1–2 inches (2.5–5 cm) of water per week, including rainfall, but soil and weather determine the real requirement. Sandy beds, containers, wind, and extreme heat can demand more frequent attention. Apply water slowly enough to soak in, then confirm how deeply it traveled before adjusting run time.
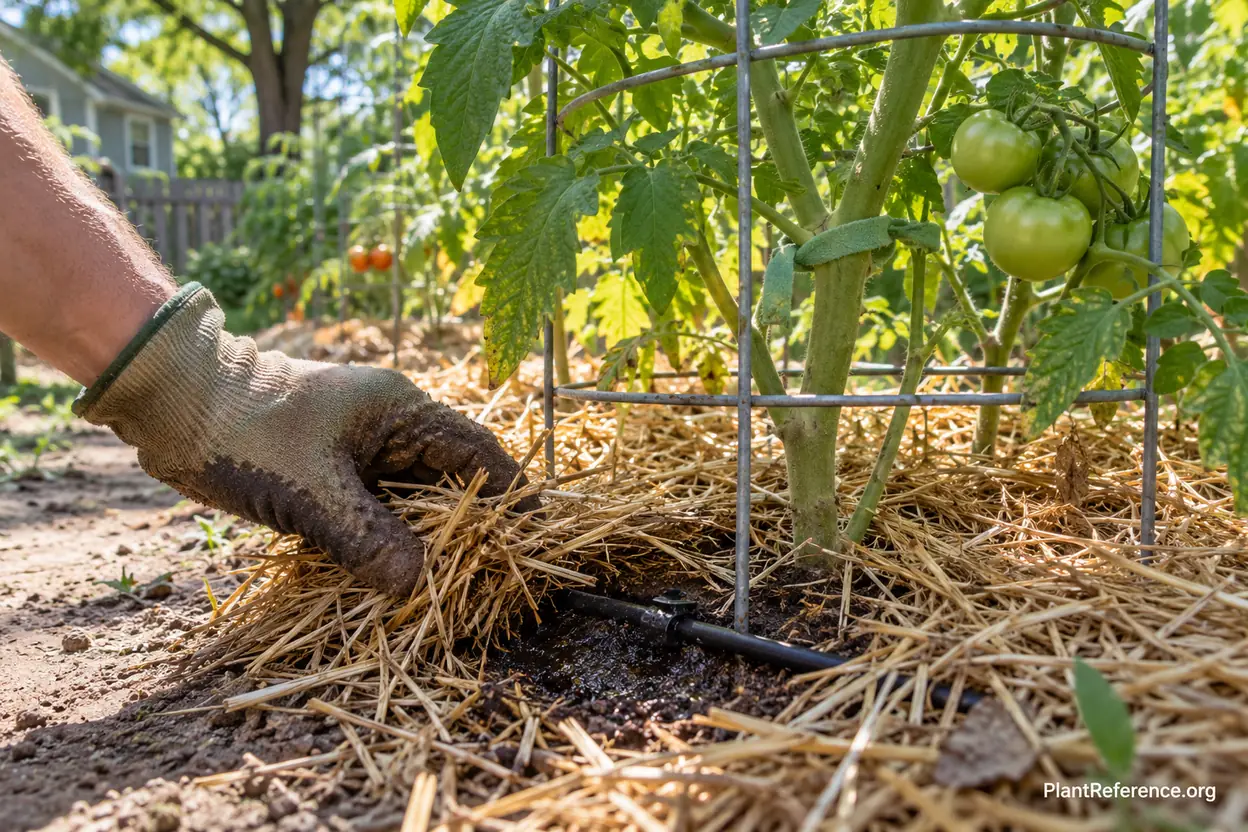
Drip irrigation helps deliver water consistently, but an unattended timer is not a diagnosis. Inspect emitters for blockage, check plants at the ends of lines, and look for leaks after moving supports. Once soil has warmed, add 2–3 inches (5–8 cm) of clean organic mulch, keeping a small gap around stems.
For containers, use potting mix rather than packed garden soil and check moisture daily during hot weather. Container Gardening: Pots, Soil, Water & Yields explains their different watering needs.
Feed moderately and keep protective foliage
Use a soil-test-based fertilizer plan, following the product label for amount and placement. Excess nitrogen can produce an impressive wall of leaves without the harvest you expected. DIY Organic Fertilizer Blends: A Soil-Test-First Guide helps separate a demonstrated nutrient need from routine feeding by habit.
Calcium fertilizer cannot compensate for repeated drying and flooding around roots.
During severe heat, temporary afternoon shade can reduce stress while retaining morning light. Start with a light shade cloth rather than heavy shade that suppresses growth, leave air space above the canopy, and secure it against wind. Raised Bed Too Hot in Summer: Protecting Plants from Heat Stress covers the extra exposure of raised beds.
Troubleshooting Chicago-Specific Problems
Cold roots and humid-season leaf disease
A recently planted tomato that turns purple and stops growing may be responding to cold roots rather than a shortage of fertilizer. Check temperature, drainage, and the forecast first. Adding phosphorus blindly can leave excess nutrients in the bed without solving the immediate uptake problem.
Inspect the lowest leaves after rainy stretches. Expanding brown spots, yellowing, and progressive leaf loss can indicate diseases such as early blight or Septoria, though symptoms overlap. Remove badly affected leaves in dry weather, avoid splashing soil onto foliage, and seek a diagnosis when damage spreads quickly.
Water near soil level in the morning and leave space between vines. Do not strip every leaf: you need enough healthy foliage to feed and shade the crop. Too Much Water in Raised Beds: Signs and Solutions for Overwatering is useful when wet roots complicate the picture. A wilted plant in saturated soil needs drainage assessment, not another soaking.
Blossom-end rot and cracked fruit
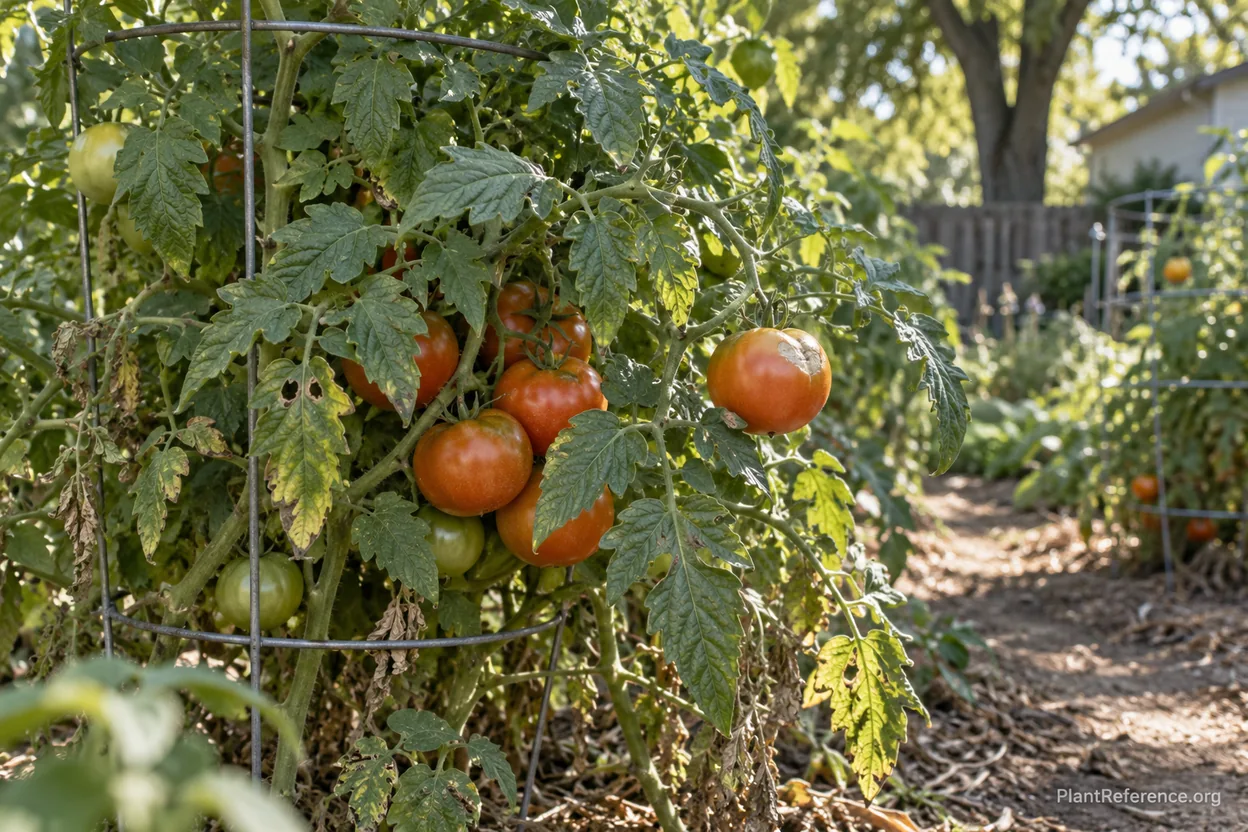
A dark, sunken patch at the blossom end of fruit is consistent with blossom-end rot, a localized calcium-supply problem often driven by uneven moisture. Restore steady irrigation, check drainage, and avoid root disturbance. Damaged fruit will not heal; the goal is protecting later fruit, not making the existing scar disappear.
Cracking also points you toward water swings, particularly after a dry period. Check emitters and harvest ripening fruit promptly. A fertilizer with calcium should not be presented as a guaranteed cure for either disorder. In Illinois, rainfall followed by a dry spell can matter more than the ingredient list on the bag.
Flowers without fruit, pests, and sunscald
Heat can interfere with pollination and cause blossoms to drop, particularly during sustained days above about 90°F (32°C) and warm nights. Keep roots evenly moist, maintain healthy leaves, and wait for improved conditions. Tomato Blossom Drop: Heat or Root-Knot Nematodes? helps distinguish temperature stress from more persistent root-related problems.
Pale, papery patches on exposed fruit suggest sunscald. Retain protective leaves and add temporary shade if necessary; stripping more foliage usually makes exposure worse. Inspect leaf undersides and stems regularly for feeding damage, and identify a pest before spraying. A Zone 6a label does not identify a disease. Use a pesticide only for a diagnosed target and according to its crop-specific label; routine spraying cannot replace good spacing and sanitation.
Harvest & Storage
Check plants frequently once fruit starts coloring, especially thin-skinned cherry types. Cut or gently detach fruit without tearing the cluster or breaking the vine. Harvest in the cooler part of the day when possible, and place soft heirloom fruit in a shallow container rather than a deep pile.
Use color appropriate to the variety and a slight yielding feel, not size alone, to judge ripeness. Dusky shoulders do not mean every dark-fruited tomato is unripe. If cracking or a cold forecast threatens, fruit that has begun changing color can finish ripening indoors away from direct sun.
Keep sound ripening fruit at room temperature and inspect it daily. Refrigerate fully ripe fruit when necessary to slow deterioration, and bring it back toward room temperature before eating. Discard moldy or rotting fruit. Preserve a surplus with a tested recipe suited to the method; growing a paste variety does not make an improvised canning process safe.
As autumn approaches, compare the remaining fruit with the forecast rather than assuming October 15 is a guaranteed deadline. Harvest usable fruit before a freeze and clear diseased debris afterward. Record transplant dates, first harvests, irrigation problems, and the varieties you actually enjoyed eating. Those notes make the next season's decisions much more useful than simply buying more plants.
Frequently Asked Questions

Reading about plants and recognising them are different skills. These three build the second.
- Daily PlantIdentify the day’s mystery plant from a close-up photograph.
- Keyed OutWork a dichotomous key, lead by lead, to name a hidden specimen.
- Name That PlantName a specimen from botanical clues dealt hardest first.
Free to play, no account needed
Tagged with
Pat has been gardening in Milwaukee for over thirty years, through every kind of Wisconsin weather. She worked as a school librarian and started gardening seriously when her kids were small—she wanted them to know where food came from. Now retired, she's a certified Master Gardener and runs the plant sale at her local garden club every spring. She specializes in cold-hardy perennials, native wildflower meadows, and the art of getting a vegetable garden producing in Wisconsin's short but intense growing season. Pat is practical and patient—she's seen enough Wisconsin winters to know that gardening here is a long game, and she writes with the steady confidence of someone who's been doing this a long time.