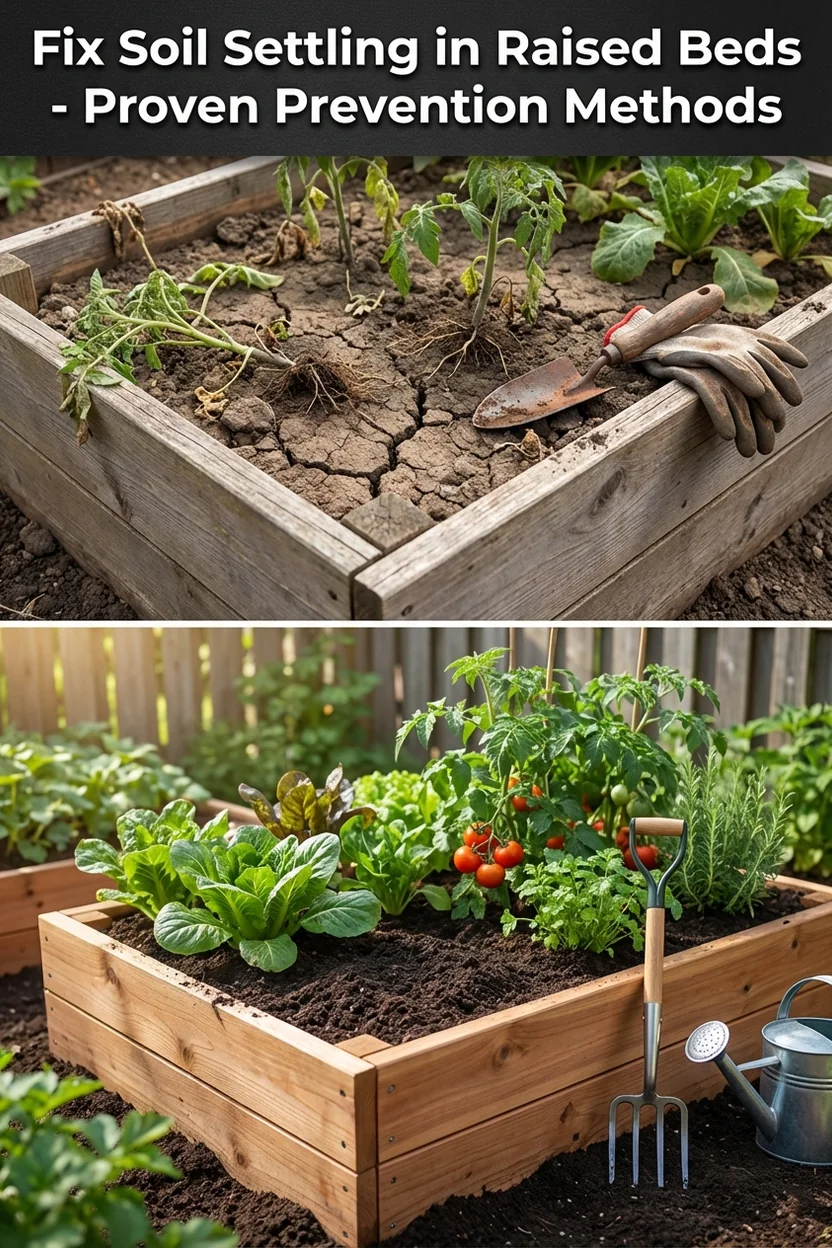
Raised Bed Soil Settling and Compaction: Prevention and Solutions
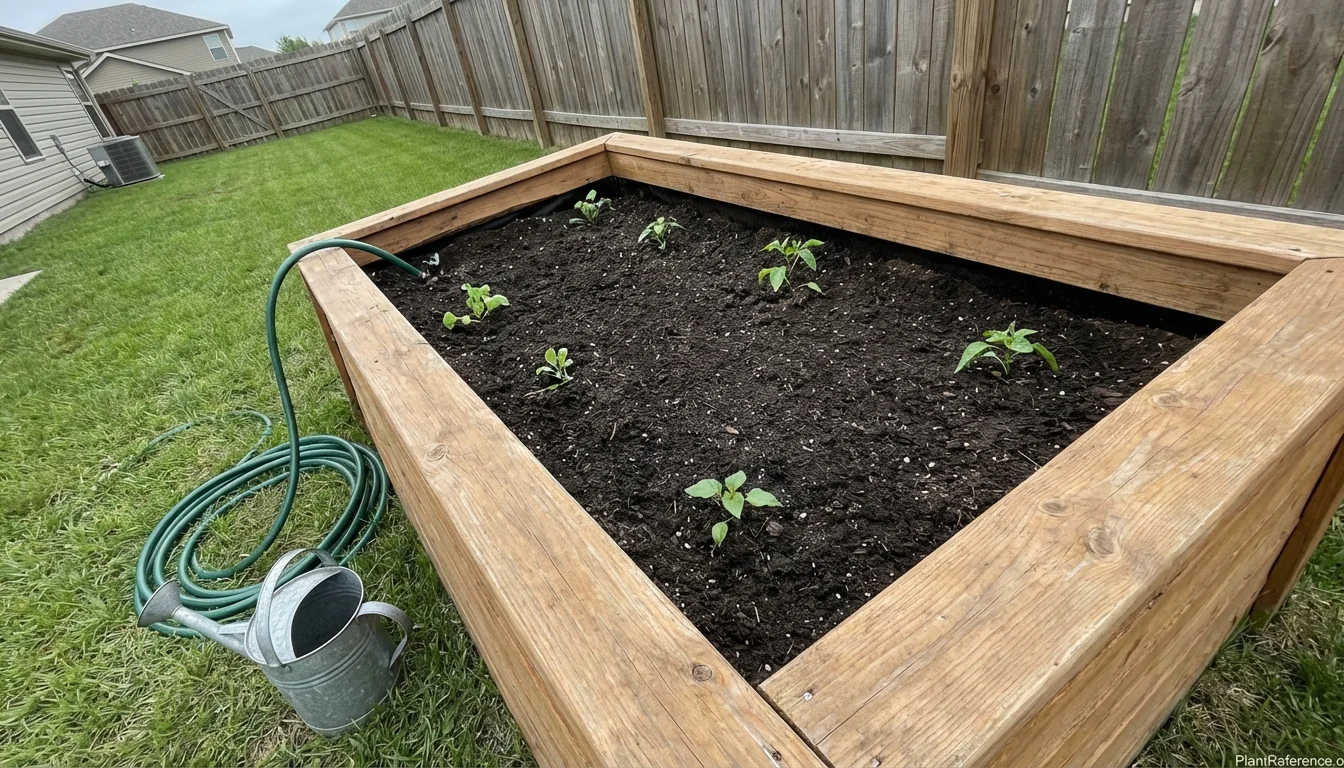
— Image © Plant Reference 2026
Watching your carefully filled raised bed shrink by 6-12 inches in just one growing season can be alarming, but raised bed soil settling is completely normal. The key difference between expected settling and problematic compaction lies in understanding the causes and implementing the right prevention strategies from day one.
I've built raised beds for twenty years, and I can tell you that every bed will settle—it's simple physics. Organic matter decomposes, soil particles find their natural resting places, and gravity does its work. But when I see beds dropping more than a third of their volume in one season, that's a sign of poor soil preparation or management practices that we can fix.
Why Raised Bed Soil Settles (It's Normal, But Preventable)
Raised bed soil settling occurs through three natural processes that you can't completely prevent, but you can minimize. Understanding these helps you set realistic expectations and choose the right prevention strategies.
Organic matter decomposition is the primary driver of soil settling. When you add compost, aged manure, or other organic amendments, microorganisms immediately begin breaking them down. Fresh compost contains 40-60% organic matter that will decompose over 12-18 months, leaving behind smaller volumes of stable humus. This is why beds filled entirely with compost can drop by half their volume in one season.
Particle settlement happens as soil components find their natural arrangement. When you first fill a bed, particles exist in loose, random positions. Watering, temperature changes, and gravity cause these particles to nestle into more compact arrangements, reducing overall volume by 10-20%. This process accelerates if you till or disturb the soil frequently.
Moisture cycling contributes to gradual compaction as wet-dry cycles cause soil to expand and contract. During dry periods, soil particles draw closer together. When moisture returns, they don't always return to their original positions, creating incremental settling over time.
The good news? You can significantly reduce settling by using proper soil ratios and management techniques I'll cover throughout this guide.
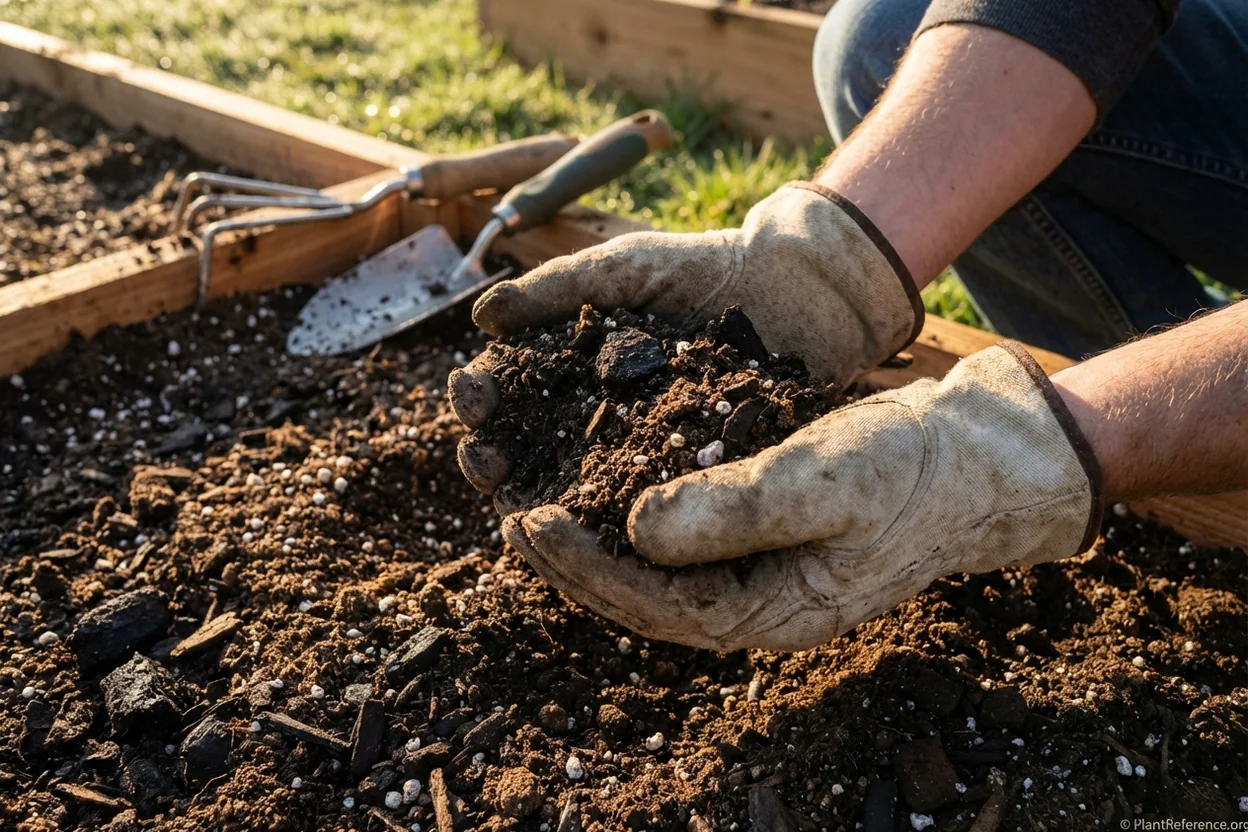
Signs Your Raised Bed Soil Has Settled Too Much
Normal settling versus problematic compaction shows distinct differences that help you determine whether action is needed. Here's how to assess your situation accurately.
Measure the gap between your soil surface and the bed rim. Expected settling creates 2-4 inch (5-10 cm) gaps in the first season, while gaps exceeding 6 inches (15 cm) indicate excessive settlement that requires attention. Use a ruler or measuring tape at multiple points around your bed—settling rarely occurs evenly.
Check soil firmness by inserting a screwdriver or garden probe 6 inches (15 cm) deep. Properly settled soil offers moderate resistance but allows penetration without excessive force. If you can't penetrate beyond 2-3 inches (5-7 cm), compaction has occurred alongside settling.
Visible gaps of 6+ inches between soil and bed rim
Water pools on surface rather than penetrating
Plant roots grow horizontally instead of downward
Screwdriver won't penetrate beyond 3 inches depth
Soil feels hard and dense when squeezed in your hand
Plant performance indicators often reveal settling problems before visual inspection. Stunted growth, yellowing leaves despite adequate nutrition, and poor water penetration all suggest that settled soil has become too compacted for healthy root development.
What Causes Excessive Soil Settling in Raised Beds
Understanding the root causes of problematic raised bed soil settling helps you avoid these issues in future beds and correct existing problems more effectively.
Poor initial soil mix accounts for most severe settling problems. Beds filled primarily with compost, aged manure, or other high-organic matter materials will experience dramatic volume loss as decomposition occurs. I recommend the 1/3-1/3-1/3 rule: one-third compost, one-third quality topsoil, one-third drainage material (coarse sand, perlite, or small gravel).
Over-tilling and excessive soil disturbance breaks down soil structure faster than natural processes. Each time you dig, till, or heavily cultivate, you're accelerating the breakdown of organic matter and disrupting the particle arrangements that provide structure. Limit soil disturbance to planting holes and light cultivation for weeding.
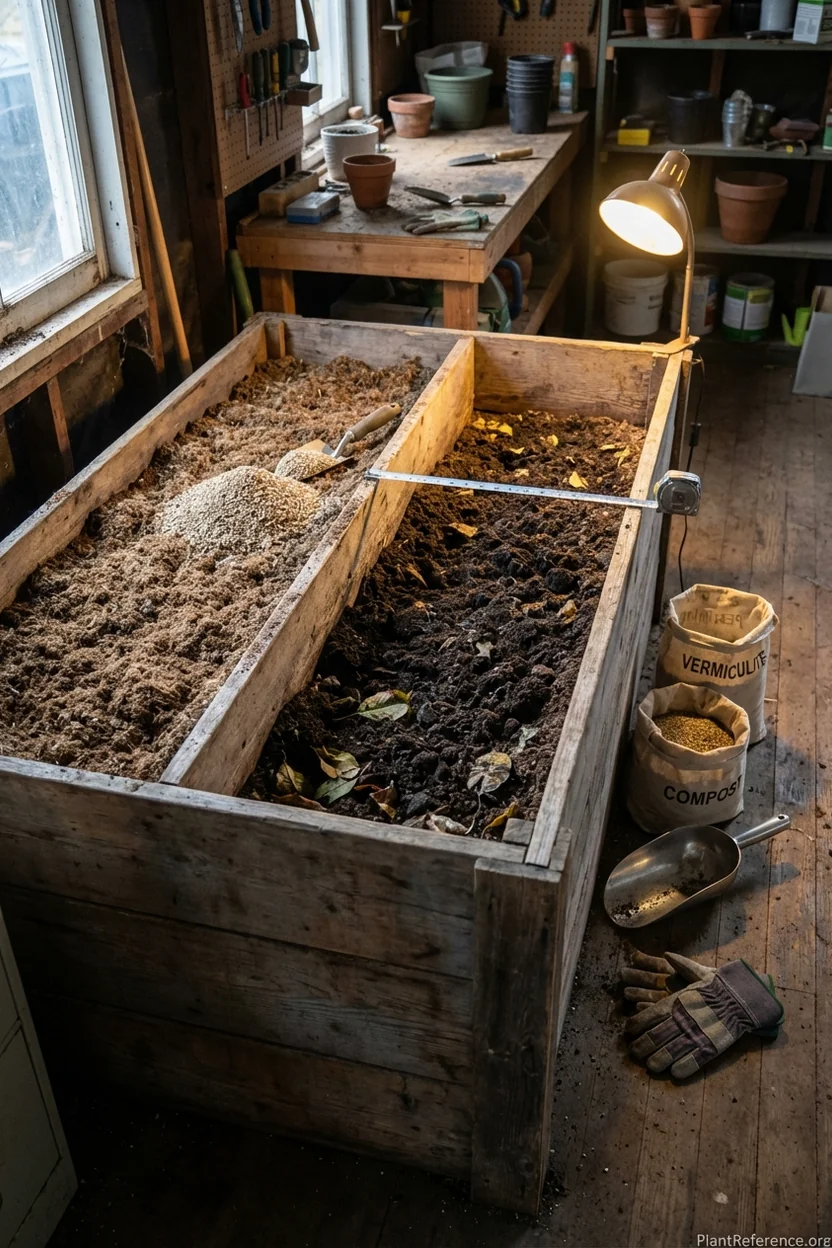
Inadequate drainage causes soil to remain waterlogged, accelerating organic matter decomposition and creating anaerobic conditions that break down soil structure. Beds without proper drainage layers or those placed on impermeable surfaces retain excessive moisture that compounds settling problems.
Wrong timing for bed filling can worsen settling issues. Filling beds in late fall allows winter freeze-thaw cycles to accelerate settling, while mid-summer filling during hot, dry periods can cause rapid moisture loss and immediate compaction. Spring filling 4-6 weeks before planting provides optimal settling time.
Immediate Solutions to Fix Settled Soil
When you discover raised bed soil settling has created significant gaps, these proven techniques restore proper soil levels and prevent further problems.
Calculate replacement volume before purchasing materials. Measure the gap depth at four corners and the center, then average these measurements. Multiply this average depth by your bed's length and width to determine cubic feet needed. For a 4x8 foot bed with an average 6-inch gap, you need 16 cubic feet of material.
Choose the right top-dressing materials based on your existing soil composition and current problems. If your original mix was compost-heavy, add topsoil or a balanced soil mix to reduce future settling. If drainage is poor, incorporate coarse sand or perlite to improve structure.
High-quality screened topsoil for general top-dressing
Compost for nutrient-poor beds (limit to 25% of replacement volume)
Coarse sand or perlite for drainage improvement
Aged pine bark for moisture retention in sandy soils
Commercial raised bed mix for balanced nutrition and structure
Application timing significantly affects results. Top-dress in early spring 4-6 weeks before planting to allow materials to integrate and settle naturally. Avoid top-dressing during active growing seasons unless you're prepared to carefully work around established plants.
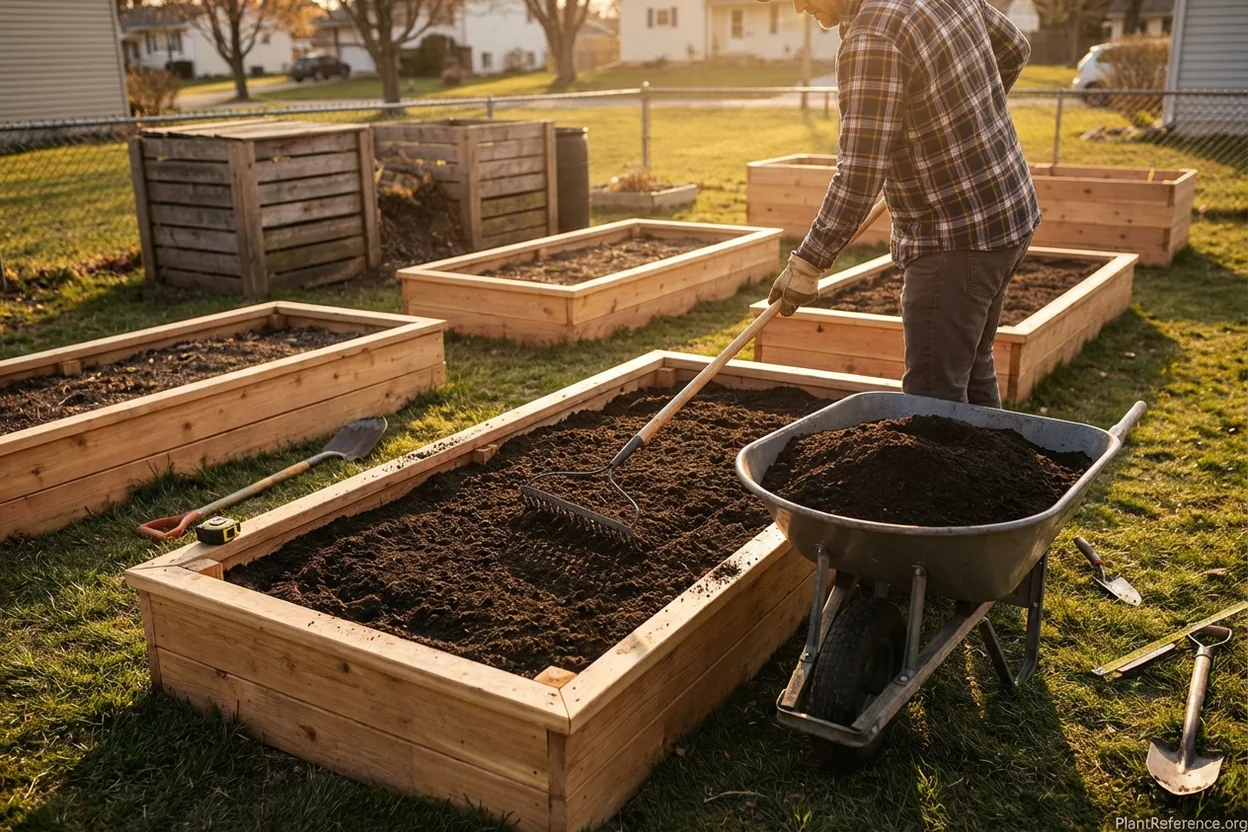
Integration methods ensure new material bonds properly with existing soil. Lightly rake or cultivate the top 2-3 inches (5-7 cm) of existing soil before adding new material. This creates better integration without excessive disturbance that could worsen settling.
Long-Term Prevention Strategies
Preventing raised bed soil settling requires ongoing management practices that maintain soil structure while providing optimal growing conditions for your plants.
Implement cover cropping during off-seasons to build soil structure naturally. Cover crops like crimson clover, winter rye, and buckwheat send deep roots through the soil profile while adding organic matter that decomposes more slowly than compost. Their root systems create natural channels that improve drainage and reduce compaction.
Practice minimal tillage by limiting soil disturbance to necessary cultivation. Use broad forks or garden forks to gently loosen compacted areas without destroying soil structure. Create permanent planting patterns that allow you to work from pathways without stepping on bed soil.
Schedule regular amendments rather than waiting for visible settling. Add 1-2 inches (2.5-5 cm) of quality compost twice yearly—once in early spring and again in fall after harvest. This gradual approach maintains soil levels while continuously improving structure and nutrition.
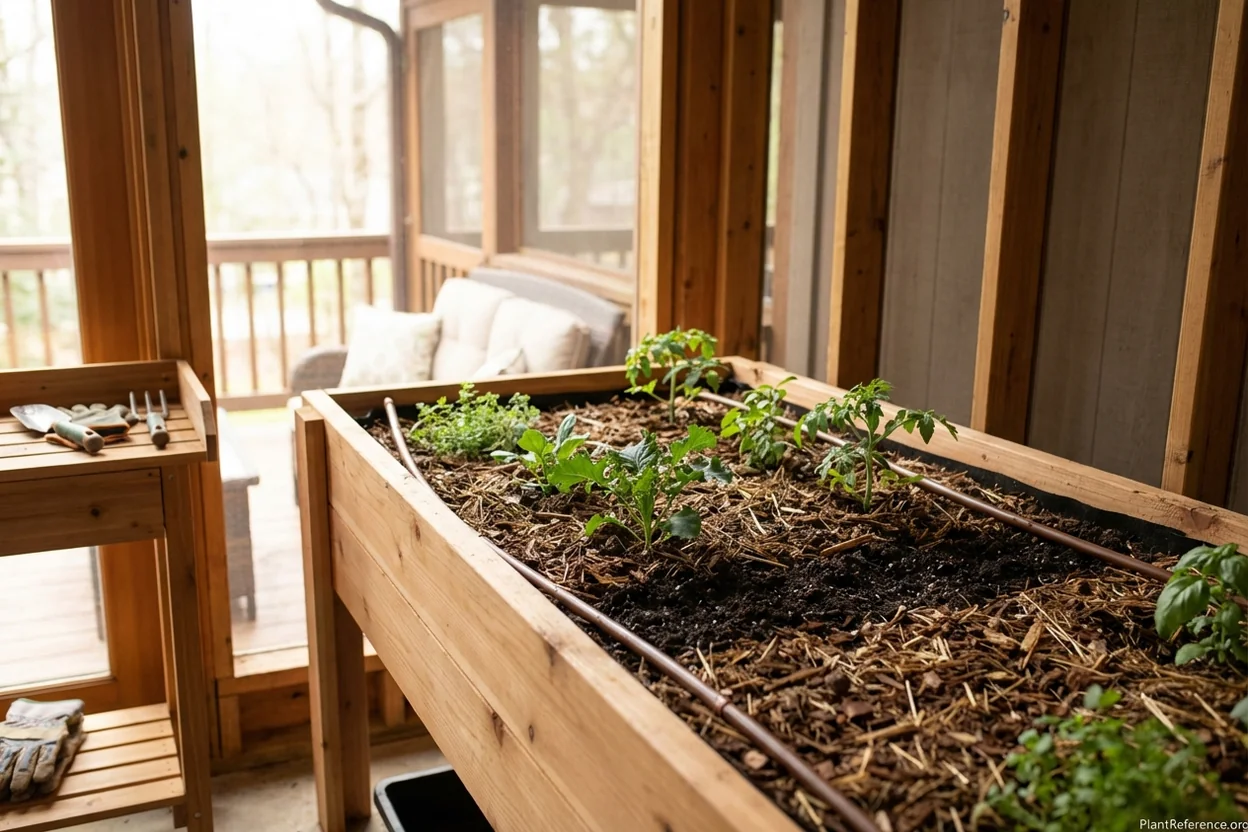
Water management plays a crucial role in preventing excessive settling. Install drip irrigation or soaker hoses that provide consistent, gentle moisture without the heavy impact of overhead watering that can accelerate soil compaction. Mulch beds with 2-3 inches (5-7 cm) of organic material to moderate moisture levels and reduce temperature fluctuations that contribute to settling.
How to Calculate Soil Volume for Top-Dressing
Accurate volume calculations prevent over-purchasing materials while ensuring you have adequate soil to restore proper bed levels after raised bed soil settling.
Measurement technique requires checking multiple points since settling rarely occurs uniformly. Measure the gap between soil surface and bed rim at each corner plus the center point. Record measurements in inches, then convert to feet by dividing by 12. Average these five measurements to determine mean settling depth.
Volume formula for rectangular beds: Length (feet) × Width (feet) × Average Gap Depth (feet) = Cubic Feet Needed. For irregularly shaped beds, divide into rectangular sections and calculate each separately. Always add 10% to your calculation to account for natural settling of new materials and ensure complete coverage.
Standard 4×4 bed with 6" settling: 4 × 4 × 0.5 = 8 cubic feet
Standard 4×8 bed with 6" settling: 4 × 8 × 0.5 = 16 cubic feet
Standard 4×12 bed with 6" settling: 4 × 12 × 0.5 = 24 cubic feet
Add 10% buffer: multiply by 1.1 for actual purchase amount
Material conversion helps you purchase the right quantity. Bagged soil typically comes in 1, 1.5, or 2 cubic foot bags. Bulk soil is sold by the cubic yard (27 cubic feet). For large top-dressing projects requiring more than 10 cubic feet, bulk delivery often provides better value than bagged materials.
Seasonal Maintenance Schedule to Prevent Settling
Consistent raised bed soil settling prevention requires a year-round approach that maintains soil health and structure through all growing seasons.
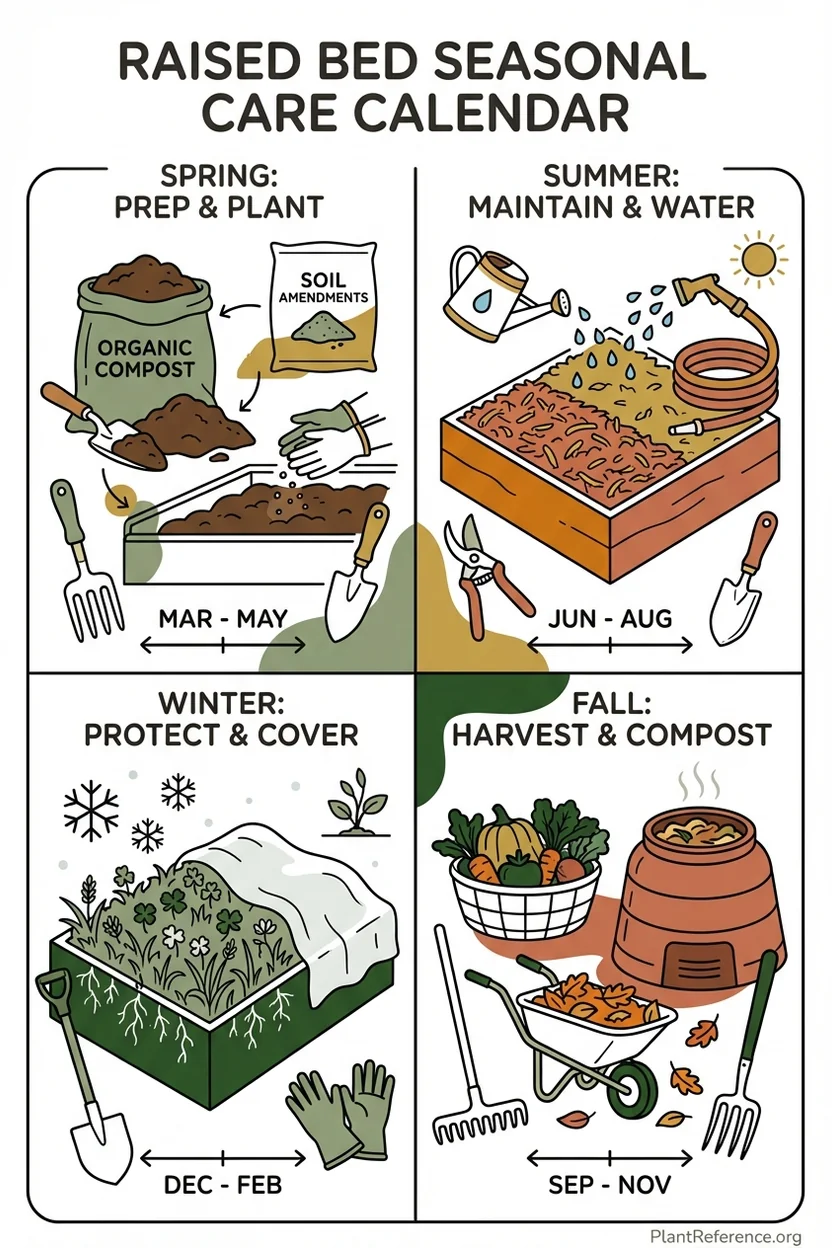
Spring preparation (March-April) begins with assessing winter settling and adding replacement materials 4-6 weeks before planting. Apply 1-2 inches (2.5-5 cm) of quality compost or soil mix, then lightly incorporate into the top 3 inches (7.5 cm) of existing soil. This timing allows natural settling before plants establish root systems.
Summer maintenance (June-August) focuses on moisture management and protecting soil structure. Maintain consistent mulch layers, monitor irrigation systems for even water distribution, and avoid walking on bed soil when wet. Mid-summer is ideal for planting cover crops in unused bed sections.
Fall cleanup (September-November) provides the second major amendment opportunity. After harvest, remove plant debris and add 1-2 inches (2.5-5 cm) of fresh compost or aged manure. Plant winter cover crops if you won't be using beds during cold months. This organic matter will decompose slowly through winter, building soil structure for the following season.
Winter monitoring (December-February) involves checking for excessive settling caused by freeze-thaw cycles and planning spring amendments based on soil level changes. Avoid walking on frozen or waterlogged beds to prevent compaction that worsens settling problems.
When to Completely Replace Raised Bed Soil
Sometimes raised bed soil settling indicates deeper problems that require complete soil replacement rather than simple top-dressing solutions.
Complete replacement indicators include soil that has settled more than 50% of original volume, persistent drainage problems despite amendments, or soil that has become completely compacted and won't respond to cultivation. If your bed requires more than 6 inches (15 cm) of replacement material, complete renovation often provides better long-term results.
Soil disposal of old raised bed soil shouldn't go to waste. Severely compacted or nutrient-depleted soil works well for leveling low spots in lawns, filling planting holes for trees and shrubs, or adding to compost piles where extended decomposition can improve structure over time.
Replacement strategy begins with removing existing soil to 6-8 inches (15-20 cm) depth, loosening the remaining base layer, then filling with properly proportioned new soil mix. This approach costs more upfront but provides 3-5 years of stable growing medium versus annual top-dressing of problematic soil.
The key to successful raised bed gardening isn't preventing all settling—it's managing it intelligently through proper soil preparation, consistent maintenance, and understanding that some settling is part of building healthy, productive garden beds that will serve you for decades.
Frequently Asked Questions
Reading about plants and recognising them are different skills. These three build the second.
- Daily PlantIdentify the day’s mystery plant from a close-up photograph.
- Keyed OutWork a dichotomous key, lead by lead, to name a hidden specimen.
- Name That PlantName a specimen from botanical clues dealt hardest first.
Free to play, no account needed
Mike's been designing residential landscapes in the Seattle area, with a particular focus on Pacific Northwest natives and sustainable practices. He's a Washington State Master Gardener and worked in construction before landscaping, which gives him a practical edge when it comes to building raised beds and hardscaping projects. He runs a small side business propagating and selling unusual perennials at farmers markets on weekends. His property serves as a testing ground for low-maintenance, wildlife-friendly garden designs. Mike's philosophy: if it requires weekly maintenance, it's not sustainable.