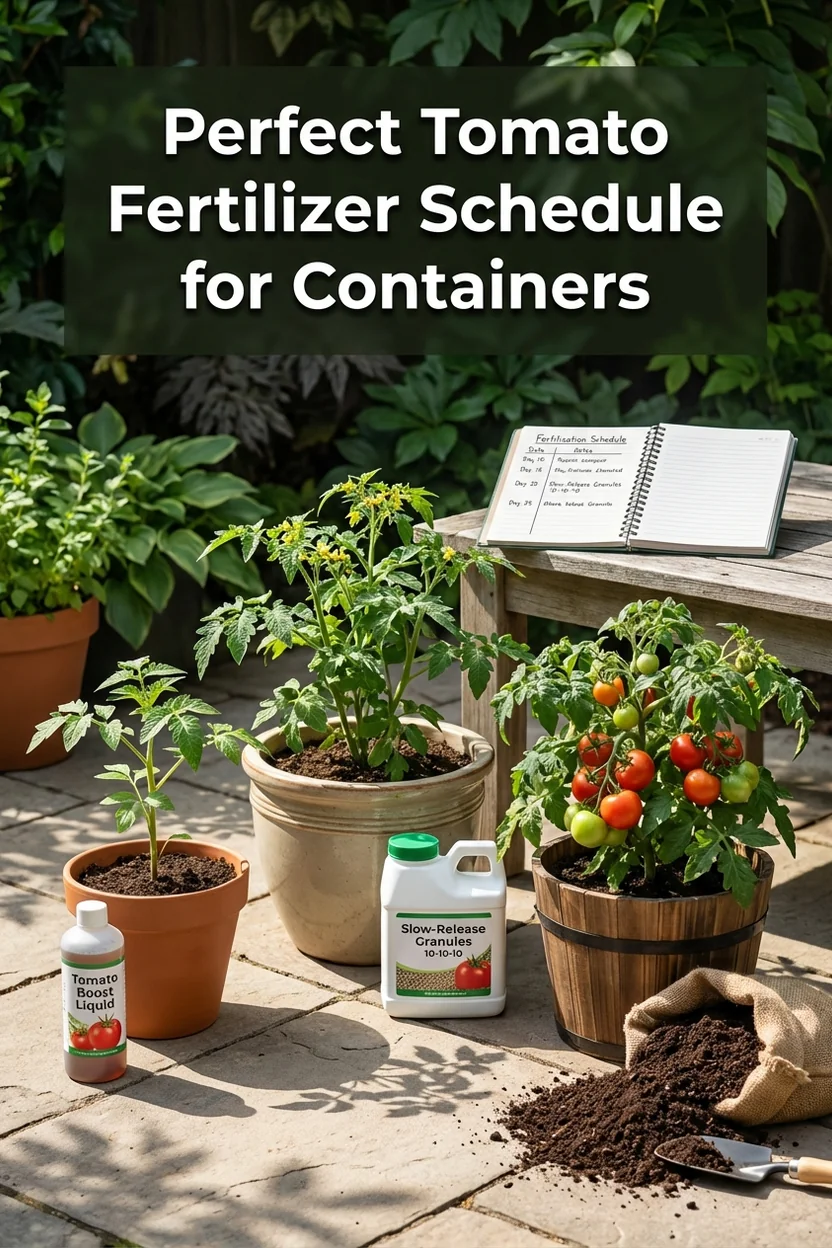
Container Tomato Fertilization Schedule: When and What to Feed
— Image © Plant Reference 2026
After growing container tomatoes on my apartment balcony for eight years, I've learned that fertilizing container grown tomatoes requires a completely different approach than in-ground plants. Container soil lacks the natural nutrient cycling of garden beds, making your fertilization schedule the difference between a handful of tomatoes and buckets full of fruit.
Understanding Container Fertilization Needs
Container tomatoes face unique nutritional challenges that ground-planted tomatoes never encounter. Every time you water, nutrients leach out the drainage holes—something that doesn't happen in garden beds where roots can chase nutrients deeper into the soil.
I learned this lesson the hard way during my second year growing tomatoes. My plants looked gorgeous and green but produced maybe six tomatoes total. The problem? I was using the same fertilization schedule I'd read about for in-ground tomatoes, which simply doesn't work in containers.
Container plants need 30-50% more nutrients than their ground-planted counterparts because of this constant nutrient loss. The limited root space also means your plants can't forage for nutrients like they would in a garden bed—they're completely dependent on what you provide in that confined soil space.
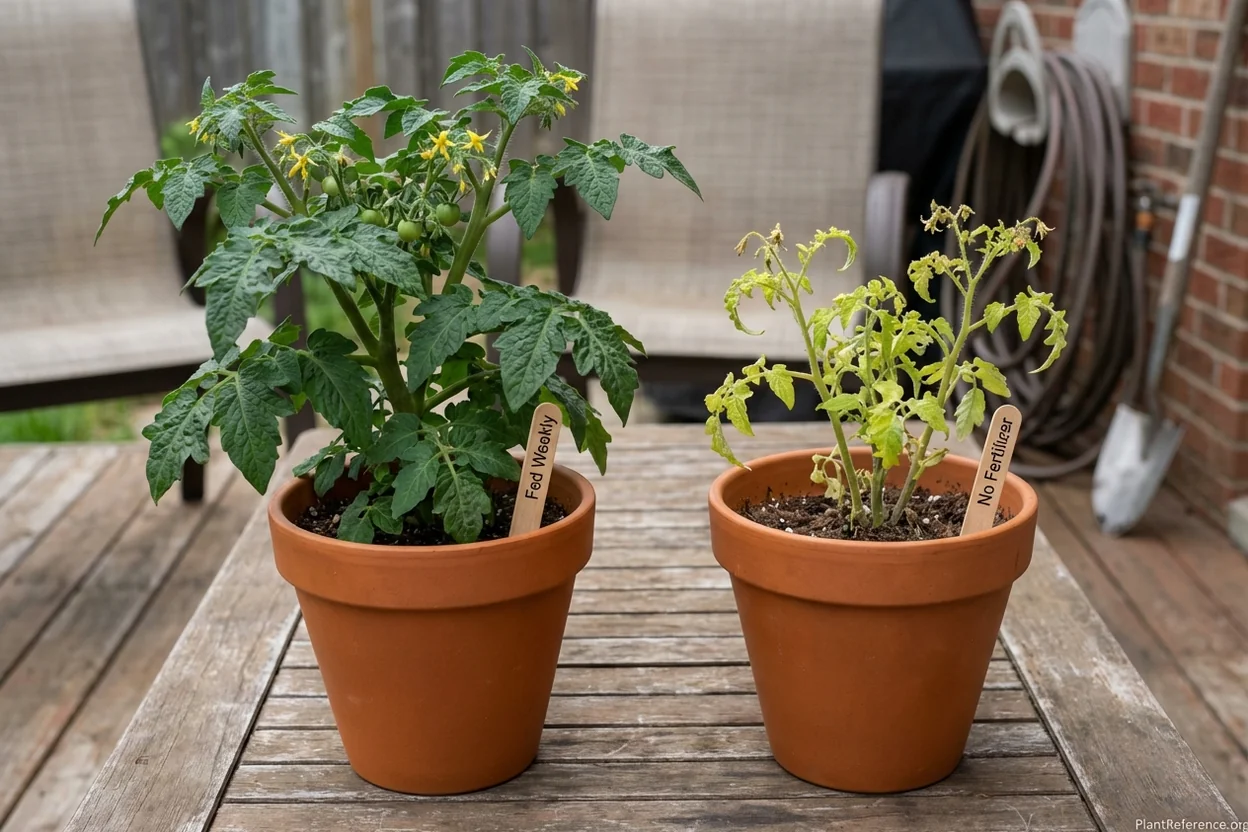
The key nutrients container tomatoes need most are nitrogen for foliage growth, phosphorus for root development and flowering, and potassium for fruit development and disease resistance. But the timing of when you provide these nutrients makes all the difference.
Container soil also heats up faster than ground soil, which speeds up nutrient breakdown and plant metabolism. This means your plants are processing nutrients faster and need more frequent feeding than you might expect.
Growth Stage Feeding Schedule
Your fertilization schedule should match your tomato plant's growth stages, not just follow a one-size-fits-all calendar. Here's the feeding schedule I've developed through years of trial and error:
Weeks 1-2 After Transplanting: No Fertilizer
This might seem counterintuitive, but newly transplanted tomatoes need time to establish their root systems before you start feeding them. Fertilizing too early can actually stress young plants and delay root development.
Use this time to ensure your potting soil has settled and drainage is working properly. Watch for new growth—usually small leaves emerging from the center—which signals the plant has recovered from transplant shock.
Weeks 3-4: Light Feeding Begins
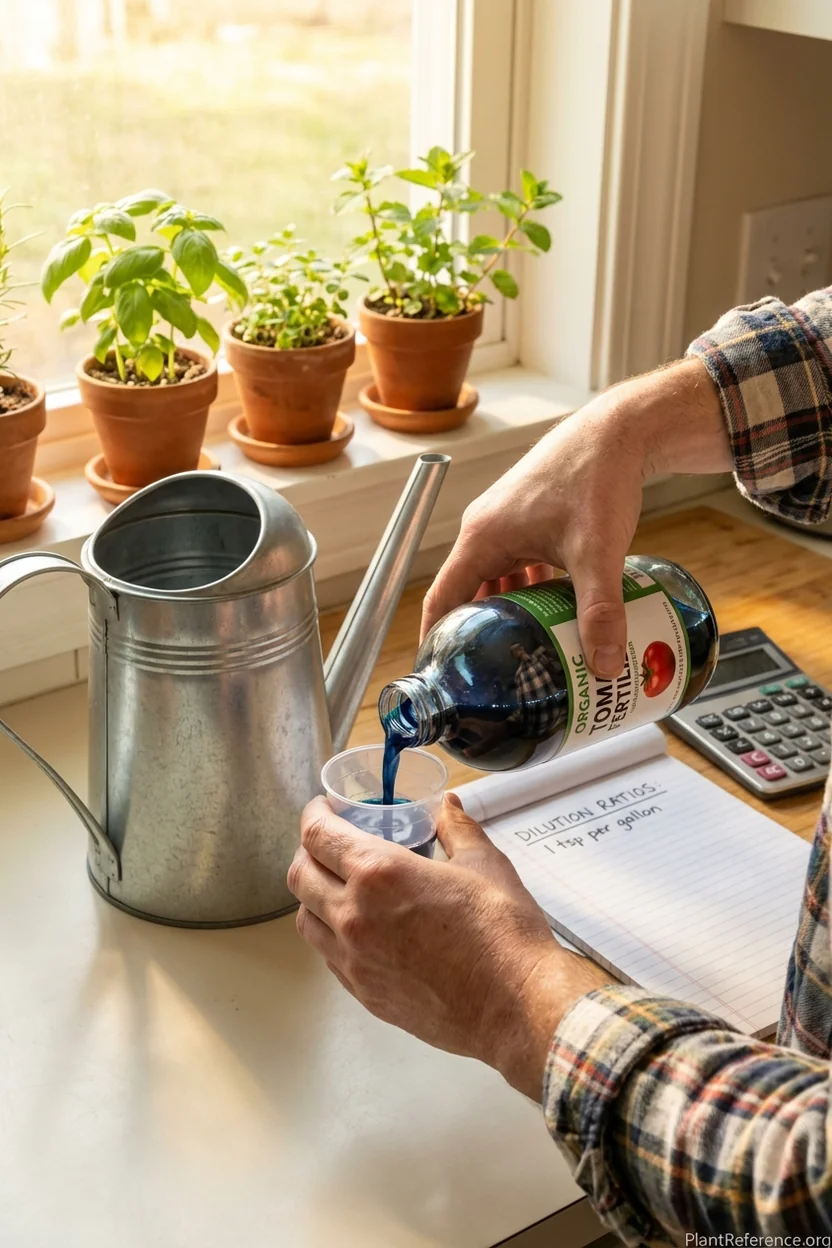
Start with quarter-strength liquid fertilizer once per week. I use a balanced formula like 10-10-10, diluted to 25% of the recommended strength. This gentle introduction gets the plants accustomed to regular feeding without overwhelming their developing root systems.
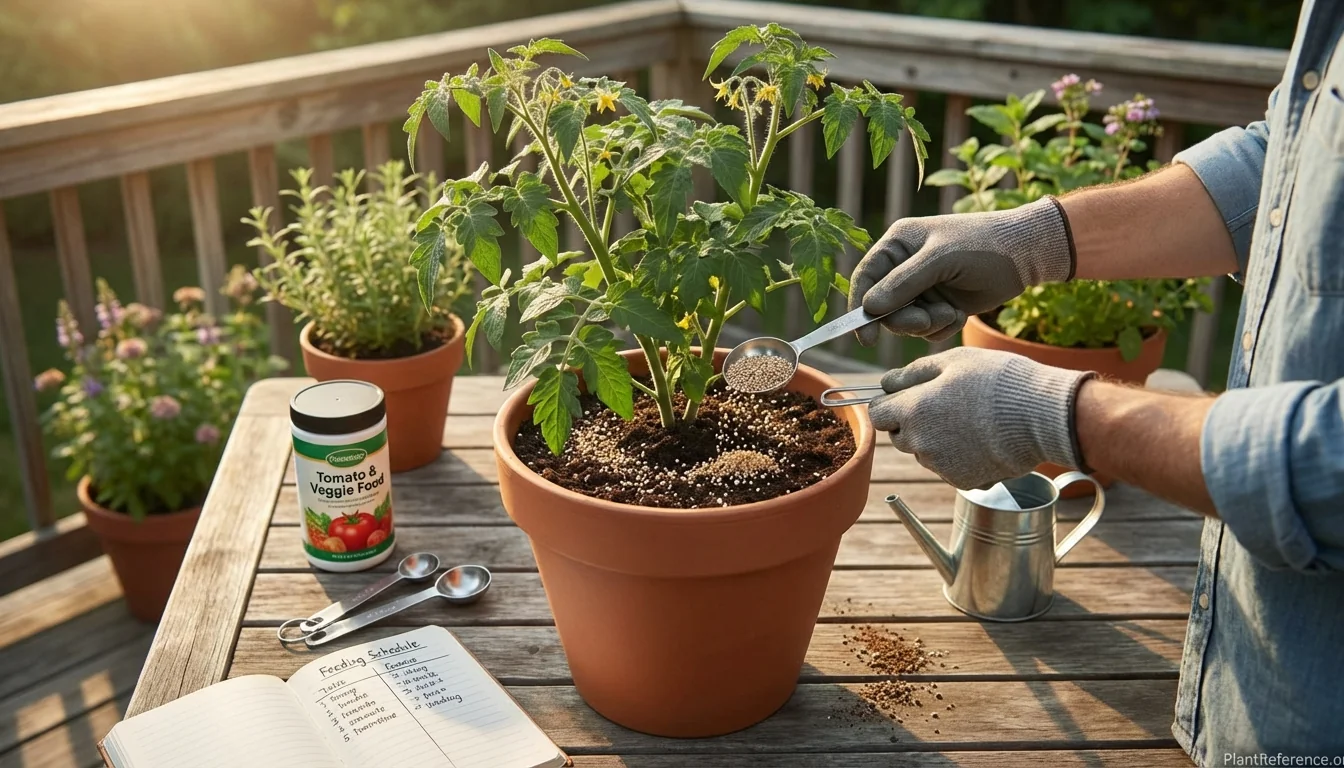
For granular fertilizers, apply half the recommended amount and water thoroughly afterward. The goal is steady, gentle nutrition—not a feast that can burn tender roots.
Weeks 5-8: Vegetative Growth Phase
Increase to full-strength liquid fertilizer weekly or apply granular fertilizer every 3-4 weeks. During this phase, your plants are building the strong stem and leaf structure needed to support heavy fruit loads later.
I prefer slightly higher nitrogen during this phase—formulas like 12-6-8 work well. The extra nitrogen supports the rapid leaf development, but don't go overboard. Too much nitrogen creates lush foliage at the expense of flowers.
Watch for the first flower clusters to appear, usually around week 6-8 depending on your variety. This signals the transition to the next feeding phase.
Flowering Phase: Weeks 8-12
When flowers appear, switch to a lower-nitrogen, higher-phosphorus formula like 5-10-10. Phosphorus supports flower development and fruit set, while reduced nitrogen prevents excessive leaf growth that can shade developing fruits.
This is when consistent feeding becomes crucial. Missing even one feeding during flowering can result in flower drop and reduced fruit set. I've lost entire clusters of flowers by skipping just one week of fertilization.
Continue weekly liquid feeding or apply granular fertilizer every 3 weeks. Some gardeners prefer to feed every other week during flowering with a slightly stronger solution, but I've found weekly consistency works better.
Fruiting Phase: Weeks 12+
Once fruits start forming, switch to a high-potassium formula like 6-8-12. Potassium improves fruit quality, enhances disease resistance, and helps fruits develop proper flavor and color.
Reduce feeding frequency slightly to every 10 days with liquid fertilizer or every 4 weeks with granular. Over-fertilizing during fruiting can delay ripening and create soft, watery tomatoes.
Liquid vs Granular Fertilizer Comparison
After testing both approaches extensively, here's what I've learned about each method:
Liquid Fertilizer Benefits
Liquid fertilizers provide immediate nutrition that plants can access within hours. This makes them perfect for correcting deficiencies quickly or providing consistent weekly nutrition.
The main advantage is control—you can adjust concentration and frequency based on what your plants are showing you. If leaves look pale, increase nitrogen. If flowering is poor, boost phosphorus.
Immediate nutrient availability
Easy to adjust concentrations
Quick deficiency correction
Even distribution when watering
No risk of fertilizer burn when properly diluted
Granular Fertilizer Benefits
Granular fertilizers release nutrients slowly over several weeks, reducing the frequency of application. They're more forgiving for busy gardeners who might forget weekly feeding schedules.
Slow-release granular fertilizers work particularly well in large containers (10+ gallons / 38+ liters) where the soil mass can hold nutrients longer between waterings.
Less frequent application needed
Slow, steady nutrient release
Cost-effective for large containers
Less risk of over-fertilization
Works well with busy schedules
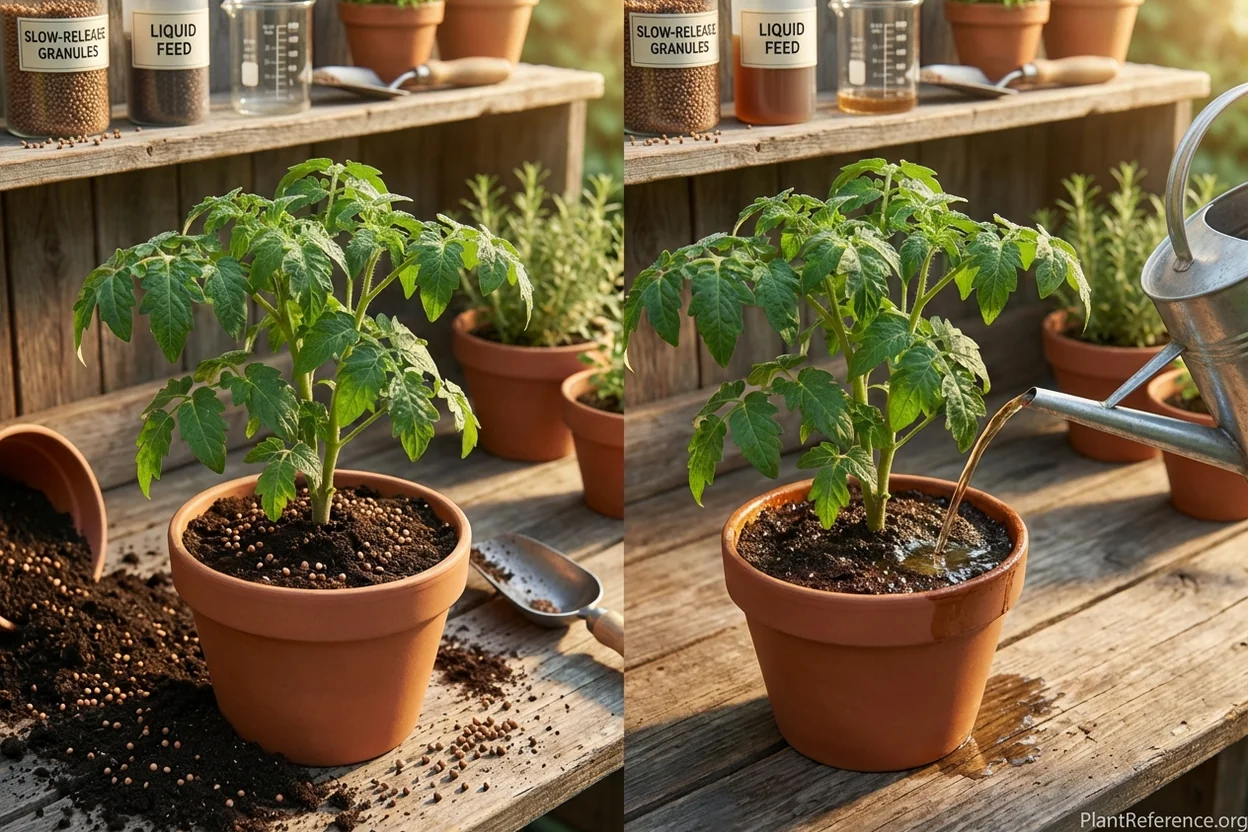
My Hybrid Approach
I've found the best results using both methods strategically. I apply granular slow-release fertilizer at planting time, then supplement with liquid fertilizer during peak growing periods.
This combination provides a steady nutritional base from the granular fertilizer, with the flexibility to boost nutrition during critical periods like flowering and early fruiting.
Best Fertilizers for Each Growth Phase
Based on eight years of container tomato growing, here are the fertilizers that have consistently delivered the best results:
→ Espoma Tomato-tone Organic Fertilizer ($12.99-$16.99) - Slow-release granular with 8% calcium prevents blossom end rot
Premium 3-4-6 organic formula contains beneficial microbes and 8% calcium to prevent blossom end rot. Enhanced with Bio-tone microbes that improve nutrient uptake and root development. Slow-release granules feed plants for 2-3 months with one application. OMRI listed for organic gardening. Contains no synthetic chemicals or fillers. Ideal for container growing where consistent nutrition is crucial for healthy fruit development and disease prevention.
Product link unavailable
For vegetative growth, I prefer balanced liquid fertilizers like Miracle-Gro All Purpose (24-8-16). The higher nitrogen supports rapid leaf development without creating excessive growth that delays flowering.
During flowering, I switch to Jack's Classic Tomato Feed (12-15-30), which provides the phosphorus boost needed for strong flower development and fruit set.
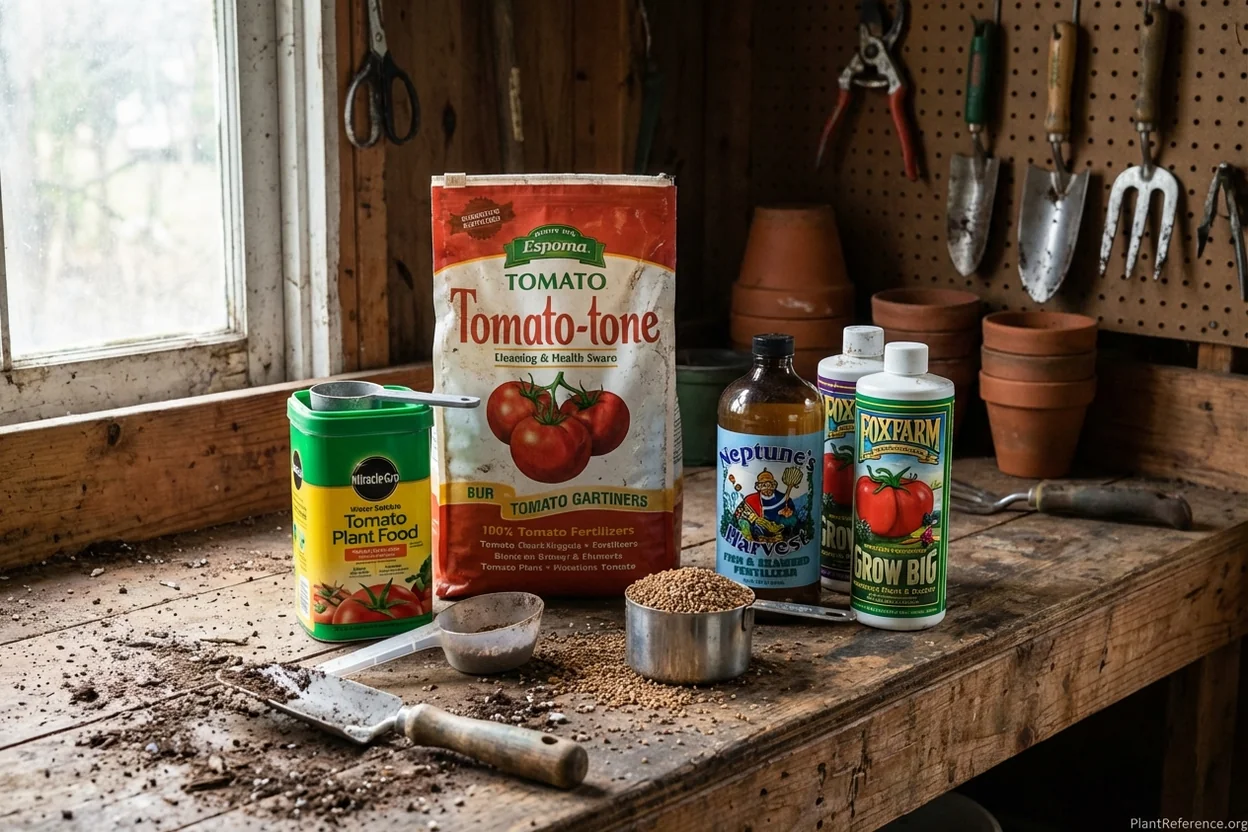
→ Miracle-Gro Water Soluble Tomato Plant Food ($8.99-$12.99) - High-performance liquid concentrate for rapid results
Fast-acting 18-18-21 formula provides immediate nutrition for rapid growth and fruit production. Enhanced with micronutrients including magnesium and sulfur for healthy foliage. Dissolves completely in water for even distribution. One container feeds up to 600 square feet of garden or 60 container plants. Proven formula used by professional growers for consistent results. Ideal for weekly feeding schedules where immediate nutrient response is needed.
Organic vs Synthetic Options
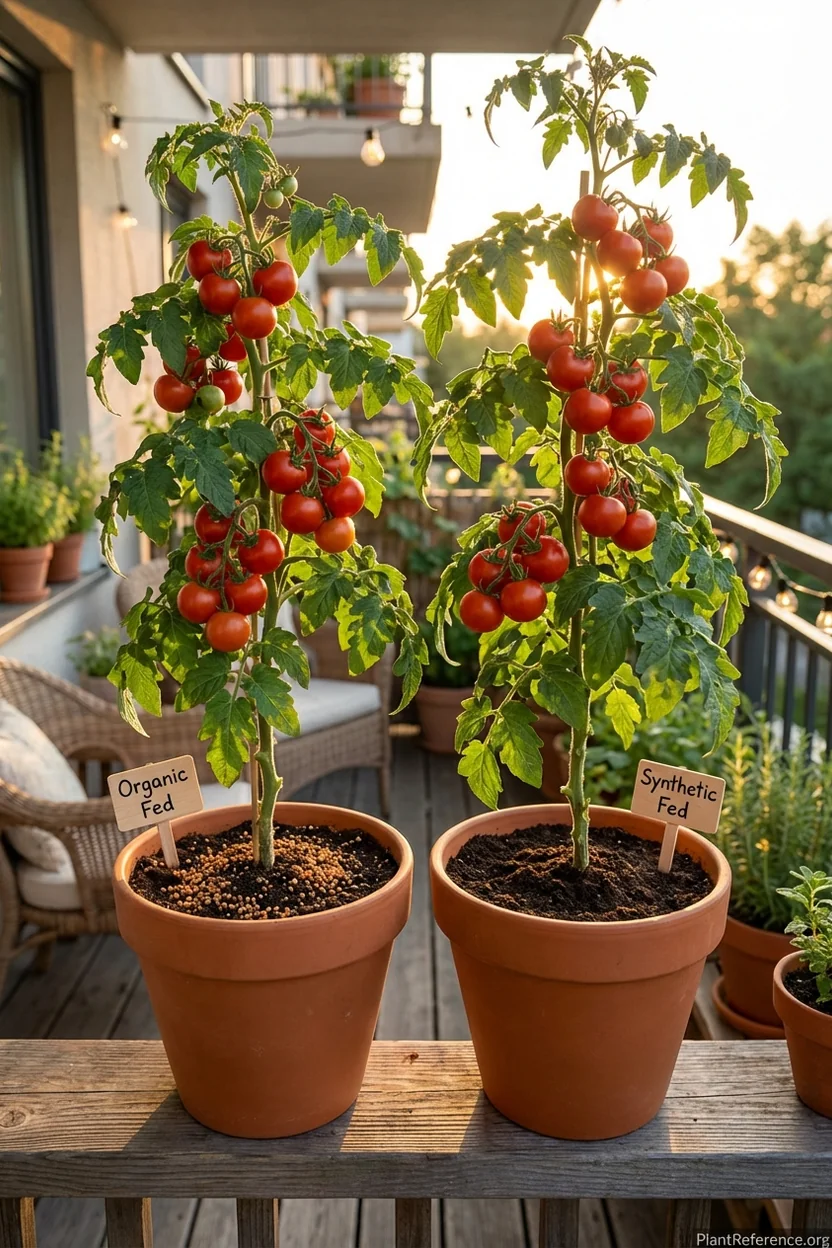
The choice between organic and synthetic fertilizers often comes down to personal preference and growing philosophy, but there are practical differences for container growing.
Organic Fertilizer Advantages
Organic fertilizers improve soil structure over time and provide slow, steady nutrition that's less likely to burn plants. They also feed beneficial soil microorganisms that help plants absorb nutrients more efficiently.
In containers, organic fertilizers help maintain better soil texture through multiple growing seasons. I've noticed my potting soil stays loose and well-draining longer when I use organic fertilizers consistently.
However, organic fertilizers typically have lower nutrient concentrations, meaning you might need to apply them more frequently or in larger quantities to meet container plants' high nutritional needs.
Synthetic Fertilizer Advantages
Synthetic fertilizers provide precise nutrient ratios and immediate availability. When your container tomatoes show deficiency symptoms, synthetic fertilizers correct problems within days rather than weeks.
They're also more cost-effective for feeding multiple container plants, and the consistent nutrient analysis makes it easier to calculate exactly how much nutrition you're providing.
The main drawback is the potential for fertilizer burn if over-applied, and they don't improve soil structure the way organic options do.
My Recommendation
I use both approaches depending on the situation. For season-long base nutrition, I prefer organic granular fertilizers like Container Tomato Soil: Creating the Perfect Growing Mix for Maximum Yields recommends. For quick corrections and peak feeding periods, I rely on synthetic liquid fertilizers.
This hybrid approach gives me the soil-building benefits of organic fertilizers with the precision and speed of synthetic options when needed.
Common Fertilization Mistakes to Avoid
After making most of these mistakes myself, here are the fertilization errors that can ruin your container tomato harvest:
Over-Fertilizing Young Plants
New gardeners often think more fertilizer equals better growth, but young tomato plants can't handle full-strength feeding. Over-fertilized seedlings develop burned leaf edges and stunted root systems.
Always start with quarter-strength fertilizer and increase gradually as plants establish. It's much easier to increase feeding than to recover from fertilizer burn.
Inconsistent Feeding Schedules
Container plants depend completely on your fertilization schedule. Missing feedings during critical periods like flowering can cause blossom drop and reduced fruit set.
I keep a garden journal with feeding dates marked. Consistency matters more than the exact fertilizer type you choose.
Wrong NPK Ratios for Growth Stage
Using high-nitrogen fertilizer during fruiting delays ripening and creates soft, watery tomatoes. Similarly, low-nitrogen formulas during vegetative growth create weak plants that can't support heavy fruit loads.
Match your fertilizer NPK ratio to what your plants need at each growth stage, not just what's convenient or already on hand.
Ignoring Calcium Needs
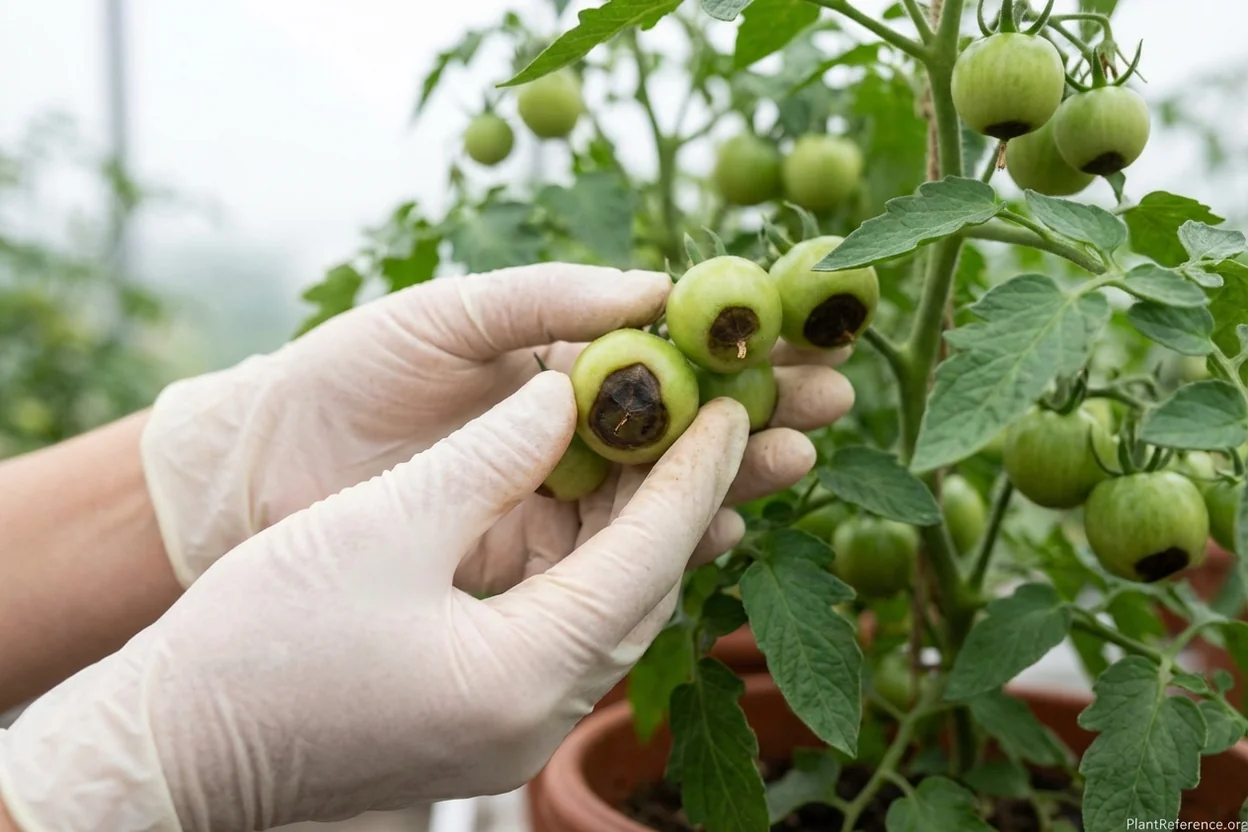
Container-grown tomatoes are especially prone to calcium deficiency because frequent watering leaches calcium from the limited soil volume. This leads to blossom end rot, which ruins fruit and reduces yields.
Choose fertilizers with added calcium, or supplement with calcium chloride sprays during flowering and early fruiting.
Troubleshooting Nutrient Problems
Visual diagnosis helps you adjust your fertilization schedule before problems become serious. Here's what to watch for:
Nitrogen Deficiency
Symptoms appear as yellowing of lower leaves starting from the leaf tips and progressing inward. Plants look pale green overall and have slow growth.
Quick fix: Apply liquid fertilizer at double strength once, then resume regular feeding schedule with higher-nitrogen formula.
Phosphorus Deficiency
Purple or reddish coloring on leaf undersides, delayed flowering, and poor fruit set. More common in cool weather when phosphorus uptake slows.
Solution: Switch to high-phosphorus fertilizer (like 5-10-10) and ensure soil temperature stays above 60°F (16°C) for good nutrient absorption.
Potassium Deficiency
Yellow leaf margins that turn brown and crispy, starting with older leaves. Fruits may have poor color development and soft texture.
Correction: Use high-potassium fertilizer during fruiting phase and ensure consistent watering to prevent nutrient lockout.
The key to successful container tomato fertilization is understanding that these plants have unique nutritional needs compared to in-ground tomatoes. Start with quality potting soil, follow a growth-stage feeding schedule, and adjust based on what your plants show you.
With consistent feeding and attention to your plants' changing needs throughout the season, your container tomatoes will reward you with abundant, flavorful harvests that rival any garden-grown fruit. As someone who's grown hundreds of pounds of tomatoes in containers, I can tell you that proper fertilization makes the difference between a few sad tomatoes and baskets full of perfect fruit.
Remember to check out my other container tomato guides for complete growing success: The Complete Guide to Growing Tomatoes in Containers: From Seedling to Harvest covers the full process from start to finish, while Why Your Container Tomatoes Have Blossom End Rot (And How to Fix It Fast) addresses the most common nutrition-related problem in container growing.
Frequently Asked Questions
Reading about plants and recognising them are different skills. These three build the second.
- Daily PlantIdentify the day’s mystery plant from a close-up photograph.
- Keyed OutWork a dichotomous key, lead by lead, to name a hidden specimen.
- Name That PlantName a specimen from botanical clues dealt hardest first.
Free to play, no account needed
Linda's been growing tomatoes in containers on her suburban Pittsburgh balcony—ever since her kids grew up and she finally had time for hobbies again. She's a medical billing specialist by day and a tomato enthusiast by night and weekend. Linda started documenting her container growing experiments on a simple blog and discovered other renters and condo dwellers were desperate for practical advice. She tests different varieties every season, tracking yields, disease resistance, and flavor in a detailed spreadsheet. Linda's approach is practical and budget-conscious—she saves seeds, reuses containers, and makes her own fertilizer from kitchen scraps. Her specialty is maximizing production in small spaces, and she's perfected the art of growing full-size tomatoes in 5-gallon buckets. She's a Pennsylvania Master Gardener and teaches container growing workshops at her local library.