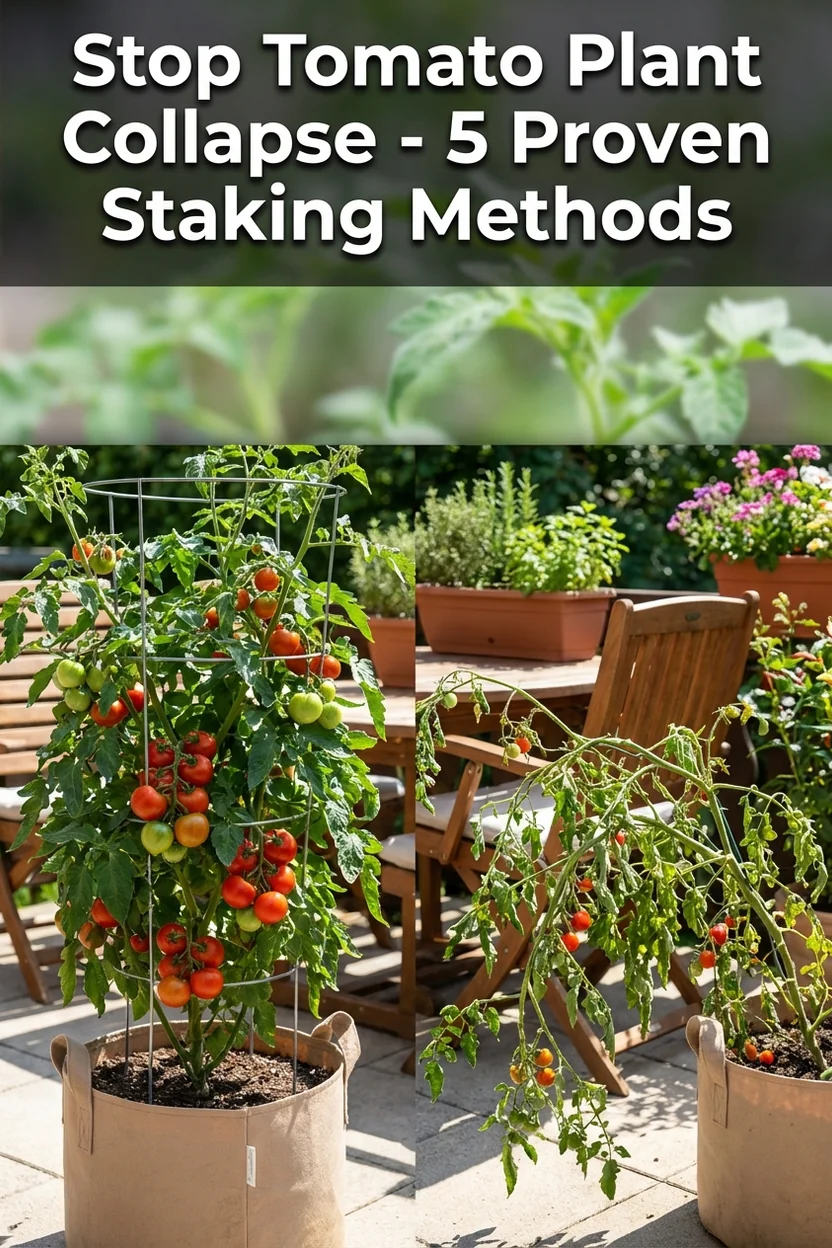
Staking Tomatoes in Containers: 5 Support Methods That Actually Work
Pets & Toxicity
Recorded toxicity for plants linked in this guide. An unknown status is not a safety assessment.
Toxic to pets: cherokee purple tomato, brandywine tomato, patio princess tomato and 2 moreDetailsHide
Solanum lycopersicum 'Cherokee Purple' — Toxicity Warning
Toxic to petsView Solanum lycopersicum 'Cherokee Purple' plant profileSolanum lycopersicum 'Brandywine' — Toxicity Warning
Toxic to petsView Solanum lycopersicum 'Brandywine' plant profileSolanum lycopersicum 'Patio Princess' — Toxicity Warning
Toxic to pets. Ripe red fruits are safe for human consumption. All green plant parts (leaves, stems, unripe green fruits) contain solanine and related glycoalkaloids that are mildly toxic if consumed in significant quantities.View Solanum lycopersicum 'Patio Princess' plant profileSolanum lycopersicum 'Bush Early Girl' — Toxicity Warning
Toxic to petsView Solanum lycopersicum 'Bush Early Girl' plant profileSolanum lycopersicum 'Black Krim' — Toxicity Warning
Toxic to petsView Solanum lycopersicum 'Black Krim' plant profileSolanum lycopersicum 'Patio' — Toxicity: Not assessed
The fruits of 'Patio' tomato are safe and edible when ripe. As with all members of the nightshade family, the leaves, stems, and unripe green fruits contain solanine and other alkaloids that can be toxic to humans and pets in quantity. The plant is kept out of reach of children and pets.View Solanum lycopersicum 'Patio' plant profile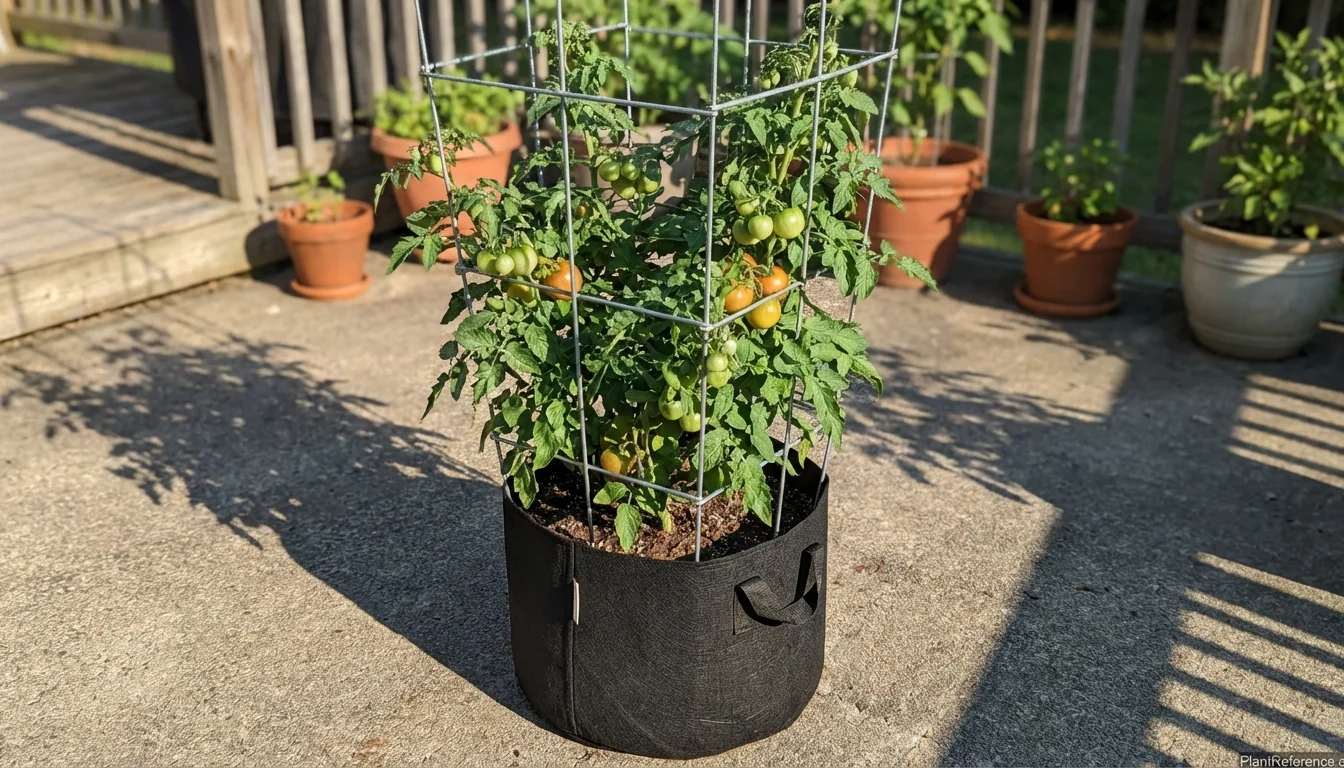
— Image © Plant Reference 2026
After growing container tomatoes on my apartment balcony for eight years, I've learned that staking tomatoes in containers requires completely different strategies than ground gardening. The confined root space, limited soil volume, and wind exposure create unique challenges that standard staking advice doesn't address.
Why Container Tomatoes Need Different Staking Approaches
Container tomatoes face three critical challenges that ground-planted tomatoes never encounter: restricted root zones, wind exposure, and container tipping risk. I learned this the hard way when my first season's beautiful 'Cherokee Purple' 🌿Solanum lycopersicum 'Cherokee Purple' toppled over in a July thunderstorm, snapping the main stem and losing 12 pounds (5.4 kg) of developing fruit.
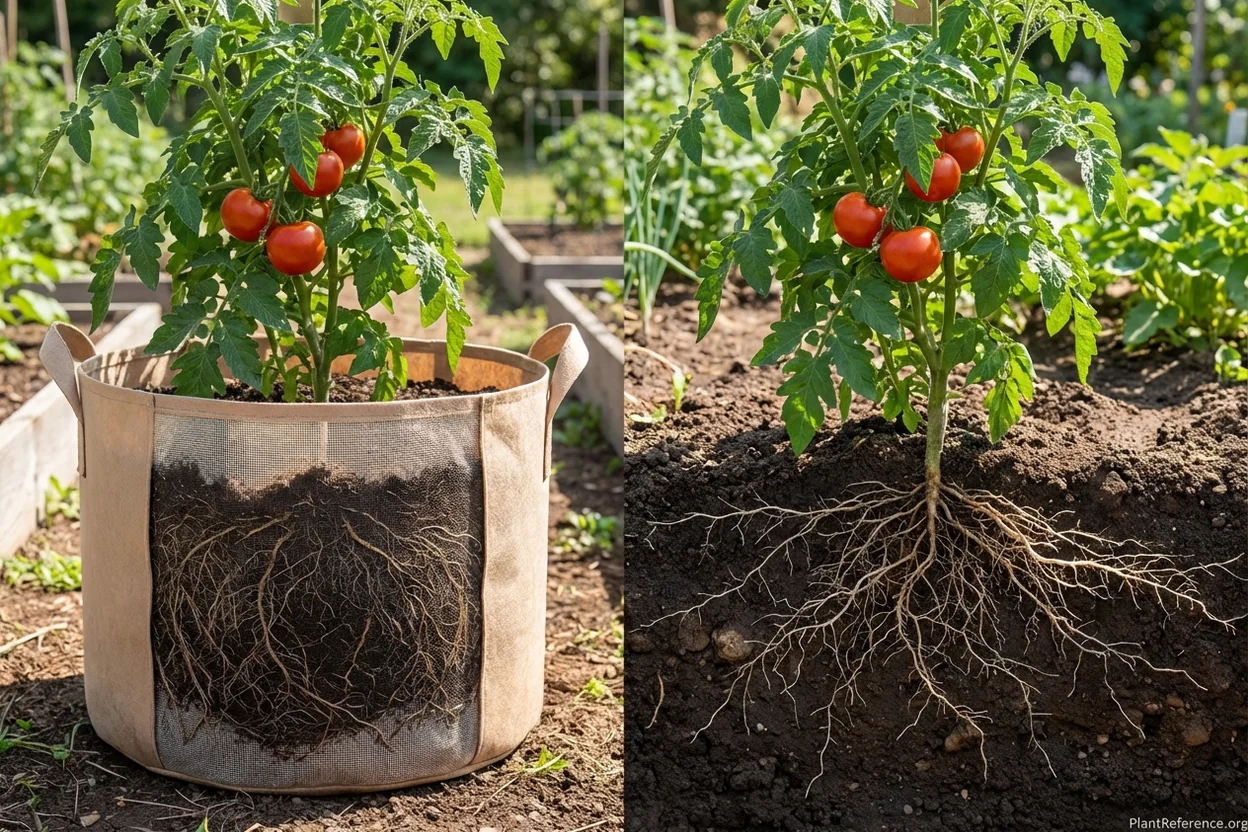
The key difference is leverage. In ground gardens, tomato roots spread 3-4 feet (90-120 cm) laterally, anchoring the plant against wind and fruit weight. Container roots hit walls within 6-8 inches (15-20 cm), providing minimal anchoring. This means your support system must carry 80% of the structural load instead of sharing it with the root system.
Container soil also drains faster than ground soil, creating lighter growing medium that provides less plant stability. A 15-gallon (57-liter) container with mature tomato plant weighs approximately 60-80 pounds (27-36 kg) when properly watered, but the center of gravity shifts dramatically as the plant grows taller.
The 5 Most Effective Container Staking Methods
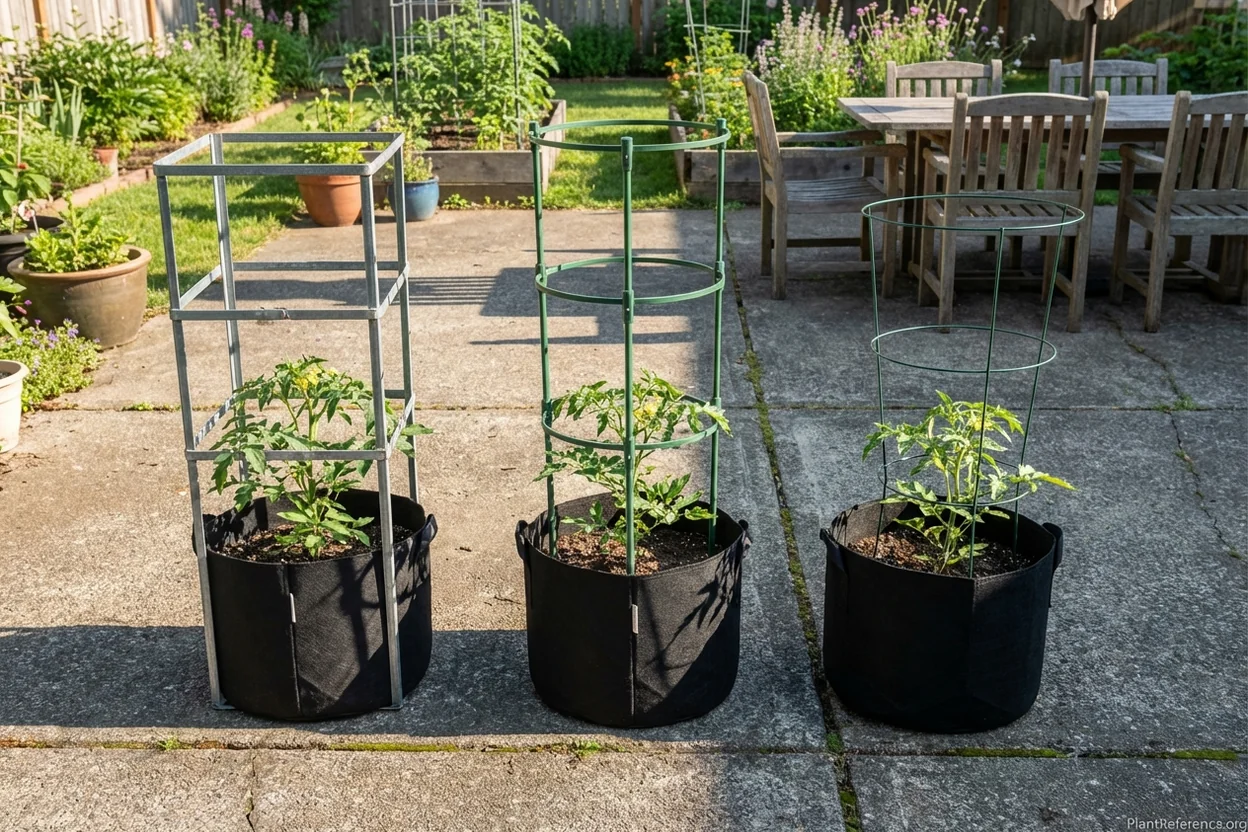
Through trial and error across multiple seasons, I've identified five staking methods that actually work for container tomatoes. Each method suits different situations, container sizes, and tomato varieties.
Method 1: Heavy-Duty Square Cages (Best for Indeterminate Varieties)
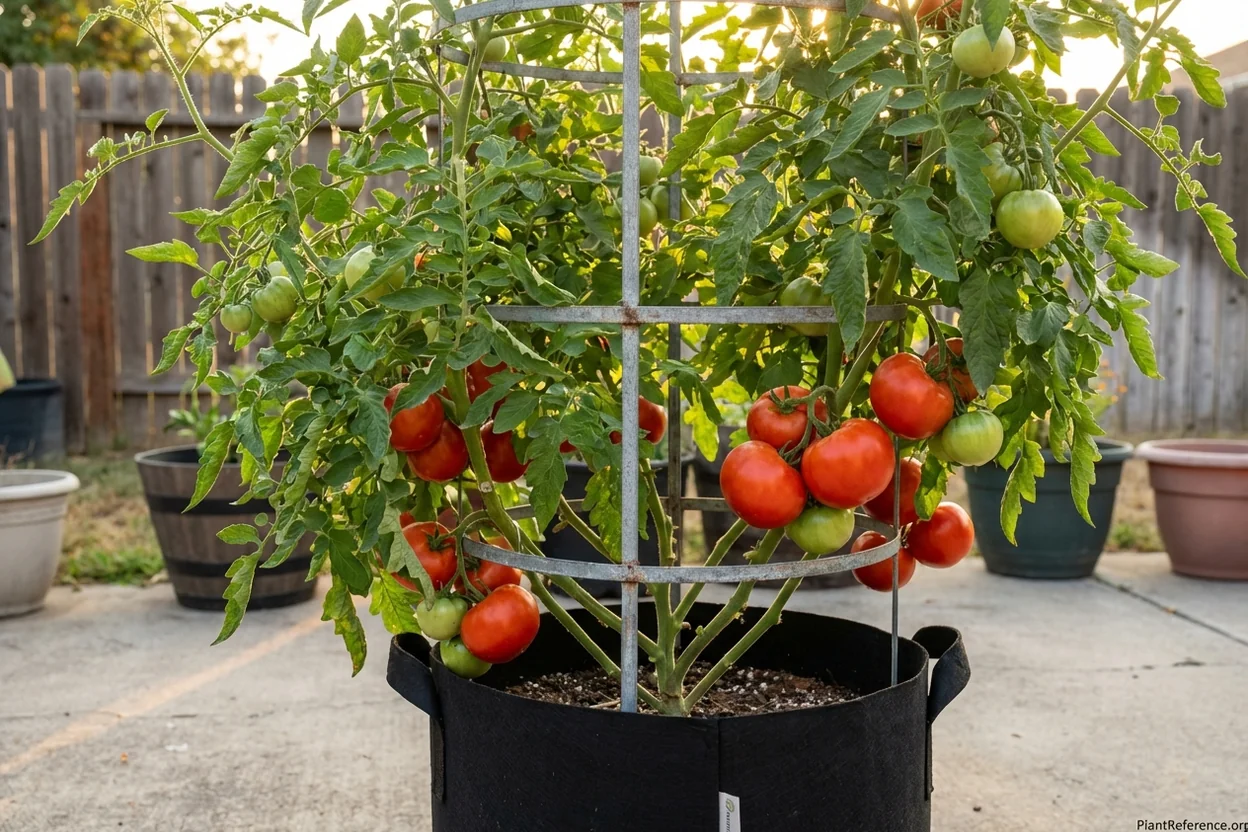
The Gardener's Supply Lifetime Tomato Cages have become my go-to solution for indeterminate varieties like 'Cherokee Purple' and 'Brandywine' 🌿Solanum lycopersicum 'Brandywine'. These galvanized steel cages measure 14 inches (35 cm) square and 5 feet (150 cm) tall, providing substantial support without overwhelming smaller containers.
Installation requirements:
Minimum 15-gallon container for stability
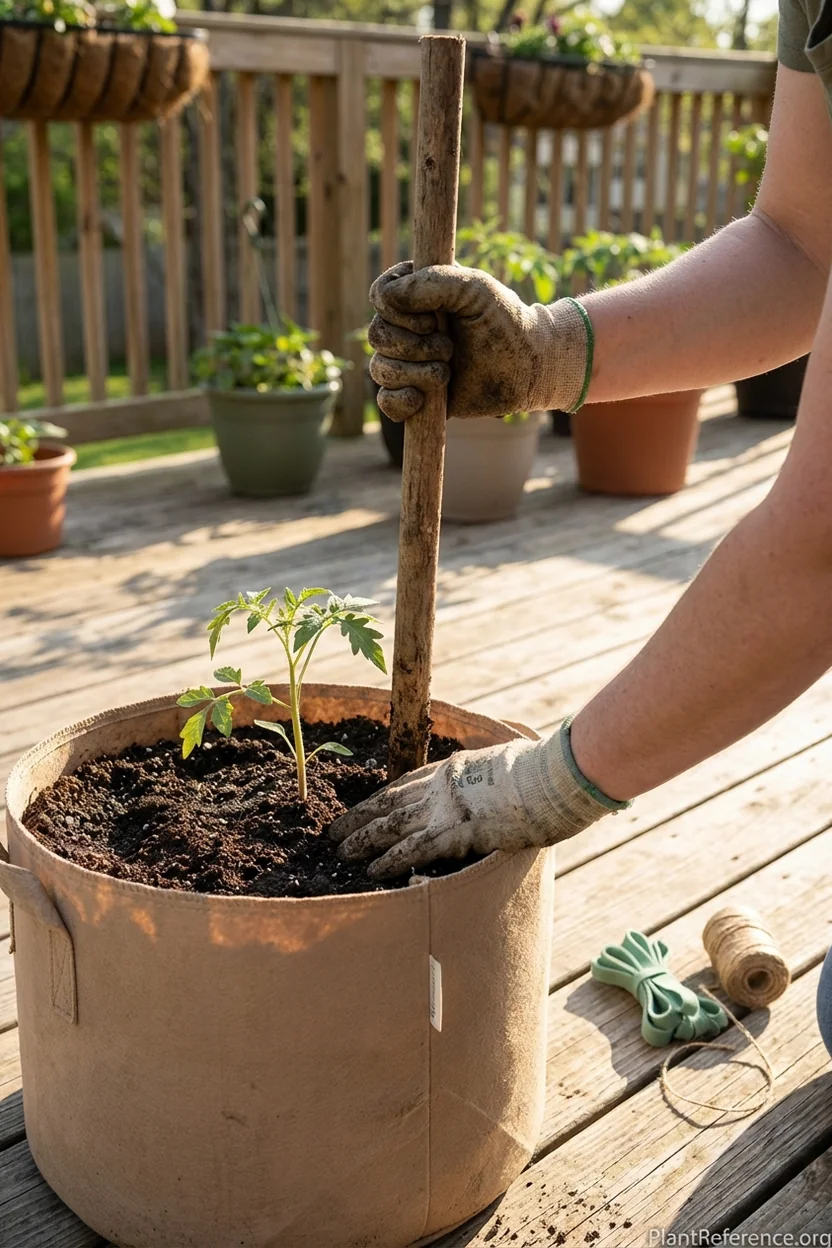
Install at planting time, not after growth begins
Push legs 6-8 inches (15-20 cm) deep into soil
Add 20 pounds (9 kg) of gravel in container bottom for ballast
Position cage slightly off-center toward prevailing wind direction
The square design distributes weight more evenly than round cages, and the 5-foot height accommodates most indeterminate varieties through peak season. I've successfully supported plants producing 15-20 pounds (6.8-9 kg) of fruit with this system.
Method 2: Adjustable Cage Systems (Best for Unknown Varieties)
When starting with unfamiliar varieties or saved seeds, the K-Brands Adjustable Tomato Cage provides flexibility. This system expands from 14-22 inches (35-55 cm) diameter and adjusts height as plants grow.
Key advantages include:
Adapts to plant's actual size rather than expected size
Works for both determinate and indeterminate types
Heavy-gauge wire construction handles wind loads
Expands diameter as fruit loads increase
Stores compactly when not in use
I use these for mystery varieties from seed swaps or when trying new cultivars. The adjustability prevents over-caging small determinates or under-supporting vigorous indeterminates.
Method 3: Single Stake with Ties (Best for Determinate Varieties)
Compact determinates like 'Patio Princess' 🌿Solanum lycopersicum 'Patio Princess' and 'Bush Early Girl' 🌿Solanum lycopersicum 'Bush Early Girl' work well with single-stake support. Use 1-inch (2.5 cm) diameter wooden or metal stakes, 4-5 feet (120-150 cm) tall.
Proper installation technique:
Drive stake 12 inches (30 cm) deep into container
Position 2 inches (5 cm) from main stem at planting
Use soft ties every 8-10 inches (20-25 cm) of growth
Tie in figure-8 pattern to prevent stem damage
Replace ties monthly as stems thicken
This method works because determinate varieties stop growing at predetermined heights (usually 3-4 feet/90-120 cm) and don't require the extensive framework that indeterminates need.
Method 4: Trellis Wall Systems (Best for Small Spaces)
For narrow balconies or patios where round cages don't fit, vertical trellis systems maximize growing space. I use a 6-foot (180 cm) tall wire mesh panel attached to deck railings or walls.
Space-saving benefits:
Requires only 8-12 inch (20-30 cm) depth from wall
Supports multiple plants in linear arrangement
Excellent for cherry tomato varieties
Easy to add weather protection (clear panels in spring)
Creates living privacy screen
The key is training plants early and consistently. I prune to 2-3 main stems and weave them through the mesh weekly during peak growth.
Method 5: Weighted Cage with Guy Wires (Best for Windy Locations)
Balcony gardeners dealing with consistent wind need extra stability. I've developed a system combining heavy cages with guy wire anchoring that handles 30+ mph (48+ km/h) winds.
Wind-resistant installation:
Use heaviest possible container (minimum 20 gallons/76 liters)
Add 40 pounds (18 kg) of sand/gravel in container bottom
Install guy wires at 3-foot (90 cm) height
Anchor wires to deck cleats or wall attachments
Use elastic guy wire materials to allow plant movement
This system saved my plants during a severe thunderstorm that knocked over every unsecured container on neighboring balconies.
Installation Timing: Why At-Planting Matters
The biggest mistake I see container gardeners make is waiting until plants need support before installing it. By the time a tomato plant shows signs of leaning or struggling, the root system has already developed around the empty space where your stake should go.
Installing support at transplant time provides three critical advantages:
Undisturbed Root Development: Tomato roots grow rapidly in the first 2-3 weeks after transplanting. Adding stakes later means cutting through established feeder roots, which stress the plant and reduce fruit production.
Proper Plant Training: Young plants adapt their growth patterns to available support. Plants staked early develop stronger main stems and better branch angles than those supported after establishing their natural growth habit.
Container Stability: Empty containers are easier to handle and modify. Adding heavy stakes or cages to established plantings often requires moving or disturbing the entire setup.
I learned this lesson when I tried to add a cage to a 4-foot (120 cm) tall 'Black Krim' 🌿Solanum lycopersicum 'Black Krim' in mid-June. Despite careful installation, I severed major roots and lost 30% of the developing fruit to plant stress.
Choosing Stakes by Tomato Type
Determinate varieties (also called "bush tomatoes") have predictable growth patterns that make staking straightforward. These varieties stop growing at genetically predetermined heights, usually 2-4 feet (60-120 cm), and produce most of their fruit within a 3-week window.
Best staking options for determinates:
Single wooden stakes 4-5 feet (120-150 cm) tall
Compact cages 3-4 feet (90-120 cm) maximum height
Wall-mounted bracket systems for space-saving
Weighted stakes driven deep for wind resistance
Indeterminate varieties continue growing until frost or disease stops them. Without pruning, they can reach 8-12 feet (240-360 cm) in ideal conditions. These vigorous growers need substantial support systems.
Indeterminate staking requirements:
Heavy-duty cages minimum 5-6 feet (150-180 cm) tall
Multiple stake systems with horizontal supports
Trellis systems anchored to permanent structures
Guy wire stabilization for wind protection
The variety Best Tomato Varieties for Containers makes a significant difference in your staking strategy. Compact determinates like 'Patio' 🌿Solanum lycopersicum 'Patio' need minimal support, while vigorous indeterminates like 'Cherokee Purple' require engineering-level planning.
Container Stability and Weight Distribution
Container tipping is the nemesis of successful container tomato growing. I've calculated that a mature indeterminate tomato with full fruit load creates approximately 15-20 pounds (6.8-9 kg) of above-ground weight, all concentrated 3-6 feet (90-180 cm) above the container base.
Weight Distribution Strategy:
The most effective approach distributes weight both horizontally and vertically. I add 20-30 pounds (9-14 kg) of coarse gravel or sand to the bottom 4-6 inches (10-15 cm) of large containers before adding potting soil. This ballast lowers the center of gravity significantly.
For 15-gallon (57-liter) containers, the ideal weight distribution is:
25 pounds (11 kg) ballast in bottom layer
35 pounds (16 kg) potting soil
8-12 pounds (3.6-5.4 kg) mature plant with support structure
Total weight: 70-75 pounds (32-34 kg) when properly watered
Container Shape Considerations:
Wide, short containers provide better stability than tall, narrow ones. I prefer containers with 18-24 inch (45-60 cm) diameter and 16-18 inch (40-45 cm) depth over taller designs. The wider footprint dramatically improves wind resistance.
Ballast Materials:
I've tested various ballast materials for effectiveness:
Pea gravel: Best drainage, moderate weight
Sand: Maximum weight, potential drainage issues
Broken pottery: Free drainage, irregular shapes lock together
Brick chips: Heavy, excellent drainage, sometimes available free
Never use regular potting soil as ballast—it's too light and provides no stability benefit.
Common Staking Mistakes That Lead to Plant Failure
Through eight seasons of container growing, I've made every possible staking mistake. Here are the most common failures and how to avoid them:
Mistake 1: Using Ground Garden Stakes in Containers
Standard 6-foot (180 cm) wooden stakes work fine in garden soil but become top-heavy in containers. The shallow soil depth (12-18 inches/30-45 cm) can't provide adequate anchoring for tall stakes.
Solution: Use stakes no taller than 4-5 feet (120-150 cm) in containers, or switch to cage systems for tall varieties.
Mistake 2: Installing Lightweight Wire Cages
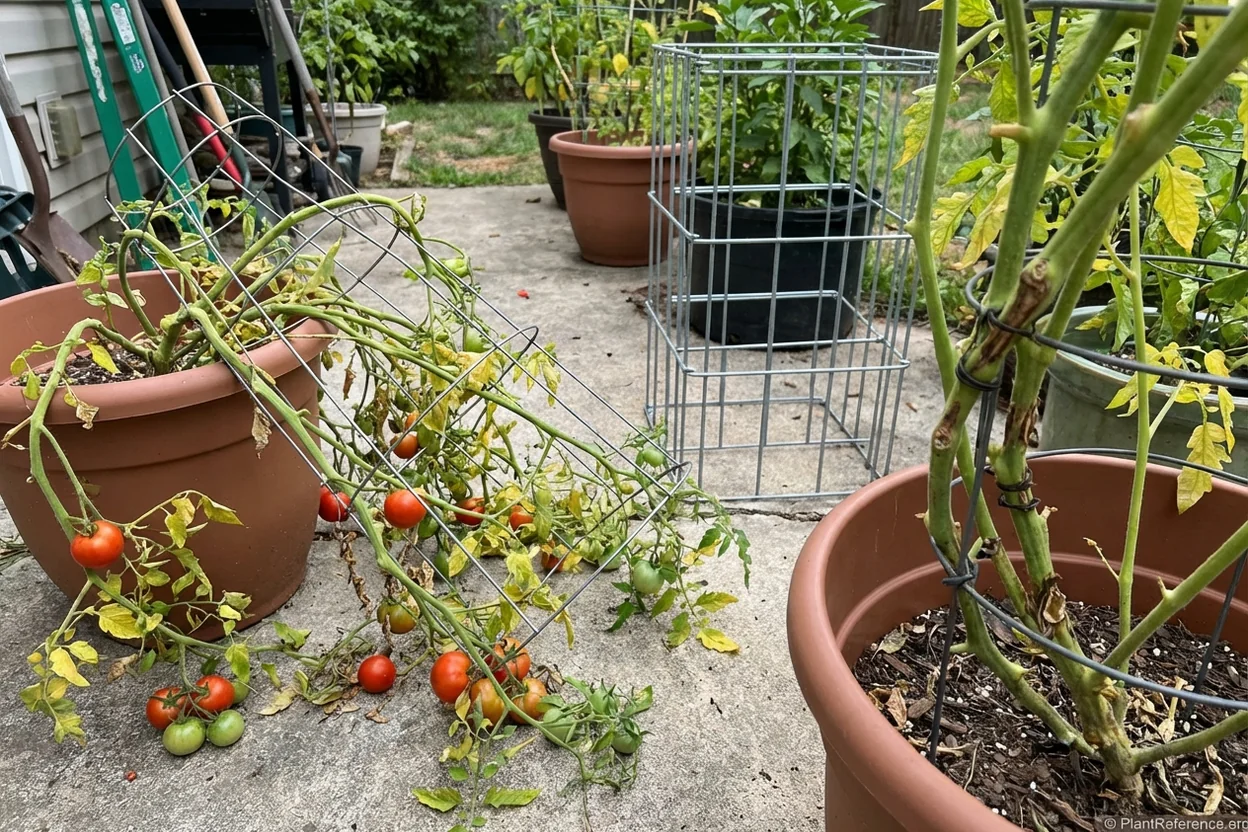
Those cheap, conical wire cages from garden centers collapse under the first significant fruit load. I watched three seasons of tomatoes destroy these flimsy supports before learning my lesson.
Solution: Invest in heavy-duty galvanized cages or build custom supports from concrete reinforcing wire.
Mistake 3: Tying Too Tightly
Tomato stems expand significantly as they mature. Ties that fit properly in May become plant-strangling tourniquets by July. I've lost entire branches to overly tight ties.
Solution: Check and loosen ties monthly, use soft materials (never wire), and tie in figure-8 patterns that allow expansion.
Mistake 4: Inadequate Container Drainage
Poor drainage creates waterlogged soil that provides even less plant stability. Wet, heavy soil shifts and settles, destabilizing stake installations.
Solution: Ensure containers have adequate drainage holes, add gravel layers, and monitor soil moisture with a soil moisture meter.
Troubleshooting Staking Problems Mid-Season
Despite best planning, staking problems sometimes develop during the growing season. Here's how to address the most common mid-season issues:
Leaning Plants in July-August
Symptoms: Previously upright plants developing 15-30 degree leans, usually toward heaviest fruit clusters.
Immediate fixes:
Add guy wires from upper cage levels to container edges
Redistribute fruit load by harvesting largest tomatoes early
Prune excessive foliage to reduce wind resistance
Add temporary stakes on the lean side for support
Container Tipping in Wind
Symptoms: Entire containers tipping over in moderate winds (15-20 mph/24-32 km/h).
Emergency stabilization:
Move containers to more sheltered locations immediately
Add 20-30 pounds (9-14 kg) of sand bags around container base
Install temporary guy wires to fixed anchors
Group containers together for mutual wind protection
Support Structure Failure
Symptoms: Stakes breaking, cages collapsing, or ties failing under fruit load.
Salvage operations:
Install emergency backup stakes alongside failed supports
Harvest all mature fruit to reduce plant load immediately
Prune plant by 30-40% to reduce weight and wind resistance
Tie damaged branches to new supports with soft materials
The key to successful mid-season problem solving is acting quickly. Tomato plants can recover from support problems if addressed within 24-48 hours, but delayed action often results in permanent damage.
Understanding Container Size Matters: The Ultimate Guide to Choosing the Perfect Pot for Tomatoes helps prevent many staking problems before they start. Proper container sizing provides the foundation for stable support systems.
For container gardeners dealing with multiple challenges, The Complete Guide to Growing Tomatoes in Containers provides comprehensive solutions that integrate staking with overall plant care strategies.
Frequently Asked Questions
Reading about plants and recognising them are different skills. These three build the second.
- Daily PlantIdentify the day’s mystery plant from a close-up photograph.
- Keyed OutWork a dichotomous key, lead by lead, to name a hidden specimen.
- Name That PlantName a specimen from botanical clues dealt hardest first.
Free to play, no account needed
Linda's been growing tomatoes in containers on her suburban Pittsburgh balcony—ever since her kids grew up and she finally had time for hobbies again. She's a medical billing specialist by day and a tomato enthusiast by night and weekend. Linda started documenting her container growing experiments on a simple blog and discovered other renters and condo dwellers were desperate for practical advice. She tests different varieties every season, tracking yields, disease resistance, and flavor in a detailed spreadsheet. Linda's approach is practical and budget-conscious—she saves seeds, reuses containers, and makes her own fertilizer from kitchen scraps. Her specialty is maximizing production in small spaces, and she's perfected the art of growing full-size tomatoes in 5-gallon buckets. She's a Pennsylvania Master Gardener and teaches container growing workshops at her local library.