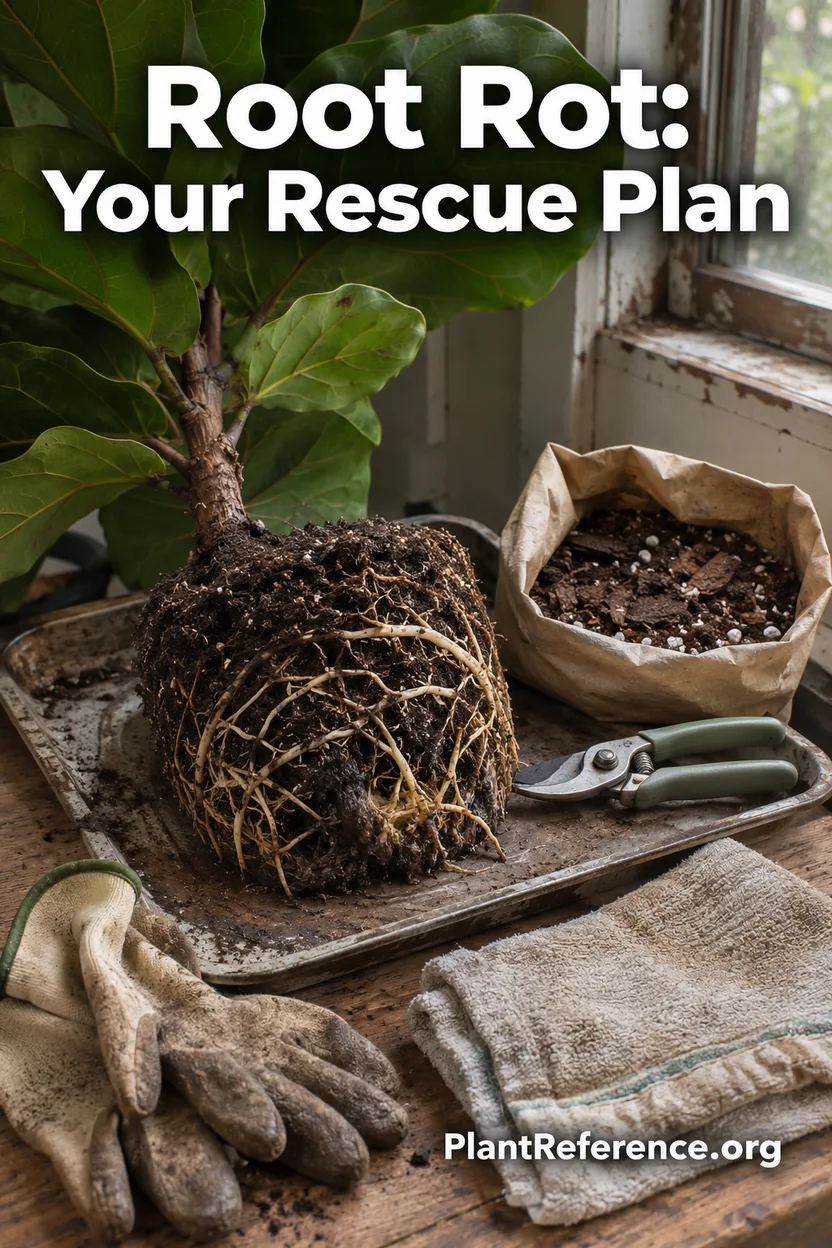
Fiddle Leaf Fig Root Rot: How to Save Your Plant
— Image © PlantReference.org 2026
Pets & Toxicity
Recorded toxicity for plants linked in this guide. An unknown status is not a safety assessment.
Toxic to pets: fiddle leaf figDetailsHide
Fiddle leaf fig root rot can feel like an emergency, especially when leaves are dropping and the soil still looks wet. The useful first move is to inspect, not to buy several treatments. Your fiddle leaf fig 🌿Ficus lyrata (FYE-kus lye-RAY-tuh) needs functioning roots and a root zone that does not stay waterlogged.
Confirm Fiddle Leaf Fig Root Rot Before Treating
Dark leaf patches, yellowing, and drooping can accompany root problems, but they also occur for other reasons. A brown spot cannot tell you which organism is present or whether roots are rotting. Combine leaf symptoms with moisture history and root condition.
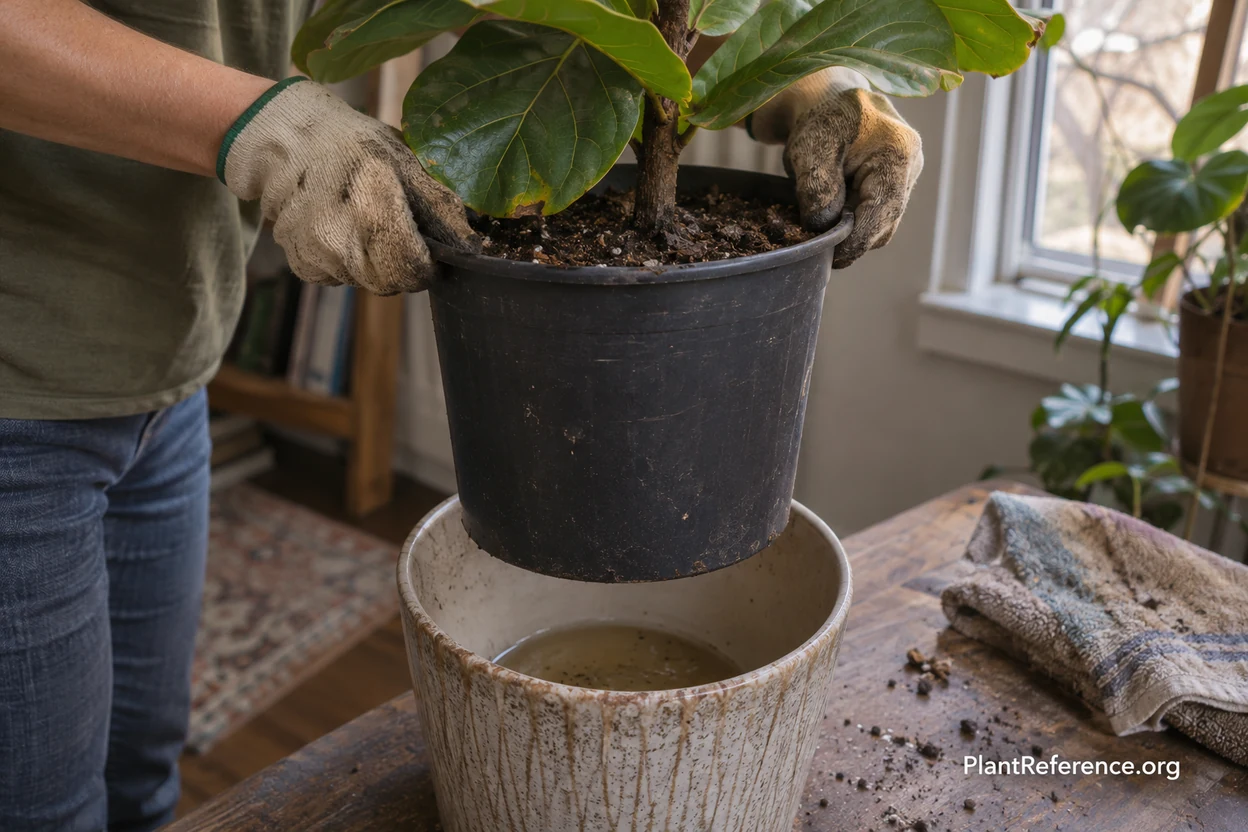
Check the upper 2–3 inches (5–8 cm) of mix and deeper moisture. Look inside any decorative outer pot for trapped runoff. If the root ball remains wet while the plant declines, a careful root inspection is justified.
Empty standing water and confirm that the inner pot has open drainage holes.
Record when you last watered and whether the mix has been drying.
Photograph the foliage so you can distinguish old damage from new damage later.
Inspect roots if wetness and decline persist together.
If roots are firm and the mix is not persistently wet, investigate alternatives in Brown Spots on Fiddle Leaf Fig: 7 Causes + Solutions and Fiddle Leaf Fig Yellow Leaves: Complete Troubleshooting. Do not perform root surgery simply because a leaf looks unattractive.
Prepare a Small, Clean Rescue Workspace
You do not need a dedicated potting bench. Protect a table or floor with a washable tray, gather fresh potting mix, and set out a clean container with drainage holes. Have clean, sharp pruning tools ready before exposing the roots.
Wear gloves when cutting because the milky sap can irritate skin. Keep tools, discarded roots, and the plant away from children and pets. Avoid working over food-preparation surfaces unless you can clean the area thoroughly afterward.
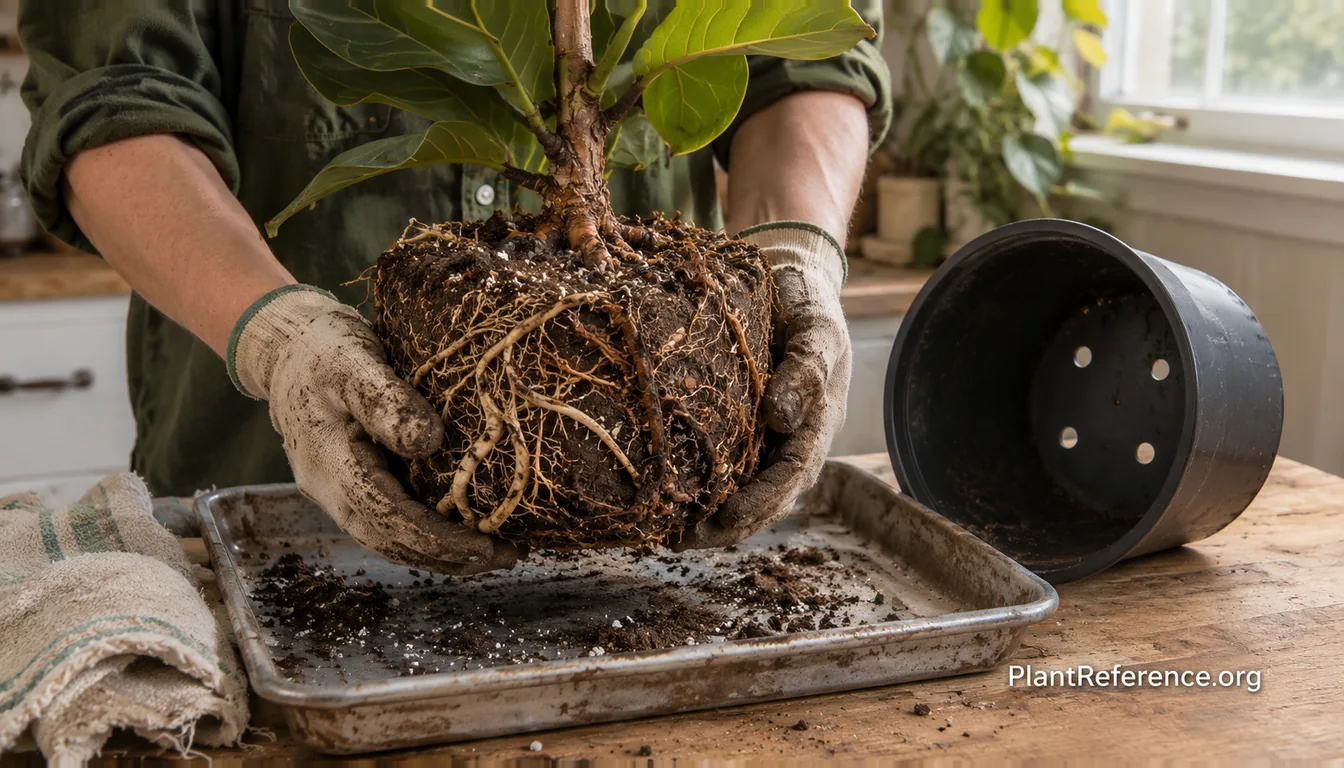
Remove the plant gently, supporting the root ball rather than pulling on the trunk. Loosen a flexible nursery pot if necessary. If the plant is heavy, get help instead of trying to balance it while cutting. Set the root ball down immediately so exposed roots are not hanging unsupported.
Remove Decayed Roots Without Stripping Healthy Tissue
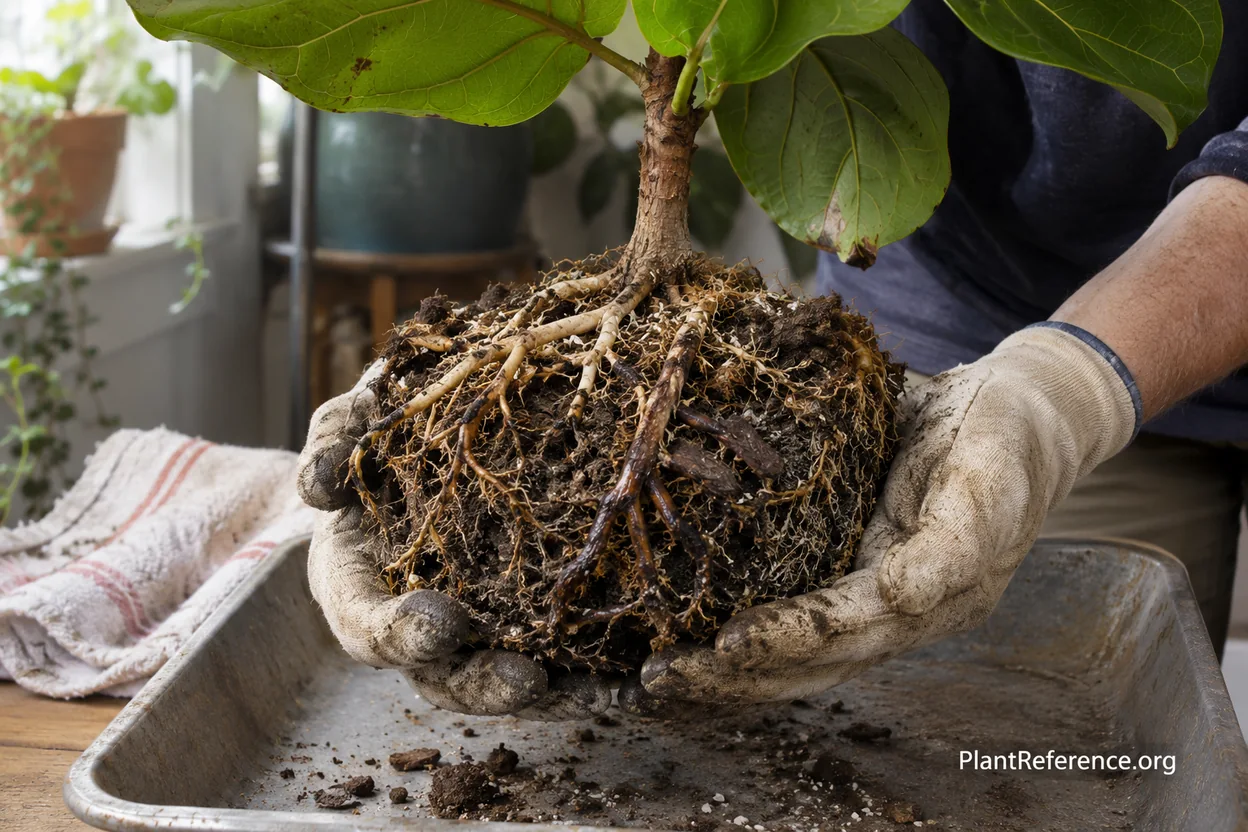
Gently remove loose, soggy mix so you can examine the roots. Rinse away remaining obstructive soil carefully when needed; do not scrub or tug fragile roots clean for appearance alone. Firm roots are worth preserving even when their color is not bright white.
Rotten roots may feel mushy, collapse under gentle handling, or lose their outer tissue. Texture matters more than darkness by itself. Trim clearly deteriorated portions back to firm tissue using clean tools. Clean the tools as you work and after handling diseased material.
Avoid turning this into a routine root-pruning session. The plant already has a reduced ability to take up water, and removing extra healthy roots adds stress. Discard the old affected mix and decayed tissue rather than putting them into another houseplant container.
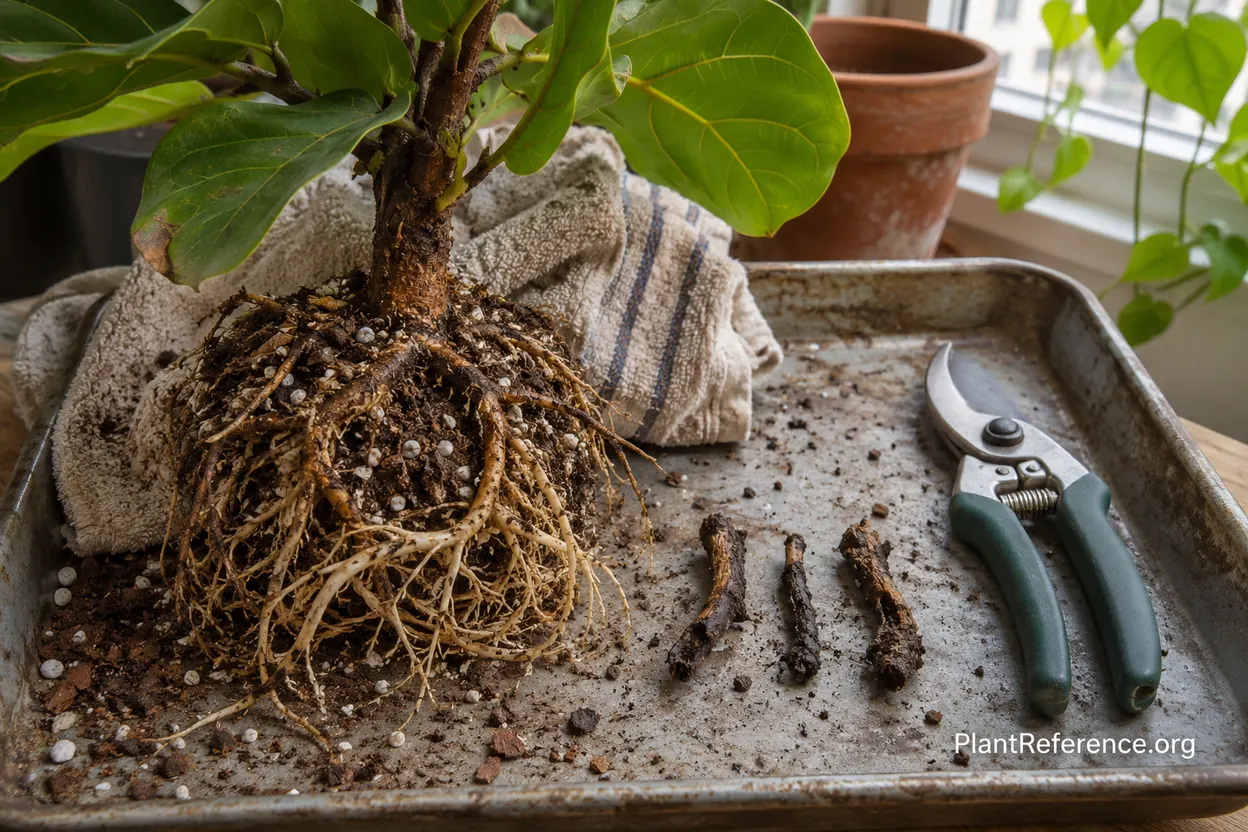
Assess the stem base too. Widespread softening there, or very little healthy root tissue remaining, makes recovery less likely. A plant clinic or qualified horticultural adviser can help assess extensive decay. Do not promise yourself that every plant can be saved with a particular product.
Avoid automatically adding peroxide, rooting hormone, or a fungicide. These are not substitutes for diagnosis and drainage. A disease-specific product needs an appropriate diagnosis and label directions; an unidentified root problem is not a reason to combine treatments.
Repot for the Roots That Remain
Choose the container after trimming, not before. A root system reduced by rot may need a smaller pot than it occupied previously. Excess unused mix around a small root system can remain wet for too long.
Use fresh, well-draining potting mix with a balance of moisture retention and coarse structure. A prepared blend containing ingredients such as perlite and bark can be convenient, but no bagged mix makes overwatering impossible. Compare supported options in Best Soil for Fiddle Leaf Fig (Tested & Compared).
Keep the plant at its previous planting depth rather than burying the trunk. Settle fresh mix around the remaining roots without packing it into a dense mass. The container must let runoff escape; a decorative cover is fine only when you can remove trapped water easily.
For handling and container selection, see How to Repot a Fiddle Leaf Fig (Step-by-Step Guide) and 7 Best Pots for Fiddle Leaf Fig (2026 Reviews).
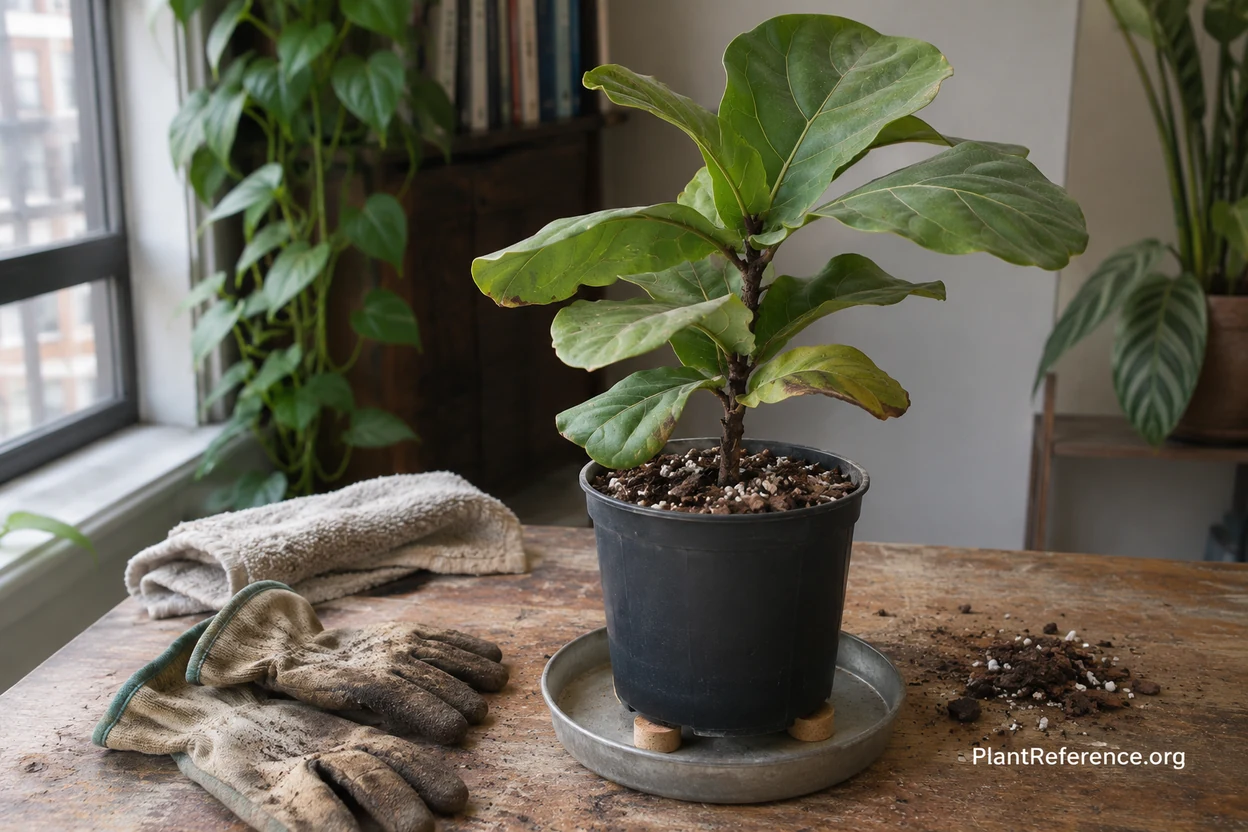
Check the moisture of the new mix rather than following a fixed post-rescue waiting period. Dry mix needs gentle, even wetting around roots followed by complete drainage; already moist mix does not need an automatic additional soaking. Never leave the rescued plant standing in runoff.
Give Recovery Stable Light and Measured Watering
Return the plant to bright indirect light. A dark corner will not help a wet root zone recover, but an abrupt move into intense sun can add leaf damage. Keep the location steady and increase stronger exposure gradually if needed.
Aim for a comfortable indoor temperature around 65–75°F (18–24°C), away from heating blasts and cold drafts. Where practical, humidity around 40–60% supports indoor care without requiring constantly wet leaves. See Fiddle Leaf Fig Light Requirements: The Ultimate Guide for positioning.
Root loss changes watering needs. Check regularly, but do not water just because your old weekly reminder appears. Let the upper mix dry and confirm that deeper portions are no longer saturated before watering again. The goal is a moist-to-drying cycle, not repeated saturation or prolonged bone-dry stress.
How to Water a Fiddle Leaf Fig (Never Kill Yours Again) explains thorough watering and drainage. In a dimmer season, Fiddle Leaf Fig Winter Care (Keep Yours Thriving) helps you reassess demand rather than carrying a summer routine forward unchanged.
Do not feed damaged roots to force faster recovery. Wait until the plant is stable and showing healthy growth before reconsidering fertilizer, and account for any nutrients already supplied in the new mix. Fertilizer cannot rebuild rotten tissue.
Leave substantially green leaves in place when possible. Old brown tissue will not turn green, but removing every marked leaf can strip useful foliage from a stressed plant. Remove fully dead material carefully with clean tools.
Know Whether the Rescue Is Working
Take repeat photos under similar lighting and record moisture checks. Encouraging signs include a root zone that dries more normally, fewer newly affected leaves, and eventually healthy new growth. Existing spots alone are not evidence that rescue failed.
A few difficult days after handling do not provide a complete prognosis, and there is no dependable universal recovery deadline. The severity of damage, remaining roots, light, and season all matter. Continued spreading damage or a softening stem base warrants reassessment, not another round of unnecessary repotting.
If the original plant is unlikely to survive but has genuinely healthy stem material, How to Propagate Fiddle Leaf Fig: 3 Easy Methods (2026) describes an alternative. Avoid assuming a detached leaf can replace a viable stem cutting.
Once the plant stabilizes, return to the fundamentals in Fiddle Leaf Fig Care: The Complete Guide (2026). A draining pot, suitable mix, usable light, and moisture checks are a better prevention system than buying a rescue product after every damaged leaf.
Frequently Asked Questions
Reading about plants and recognising them are different skills. These three build the second.
- Daily PlantIdentify the day’s mystery plant from a close-up photograph.
- Keyed OutWork a dichotomous key, lead by lead, to name a hidden specimen.
- Name That PlantName a specimen from botanical clues dealt hardest first.
Free to play, no account needed
Tagged with
Jessica transformed her small Brooklyn balcony into a thriving container garden after moving to New York City. What started as a pandemic hobby turned into a plant care consulting business serving urban apartment dwellers across the city. She specializes in small-space gardening, indoor plant troubleshooting, and helping clients keep houseplants alive in less-than-ideal conditions (dim light, dry heat, tiny spaces). Jessica completed a home gardening certificate program and shares her plant wins and failures on her modest Instagram following. Her partner, Maya, jokes that their apartment is now 40% plants, 60% living space. Jessica's passionate about making plant care accessible to renters who think they don't have room to garden.