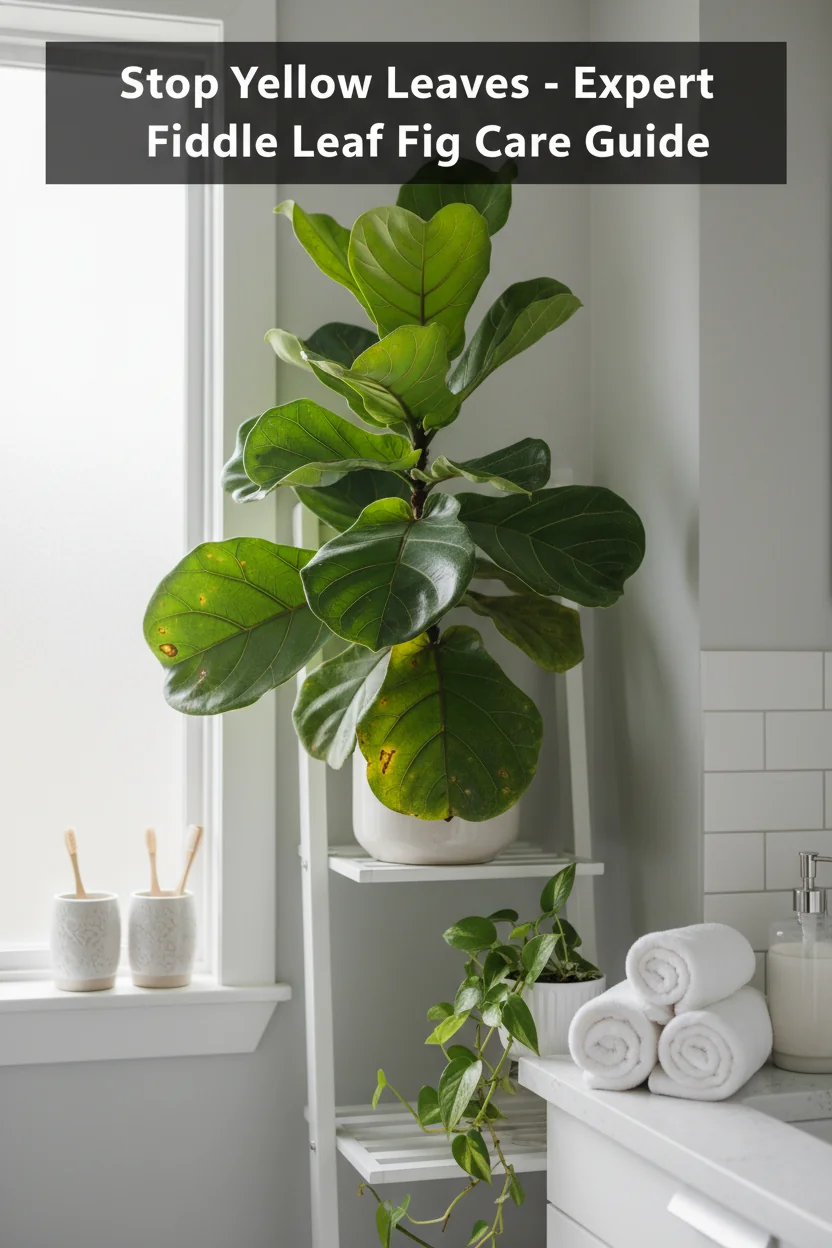
Fiddle Leaf Fig Yellow Leaves: Complete Troubleshooting
Pets & Toxicity
Recorded toxicity for plants linked in this guide. An unknown status is not a safety assessment.
Toxic to pets: fiddle leaf figDetailsHide
— Image © Plant Reference 2026
Let's be honest—yellow leaves on your fiddle leaf fig 🌿Ficus lyrata (FYE-kus lye-RAY-tuh) are terrifying. I've seen people panic and overreact, which usually makes things worse. But here's the truth: yellow leaves are your plant signaling that something needs checking. You just need to listen to what it's saying.
Yellow leaves aren't random. Common causes include overwatering, insufficient light, or nutrient deficiency, but underwatering, temperature stress, pests, excess fertilizer, and natural aging can also be responsible. The key is figuring out which one is affecting your plant, because the fix for overwatering is completely different from the fix for light issues.
Why Fiddle Leaf Fig Leaves Turn Yellow
Yellow leaves happen when chlorophyll—the green pigment that captures light energy—breaks down faster than the plant can replace it. This breakdown occurs when something disrupts the plant's normal photosynthesis process.
In the wild, fiddle leaf figs grow into large trees in tropical western and central Africa, with access to light and well-drained soil. When we bring them indoors and mess up those conditions, the plant responds by shutting down underperforming leaves to redirect resources elsewhere.
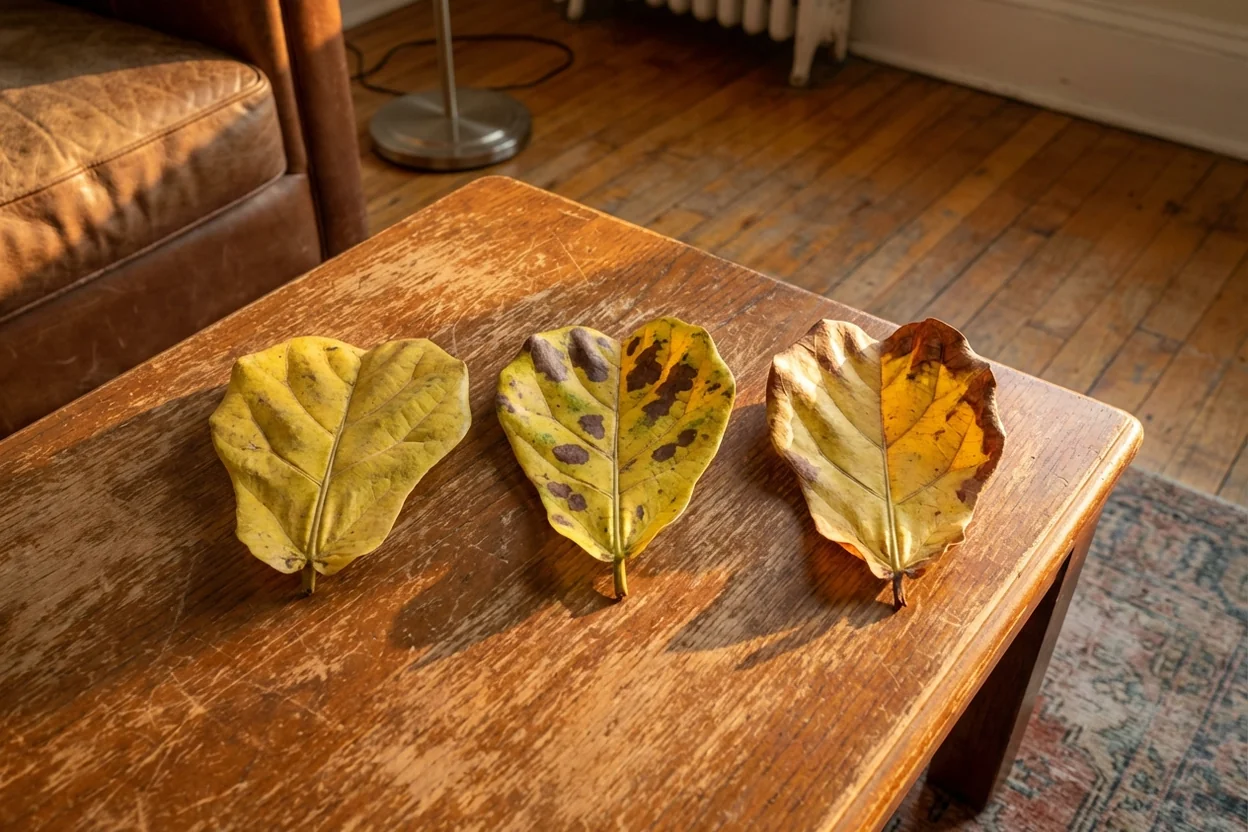
The yellowing pattern offers possibilities, not proof. Lower leaves yellowing first? Possibly overwatering or natural aging. Overall dull yellowing across the whole plant? Possibly insufficient light. Yellowing with crispy brown edges? Nutrient deficiency or underwatering are among the possibilities.
Understanding this helps you avoid the biggest mistake: treating the symptom instead of the cause. Removing yellow leaves doesn't solve anything if you don't fix what's causing them to turn yellow in the first place.
The Three Main Causes (And How to Tell Them Apart)
Here's your quick diagnostic checklist before we dive into each cause. These are three common checks, not the only causes; symptoms overlap:
Overwatering symptoms:
Yellow leaves with dark brown or black spots in the center
Soil remains soggy and poorly aerated between waterings
Musty smell from soil
Leaves may feel soft or limp
May affect lower leaves first
Insufficient light symptoms:
Overall dull, pale yellowing across entire plant
New growth comes in smaller than old leaves
Slower growth rate or no growth at all
Plant leans heavily toward light source
May affect leaves gradually, including older lower leaves
Nutrient deficiency symptoms:
Yellowing with crispy brown edges that curl
Older or newer leaves affected first, depending on the deficient nutrient
Veins may remain green while leaf tissue yellows (interveinal chlorosis)
Growth is slow despite adequate light and water
May appear during active growth if the potting mix lacks nutrients
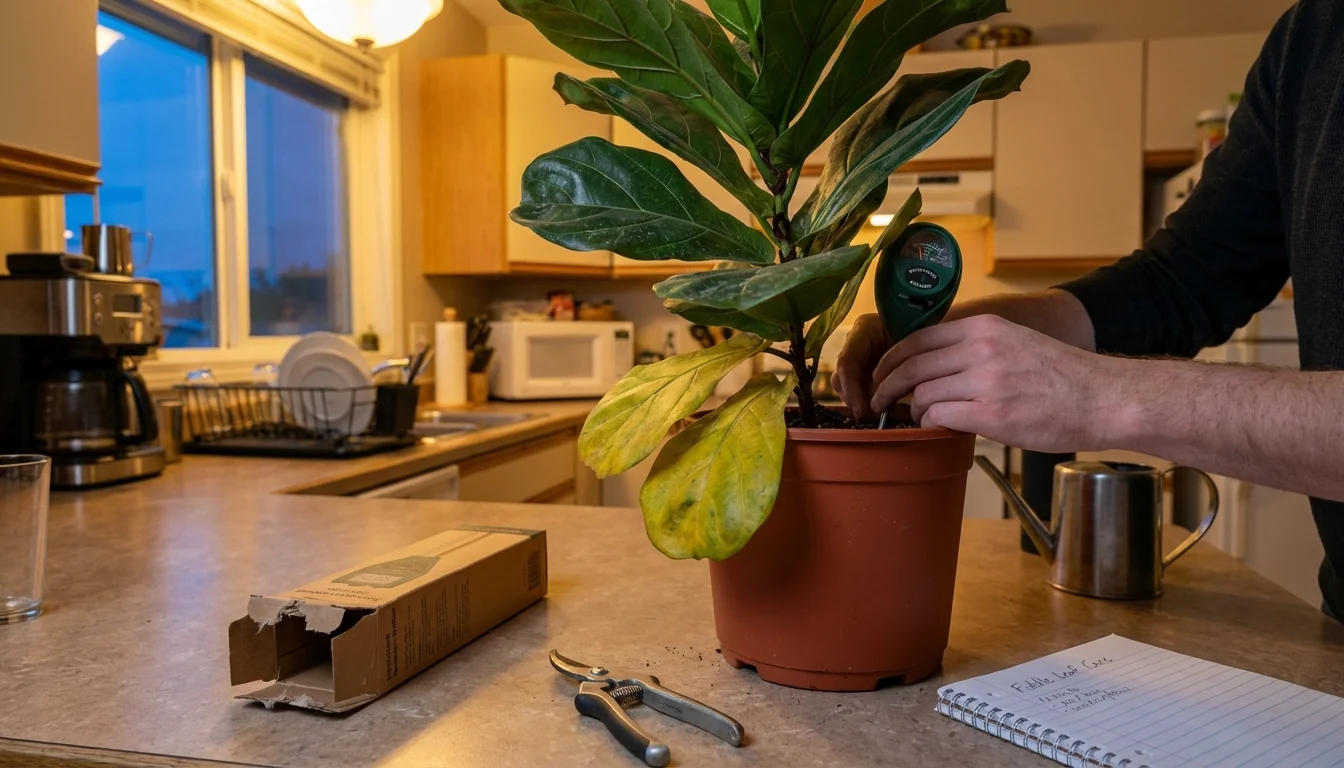
Check your soil moisture first. That's always step one. Stick your finger 2-3 inches (5-8 cm) into the soil. Persistent sogginess suggests overwatering; slight dampness alone is normal. If it's dry at that depth, check whether the root ball needs watering. If it's barely moist, move to the next diagnostic step.
For more comprehensive care guidance, check out Fiddle Leaf Fig Care: The Complete Guide (2025) which covers all the fundamentals.
Overwatering: The #1 Yellow Leaf Culprit
Overwatering is a common first check, not a proven universal #1. Frequent watering or poor drainage can leave soil wet too long.
When soil stays saturated, roots can't access oxygen. Root cells may die; wet conditions favor root-rot pathogens. The plant responds by shutting down leaves it can no longer support. Yellow leaves and spots alone do not diagnose root rot.
Here's how to fix overwatering:
Stop watering immediately—let the top 2-3 inches (5-8 cm) dry without drying the entire root ball
Check for drainage holes in your pot (if there aren't any, repot now)
Remove the plant from the pot and inspect roots
Healthy roots are white or tan and firm; rotted roots are soft or mushy, often brown or black
Trim away any mushy roots with clean, disinfected pruning shears; wear gloves and avoid sap contact, as the sap can irritate skin
Repot in fresh, well-draining soil if root rot is present; use a clean drainage pot suited to the surviving roots. Severe decay may be beyond saving
Don't water again until the top 2-3 inches (5-8 cm) of soil are completely dry; after repotting, first water the new mix through and drain
If you caught it early and roots look healthy, just adjust your watering schedule. Water only when the top 2-3 inches (5-8 cm) of soil are dry. That might be every 7-10 days during summer and every 14-21 days during winter, but check moisture rather than following these intervals.
For detailed watering protocols, see How to Water a Fiddle Leaf Fig (Never Kill Yours Again).
Insufficient Light: The Sneaky Slower Killer
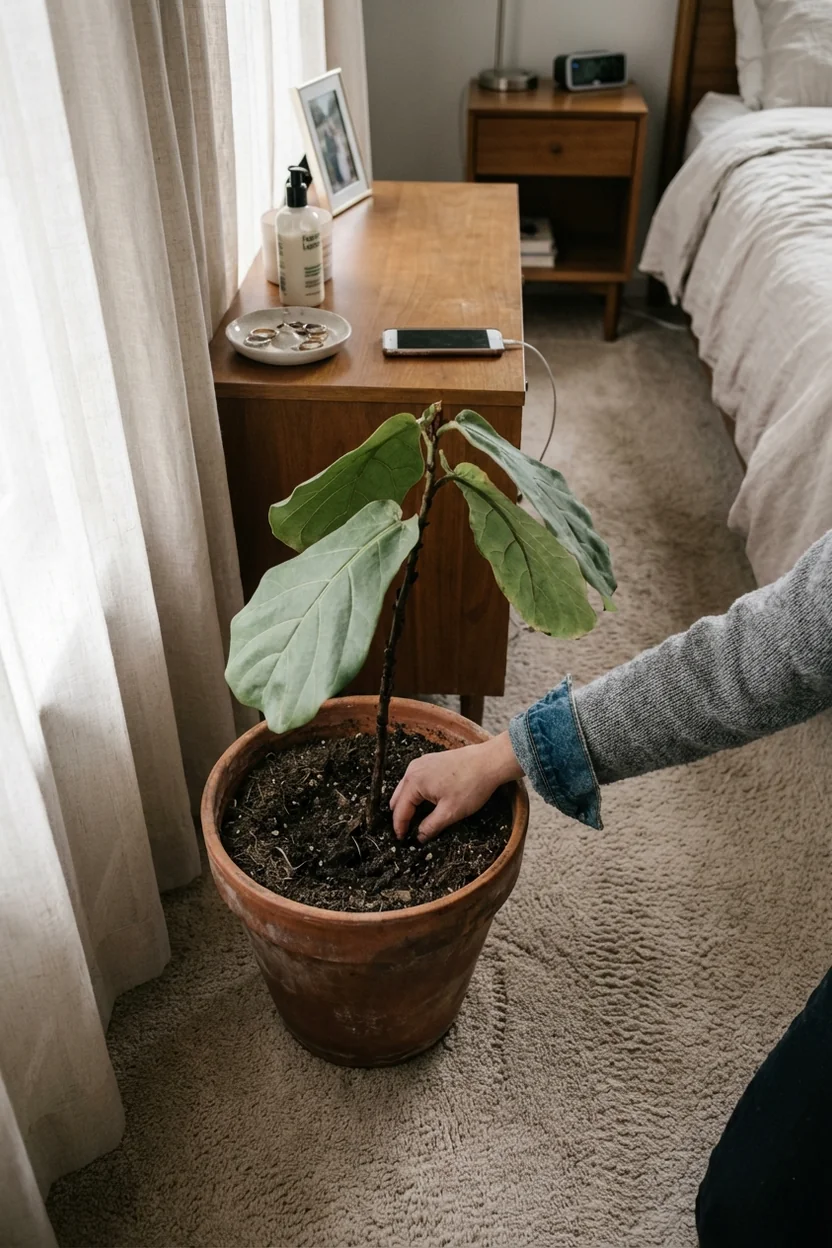
Light problems develop slowly, which is why people miss them. Your fiddle leaf fig doesn't suddenly collapse—it just gradually gets weaker and yellower over months.
Fiddle leaf figs need bright indirect light daily. Try within 3-5 feet (90-150 cm) of a window. Distance and duration alone do not establish adequacy; assess actual brightness, obstructions and direct-sun exposure.
The plant responds by breaking down chlorophyll in older leaves to redirect resources to new growth closer to the light source. You'll see overall dull yellowing, smaller new leaves, and slow or stopped growth.
How to fix insufficient light:
Move the plant closer to a window—try within 2-3 feet (60-90 cm), then assess brightness and scorch
East or west-facing windows can work well; obstructions and harsh direct sun matter
In the Northern Hemisphere, unobstructed south-facing windows generally provide the most light but may need sheer curtains
If you can't move the plant, add a grow light
Rotate the pot 1/4 turn weekly so all sides receive equal light
Clean the leaves monthly to maximize light absorption
Don't expect overnight improvement. There is no fixed time to see new healthy growth after increasing light. Dead or aging yellow leaves won't turn green again—but new growth should come in healthy and vibrant green.
For comprehensive information on optimal light placement, read Fiddle Leaf Fig Light Requirements: The Ultimate Guide.
Nutrient Deficiency: When Your Plant is Starving
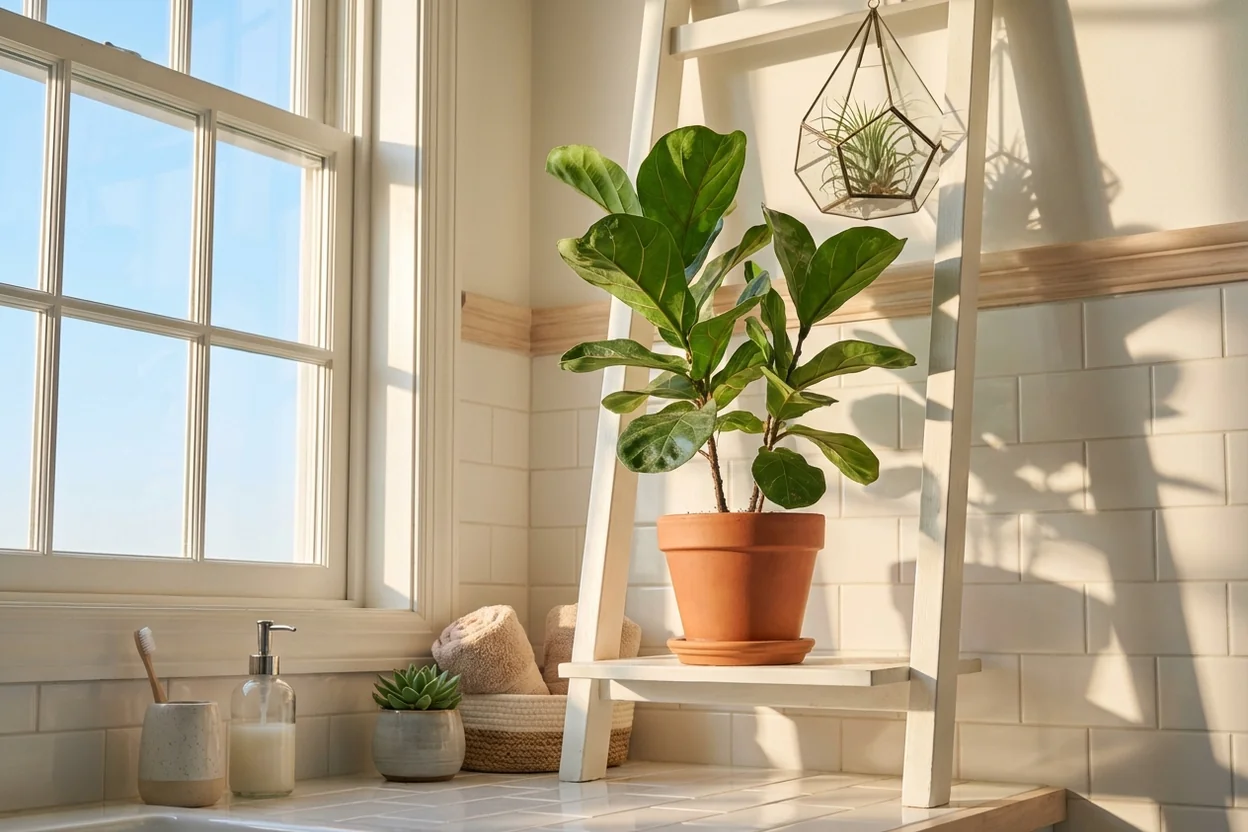
If your soil moisture is correct and your light is adequate but you're still seeing yellow leaves with crispy brown edges, nutrient deficiency is possible, but also check salts, roots, pests and dry air. Nutrient demand often increases during spring and summer when the plant is actively growing.
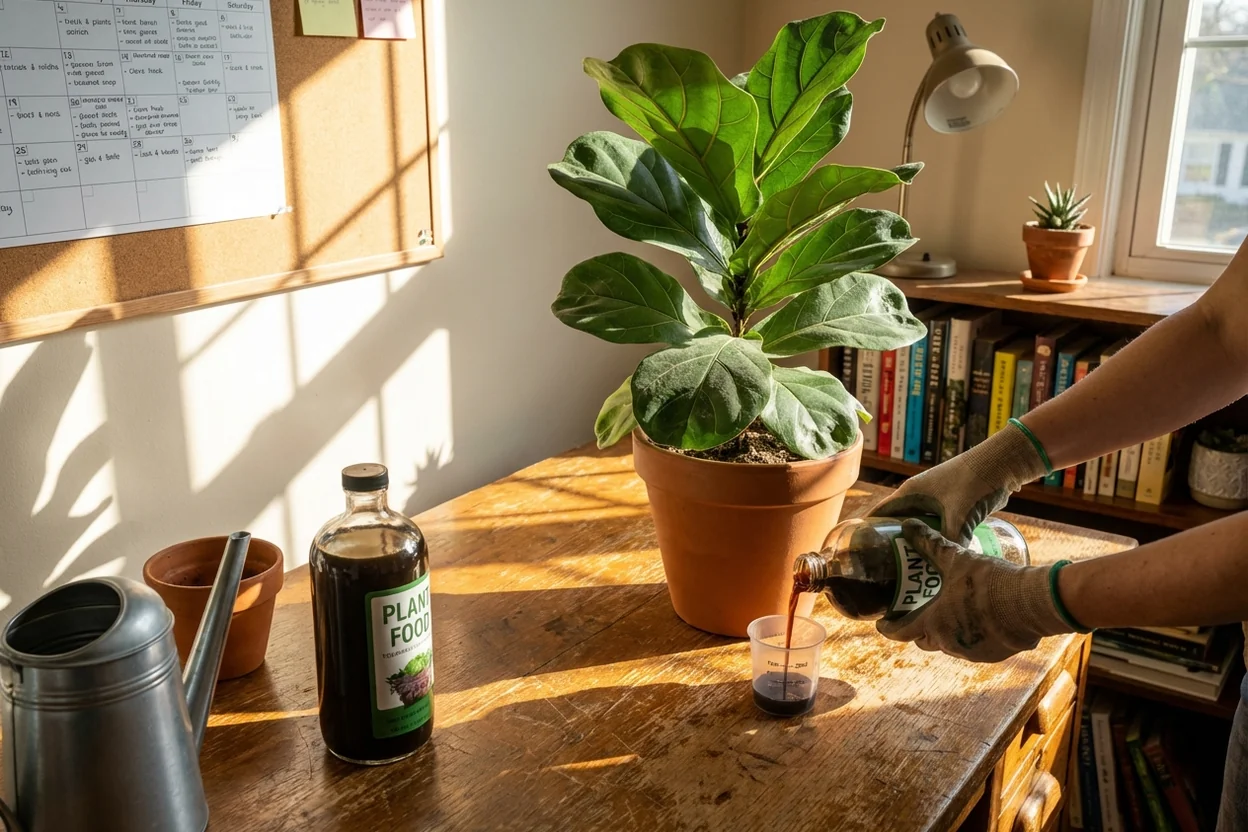
Fiddle leaf figs need nutrients during active growth, but existing fertilizer and plant growth determine when more is needed. Deficiency symptoms vary by nutrient; crispy edges alone are not diagnostic.
How to fix nutrient deficiency:
If deficiency is likely, start fertilizing with a suitable liquid fertilizer
Use a 3-1-2 NPK ratio specifically formulated for fiddle leaf figs
Apply every 2 weeks at half strength, or monthly at full strength only if allowed by the product label
Only fertilize during active growth, often spring and summer
Do not fertilize when growth is inactive, often in fall or winter
Flush the soil every 3-4 months to prevent salt buildup; allow all water to drain away
Improvement takes a variable time. New healthy leaves are encouraging; dead or aging leaves will not recover, but some nutrient-related chlorosis can improve.
For soil and nutrition fundamentals, see Best Soil for Fiddle Leaf Fig (Tested & Compared).
What About Natural Leaf Drop?
Here's something nobody tells you: fiddle leaf figs naturally drop older lower leaves; there is no fixed annual number. That's normal. Those lower leaves are old, shaded by upper growth, and no longer efficient at photosynthesis. The plant sheds them to redirect resources to more productive upper leaves.
Natural leaf drop may involve an older lower leaf yellowing gradually, then dropping. No fixed timing, leaf count or absence of brown edges proves natural aging.
If you're losing multiple leaves simultaneously, or if yellowing is spreading rapidly through the plant, that's a problem requiring intervention. But if one lower leaf yellows and drops every few months? That's just your plant doing what it's supposed to do.
Don't panic over natural aging. Focus on the overall health of the plant—strong trunk, vibrant new growth, and consistent leaf production during growing season.
Step-by-Step Diagnosis Process
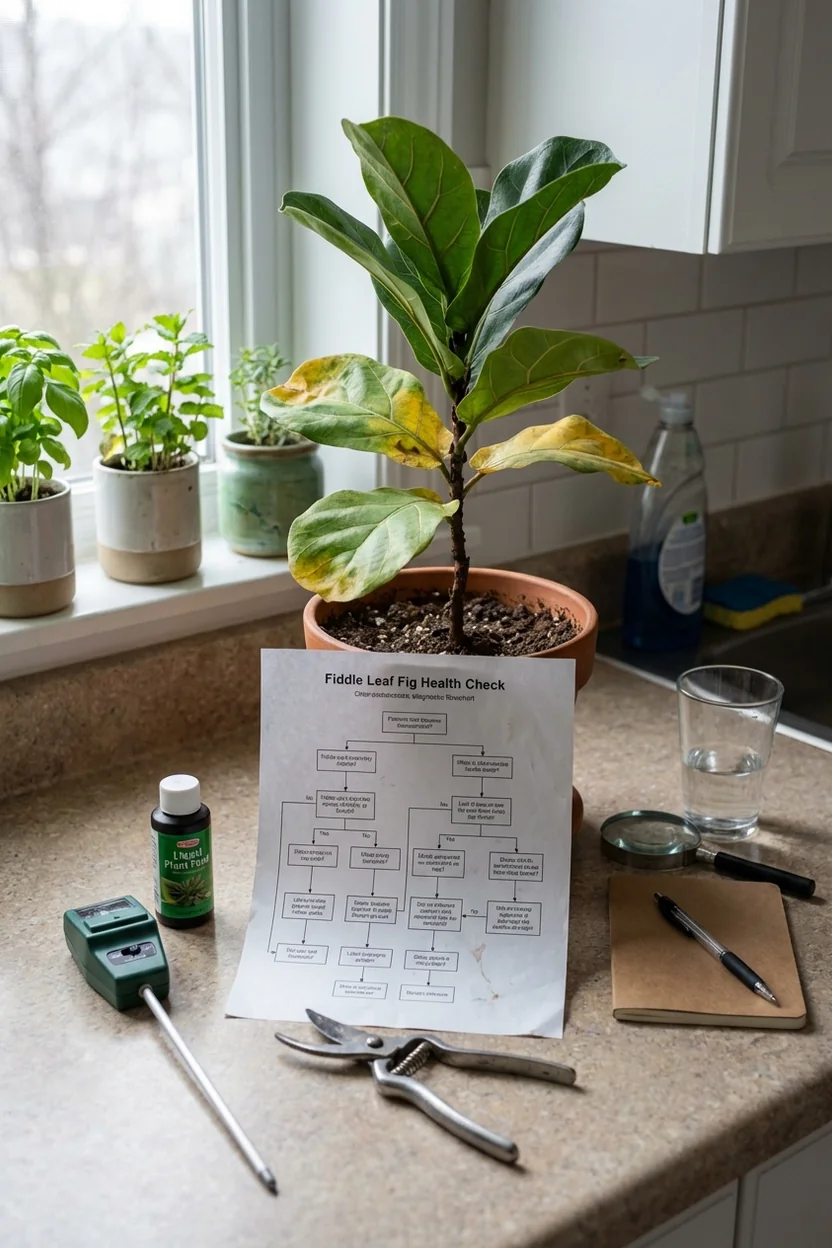
Here's your diagnostic flowchart to narrow down the likely problem:
Step 1: Check soil moisture
Insert finger 2-3 inches (5-8 cm) into soil
Persistently soggy = possible overwatering (skip to overwatering fix)
Dry at the checking depth = check the root ball and water thoroughly if needed; establish regular moisture checks
Barely moist = move to Step 2
Step 2: Assess light conditions
Measure distance from plant to nearest window
More than 5 feet (150 cm) = check for insufficient light (move closer or add grow light)
Within 3 feet (90 cm) of east/west window = assess brightness and obstructions before moving to Step 3
Strong direct sun causing scorch = too much exposure for the plant’s current acclimation (add sheer curtain or move slightly back)
Step 3: Review fertilization history
When did you last fertilize? (If never, or more than 2 months ago, check the potting mix’s fertilizer supply; this alone does not prove deficiency)
Is the plant actively growing? If yes and not fertilizing, assess nutrient supply before diagnosing deficiency
Have you been fertilizing weekly? (Compare the dose with the label; if overfed, pause fertilizing and flush freely draining soil)
Step 4: Examine yellow leaf pattern
Dark brown/black spots in center = possible root rot or another leaf disorder (check roots immediately)
Brown crispy edges = possible underwatering, low humidity, root damage, or excess salts
Overall dull yellowing = possible insufficient light or another source of stress
Yellow between veins, veins stay green = possible nutrient deficiency or impaired uptake (check roots and potting-mix pH before adding nutrients)
For related troubleshooting, see Fiddle Leaf Fig Leaves Dropping? Here's Why (+ Fixes) and Brown Spots on Fiddle Leaf Fig: 7 Causes + Solutions.
Recovery Timeline: What to Expect
Once you've identified and fixed the problem, use this illustrative timeline as check-in points, not scheduled milestones. These are possible signs, not promises of recovery:
Week 1-2: No visible improvement yet. Yellow leaves may continue yellowing or even drop—earlier damage can persist; reassess if worsening. The plant is still processing damage from before you made changes. Don't panic and change your approach. Stick with the fix.
Week 3-4: You should see new growth points developing at the top of the plant. These developing buds will be healthy green. Yellowing should stop spreading to new leaves. This suggests your fix is working.
Week 5-8: New leaves unfurl and grow to full size. These should be vibrant green with no yellowing or brown spots. The plant will look healthier overall even though old yellow leaves are still present.
Week 9-12: Growth rate may return toward normal. You can safely remove old yellow leaves at this point—they've served their purpose alerting you to the problem.
Don't expect dead or aging yellow leaves to turn green again. Some reversible chlorosis can improve when its cause is corrected. The goal is stopping new leaves from yellowing and returning to healthy growth patterns.
If you're not seeing improvement by week 4, reassess your diagnosis. You may have multiple problems occurring simultaneously, or you may have misidentified the primary cause. Reassess sooner if worsening. Check undersides, leaf bases and stems for pests; isolate suspect plants and seek a plant diagnostic service if the cause remains unclear.
For ongoing monitoring after recovery, see Fiddle Leaf Fig Winter Care (Keep Yours Thriving) for seasonal adjustment strategies.
Prevention Strategies That Actually Work
Once you've fixed yellow leaves, prevent them from returning:
Watering consistency:
Check soil moisture weekly using finger test or moisture meter
Water only when top 2-3 inches (5-8 cm) are dry to touch
Adjust frequency based on season—less often in winter, more often in summer
Always water thoroughly until it drains from bottom holes
Empty drainage tray within 30 minutes so plant doesn't sit in water
Light optimization:
Position within 2-3 feet (60-90 cm) of east or west-facing window as a starting point; adjust for brightness and scorch
Rotate pot 1/4 turn weekly for even light exposure on all sides
Clean leaves monthly to remove dust that blocks light absorption
Add grow light if natural light is insufficient in winter; consider brightness as well as duration
Watch for stretching or leaning—signs plant needs more light
Fertilization schedule:
Fertilize every 2 weeks at half strength only if the label allows, during active growth
Use liquid fertilizer with 3-1-2 NPK ratio specifically for fiddle leaf figs
Stop fertilizing when growth slows or stops, usually in fall and winter
Flush soil every 3-4 months using several pot volumes of water and allowing it to drain fully to prevent salt buildup
Never fertilize a dry plant—water first, then fertilize next day
Monitoring habits:
Inspect leaves weekly for early signs of yellowing, spots, or curling
Check new growth regularly—healthy new leaves indicate good care
Keep a simple plant journal noting watering dates, fertilizing dates, and any changes
Take photos monthly to track growth and catch problems early
Learn what normal looks like for YOUR plant in YOUR home
For comprehensive ongoing care, bookmark Fiddle Leaf Fig Care: The Complete Guide (2025) as your reference.
Yellow leaves aren't a death sentence—they're your plant communicating what it needs. Listen to what those leaves are telling you, make the right adjustment, and watch your fiddle leaf fig come roaring back to health with vibrant new growth.
Frequently Asked Questions
Reading about plants and recognising them are different skills. These three build the second.
- Daily PlantIdentify the day’s mystery plant from a close-up photograph.
- Keyed OutWork a dichotomous key, lead by lead, to name a hidden specimen.
- Name That PlantName a specimen from botanical clues dealt hardest first.
Free to play, no account needed
Tagged with
Sarah earned her doctorate in plant biology and spent time working in botanical garden education before transitioning to freelance writing and consulting. Now based in Portland, Oregon, she teaches plant identification workshops at local community centers and maintains a modest collection of over 60 houseplants in her small apartment. Sarah specializes in helping beginners understand plant science without the jargon—her approach focuses on practical observation over theory. She's killed her fair share of fiddle leaf figs and finally cracked the code on keeping them alive.