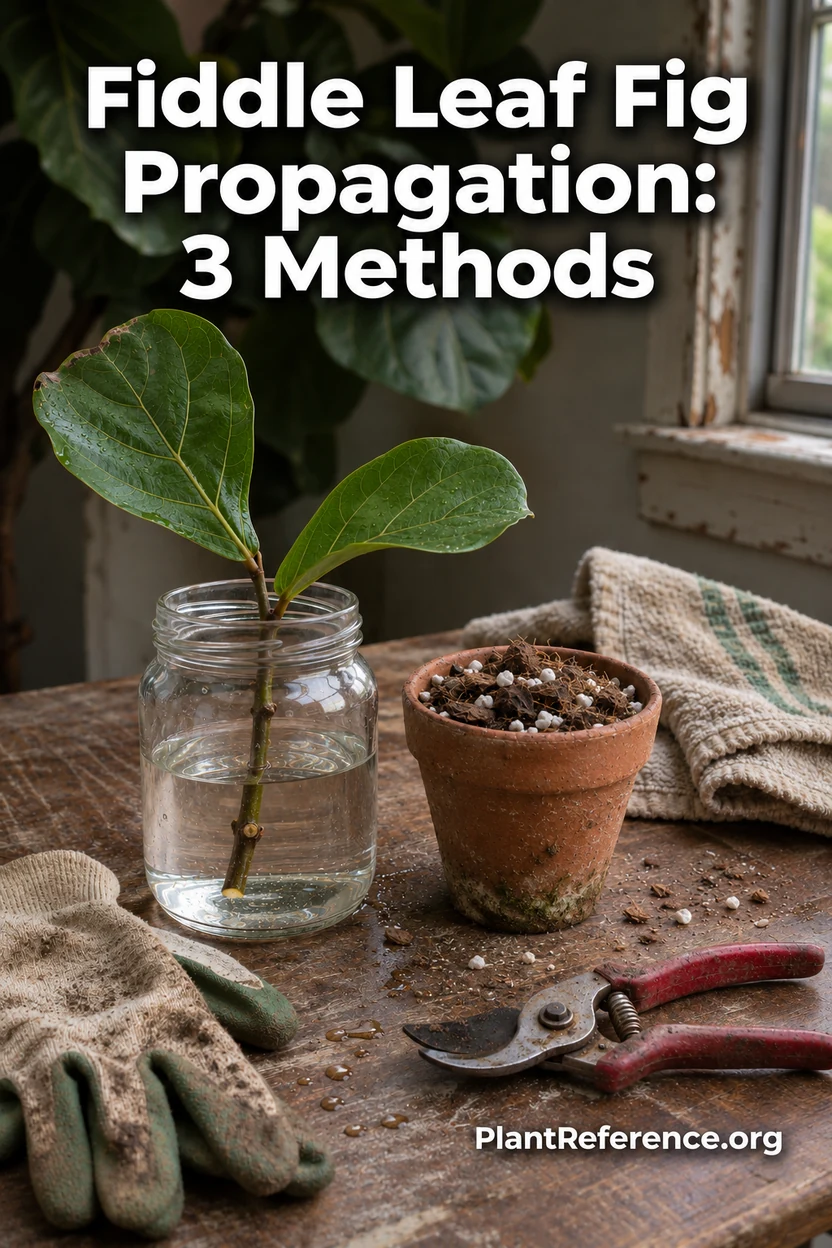
Fiddle Leaf Fig Propagation: 3 Easy Methods
— Image © PlantReference.org 2026
Pets & Toxicity
Recorded toxicity for plants linked in this guide. An unknown status is not a safety assessment.
Toxic to pets: fiddle leaf figDetailsHide
Learning how to propagate fiddle leaf fig is easier when you separate two goals: making roots and making an entire new plant. A fiddle leaf fig 🌿Ficus lyrata (FYE-kus lye-RAY-tuh) cutting needs usable stem growth tissue as well as leaves; a beautiful detached leaf is not the same starting material.
Choose a Propagation Method That Fits Your Plant
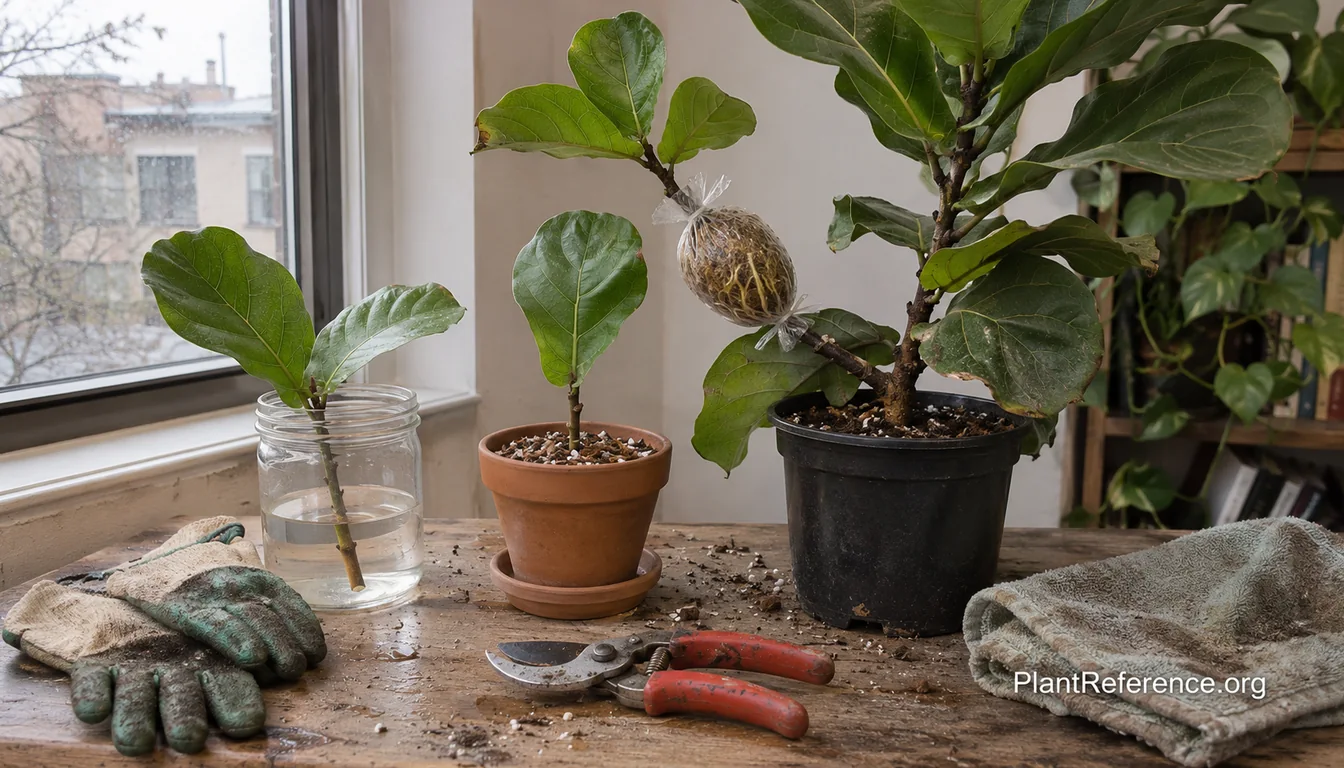
Water propagation is easy to observe, direct rooting in mix reduces later handling, and air layering can preserve an attached branch while roots develop. None guarantees success. Choose according to the parent plant's health, the size of the material, and how much monitoring you can realistically provide.
Before taking anything from a struggling tree, correct basic care. Propagation is not a shortcut around active root rot, pests, or severe dehydration. Fiddle Leaf Fig Care: The Complete Guide (2026) provides the foundation that supports both the parent and any future cuttings.
Method | Main advantage | Main tradeoff | Best fit |
|---|---|---|---|
Stem cutting in water | Roots are visible without disturbing mix | Requires transfer into potting medium | Beginners who want to monitor development |
Stem cutting in mix | Roots establish in a growing medium | Root progress is less visible | Growers comfortable judging moisture |
Air layering | Branch stays attached while rooting | More preparation and careful stem work | Established plants with a suitable branch |
Understand the leaf-only trap
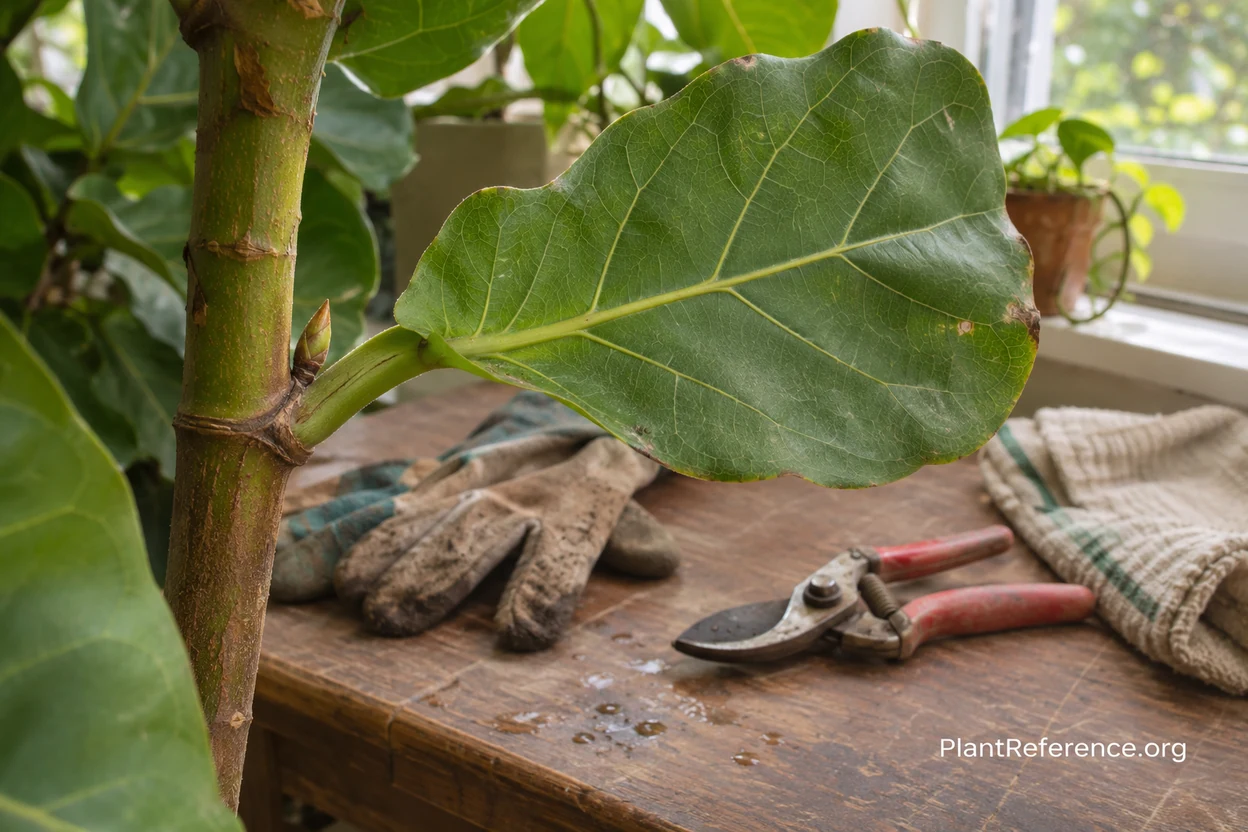
A node is the stem region associated with a leaf attachment and growth tissue. Include a genuine section of stem rather than only a leaf blade and its stalk. A detached leaf can sometimes persist or produce roots without developing into the branching plant you hoped to grow.
Look closely before cutting. Leaf stalks can make a small piece look substantial even when it contains no useful stem node. If you cannot confidently distinguish the stem from the leaf stalk, pause and inspect the parent rather than cutting several leaves and hoping one becomes a tree.
Start during active growth when practical
Warm, bright conditions favor a manageable propagation environment. Spring or a period of active growth is a useful time for a healthy indoor plant, while a cold, dark room creates additional difficulty. The plant's actual condition matters more than an exact calendar date.
Choose firm, healthy material without suspicious spots, pests, or soft tissue. Do not take an oversized branch simply because you want an instant floor plant. Smaller manageable material is easier to support, keep upright, and monitor in a limited apartment workspace.
Prepare the Parent, Tools, and Workspace
Clear a stable surface, protect it from sap and water, and gather supplies before making a cut. You need a clean cutting tool appropriate to the stem, a suitable container, water or propagation medium, and a bright position away from harsh direct sun.
Wear gloves when handling cut stems and keep the milky sap away from your skin, eyes, children, and pets. Dispose of discarded material promptly and wash your hands afterward. The goal is a calm, controlled procedure, not a rushed operation while holding a dripping branch over the rug.
Select and prepare a stem cutting
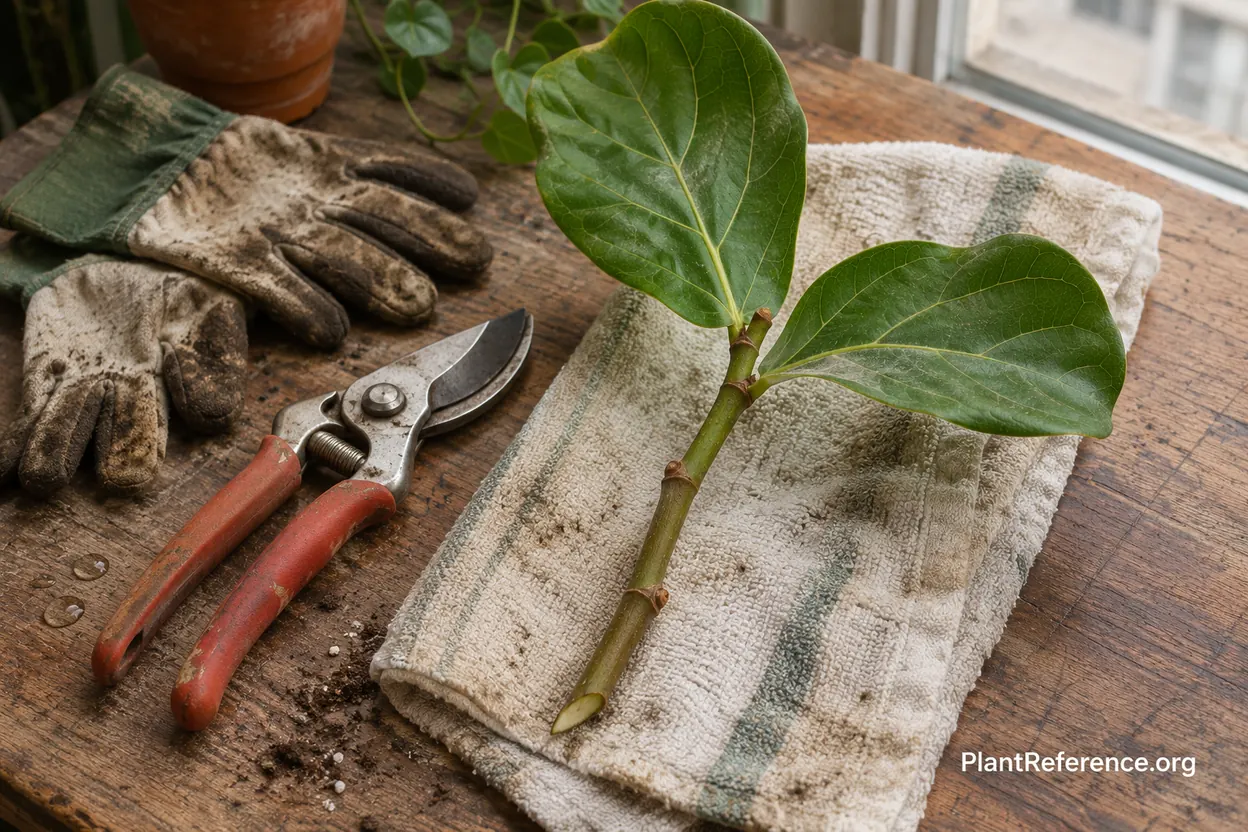
Choose a section with a node and a modest amount of healthy foliage. Make a clean cut below the node using a sharp tool that can cut the stem without crushing it. Preserve the upper foliage needed to support the cutting while removing leaves that would sit below the water line or inside the medium.
Do not strip the parent of much of its canopy for a first attempt. One carefully prepared cutting lets you learn the process without sacrificing the plant's shape or reserves. Plan the parent's resulting silhouette before cutting; propagation and pruning are connected decisions.
Keep tool claims practical
Use a tool suited to the thickness of the stem and clean it between plants. Do not assume a coating or a dishwasher cycle makes a tool sterile. Follow the tool's cleaning guidance and avoid using a small precision snip on a woody branch it cannot cut cleanly.
The supported Felco listing below is one bypass-pruner option, not a prerequisite for propagation. An appropriate clean tool you already own may be enough. Spend first on solving an actual limitation rather than assembling a collection of products before making your first cutting.
Check the parent afterward
Keep the parent in stable conditions and watch its cut area and remaining leaves. It may use less water after foliage removal, so check moisture rather than automatically maintaining the same watering interval. How to Water a Fiddle Leaf Fig (Never Kill Yours Again) helps you make that adjustment.
If the parent was already leaning, taking a large top cutting changes its weight distribution. Maintain safe support without forcing the stem. Fiddle Leaf Fig Leaning? Here's How to Fix It Fast covers support considerations separately from rooting.
Method One: Root a Stem Cutting in Water
Choose a clean, stable vessel with an opening wide enough to remove the eventual roots without tearing them. A narrow decorative tube can look attractive but become awkward as roots expand. The container should support the cutting without tipping under the weight of its broad leaves.
Place the lower stem and a node in water while keeping the leaves above the surface. Do not submerge foliage to make the cutting stand upright. Use a suitable support or a better-shaped vessel instead of allowing leaves to decay below the water line.
Prepare a healthy stem cutting with a usable node.
Place the lower stem in clean water with foliage held clear.
Set the vessel in bright indirect light away from temperature extremes.
Maintain the water level and replace water when it becomes cloudy or dirty.
Inspect the stem for firmness and watch for roots without repeatedly handling it.
Observe without disturbing
Clear glass makes progress visible, which is helpful if you find hidden roots frustrating. Check water level regularly because evaporation can expose the rooting area. Keep the container clean and refresh the water as needed rather than accepting a cloudy, deteriorating setup as normal.
Roots take time, and the first visible change may be subtle. Avoid pulling the cutting out repeatedly to examine every bump. Record an occasional photograph and focus on whether the stem remains firm and the developing roots continue to grow.
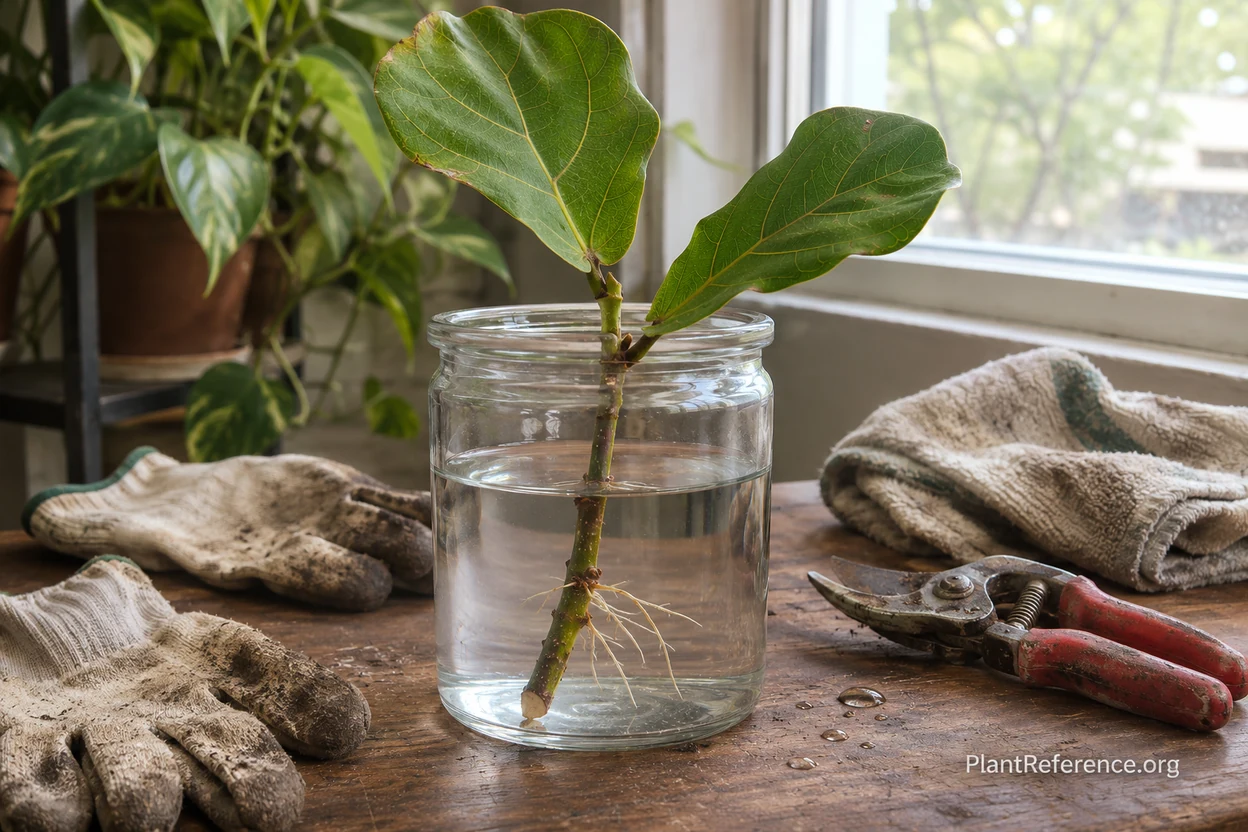
Transfer when roots can support the next stage
Wait for a useful developing root system rather than rushing the first tiny root into a large container. Several roots with some branching provide a more sensible transition point than a calendar deadline. Handle them gently and prepare the receiving pot before removing the cutting from water.
Use a small draining pot and suitable potting mix, making a space for the roots instead of forcing them through dry compact material. Settle mix gently around them, water appropriately, and let excess drain. See How to Repot a Fiddle Leaf Fig (Step-by-Step Guide) for container handling principles.
Expect a transition, not instant independence
A cutting moving from water into mix must adjust to its new root environment. Keep the mix evenly moist enough for establishment without leaving it saturated, and do not abruptly treat it like a large established tree. Bright indirect light and stable temperature help reduce additional stress.
New shoot growth is encouraging, but it does not mean the plant now needs a huge pot or strong feeding. Let the root system establish. A small supported cutting that continues developing is a better outcome than a tall, unstable plant pushed into rapid growth too soon.
Method Two: Root a Stem Cutting in Mix
Direct rooting uses a moist, airy medium in a small container with drainage. The main advantage is avoiding a separate water-to-mix transfer. The challenge is judging moisture and root development when you cannot see below the surface.
Use fresh, suitable propagation medium rather than dense garden soil or old saturated material from a sick plant. A moisture-retaining component combined with an aerating component is a useful approach. The exact balance depends on the material, pot, and conditions, so avoid presenting one recipe as a guarantee.
Insert without damaging the cutting
Moisten the medium before insertion and make a planting hole so the stem slides in without being scraped or crushed. Position the lower node within the medium while keeping leaves clear of its surface. Firm gently enough for support without compacting the entire pot.
If the cutting is top-heavy, use a simple support that does not pierce or constrict the stem. Stability matters because repeated wobbling can disturb developing roots. A smaller cutting or wider stable container is often easier than elaborate supports for an oversized piece.
Fill a small draining pot with fresh, lightly moistened propagation medium.
Make a hole large enough to accept the stem without abrasion.
Insert the prepared lower stem and node, keeping leaves above the medium.
Settle the mix gently and support the cutting if needed.
Place in bright indirect light and monitor moisture consistently.
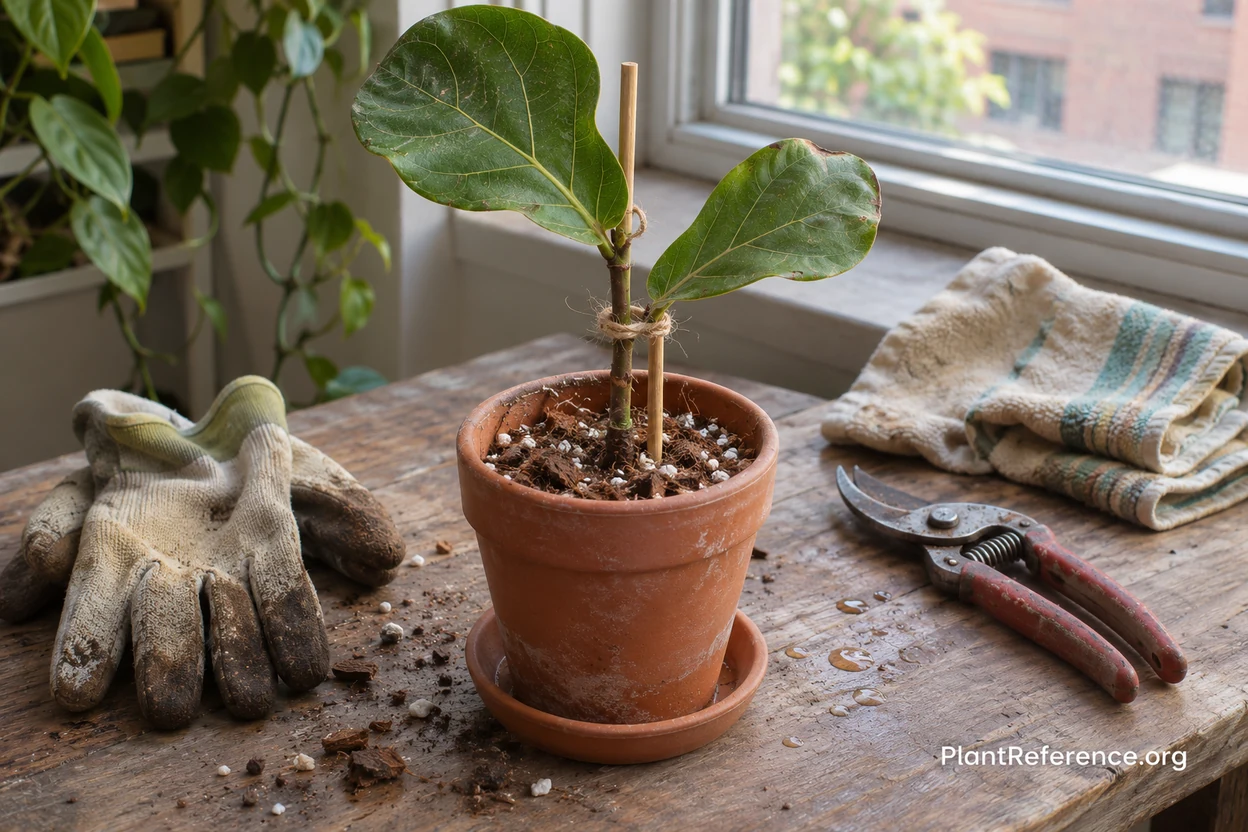
Balance humidity with ventilation
A humid environment can reduce moisture loss while roots form, but enclosing a cutting is not permission to keep it constantly wet. If using a clear cover, keep it from pressing on the leaves and provide ventilation. Watch for excessive condensation and deteriorating tissue.
Keep any covered setup out of direct sun, where conditions can change quickly. A small indoor propagation area should be easy to inspect, not hidden behind furniture. If the medium remains soggy, review moisture and airflow before adding more water.
Resist the tug-test habit
Repeatedly pulling on a cutting can damage new roots. Look for sustained firmness, healthy foliage, and developing growth rather than testing resistance every day. Roots visible at drainage openings can provide another clue, though absence there does not mean no roots exist.
When the cutting is clearly established, transition gradually toward normal care. Best Soil for Fiddle Leaf Fig (Tested & Compared) discusses longer-term potting options, while 7 Best Pots for Fiddle Leaf Fig (2026 Reviews) helps with eventual container choices. Neither is a reason to size up immediately.
Method Three: Air Layer an Attached Branch
Air layering encourages roots on a branch while it remains connected to the parent. It can suit an established tree when you want to shorten a taller section and retain that section as a new plant. It is more involved than placing a cutting in water, so treat it as the method requiring the most preparation.
Choose a healthy, manageable branch and identify where you want roots to form. Prepare moist sphagnum moss and a suitable wrapping material, along with clean tools and support if needed. Do not attempt the procedure on an actively declining tree simply because keeping the branch attached seems risk-free.
Prepare the rooting area carefully
The method uses a controlled wound in the outer stem tissue to encourage rooting at that site. Work on the chosen stem section without cutting through the branch or damaging its structural core. If you are not comfortable identifying the tissues involved, choose a stem-cutting method instead of improvising a deep cut.
Wrap the prepared area in moist—not dripping—sphagnum moss, then enclose it to retain moisture while allowing inspection. Secure the ends without constricting the branch beyond what the wrapping requires. Keep the moss in contact with the prepared area rather than leaving a loose dry pocket.
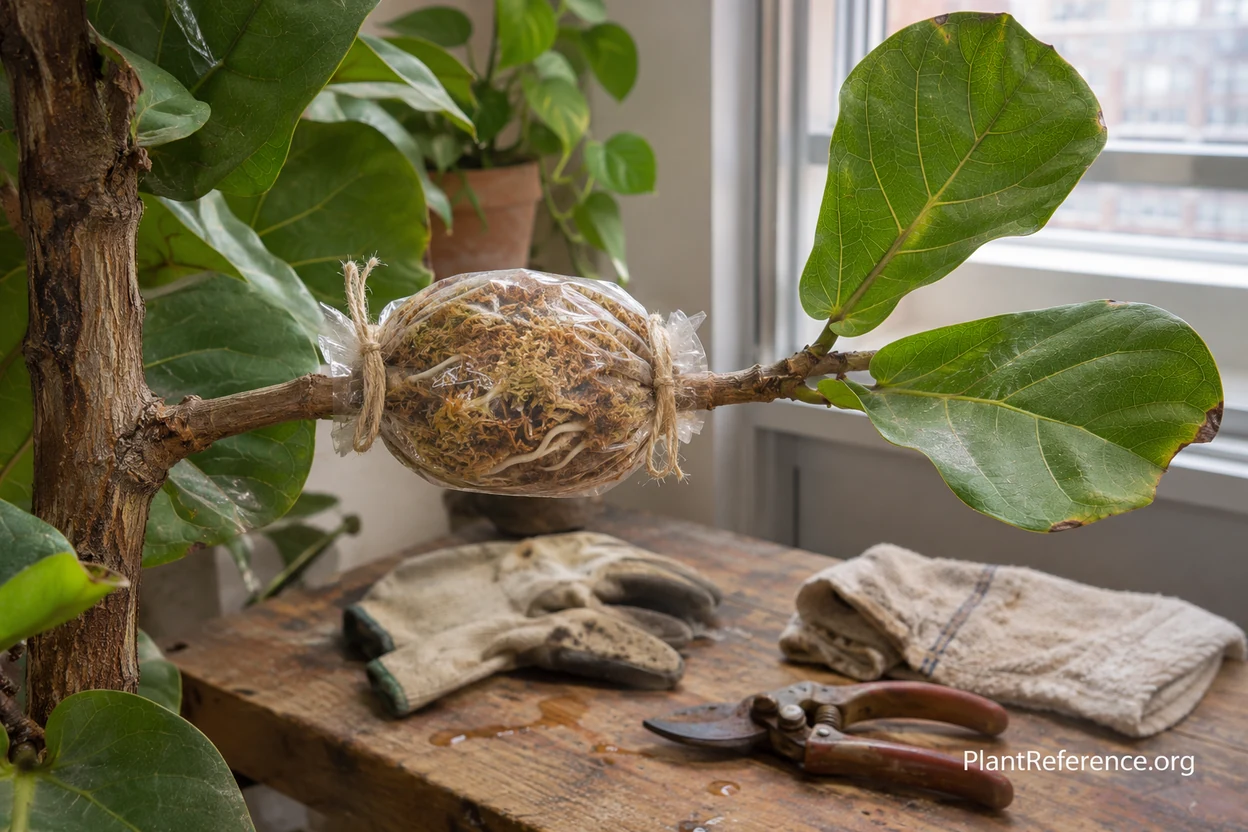
Monitor before separating
Check that the moss remains moist and that the wrapping has not slipped. Observe for visible root development rather than detaching the branch after an arbitrary number of days. The attached section still needs suitable light and the parent still needs normal moisture checks.
Wait until the layer has developed a substantial visible root system before separating below it with a clean suitable tool. Support the branch during removal so its weight does not tear the stem. Prepare its pot in advance and handle the moss-covered new roots gently.
Pot and stabilize the new plant
Choose a draining container that fits the new root mass without excessive empty volume. Set the rooted section securely and support it if top-heavy. Do not remove or tease away every piece of moss if doing so would tear delicate roots.
Keep conditions steady while the separated plant adjusts. It is now supported by its new root system rather than the parent, so aftercare matters as much as the layering step. Avoid immediately adding strong sun, heavy fertilizer, or a second major pruning.
Aftercare, Troubleshooting, and a Simple Checklist
The most useful answer to how to propagate fiddle leaf fig includes what happens after preparation. Maintain bright indirect light, stable warmth, and a clean setup. The research's comfortable indoor range of about 65–75°F (18–24°C) is a practical reference, not a promise that every cutting roots on the same schedule.
Avoid a cold windowsill, direct heating blast, or a harsh sunny enclosure. Fiddle Leaf Fig Light Requirements: The Ultimate Guide explains placement, and Fiddle Leaf Fig Winter Care (Keep Yours Thriving) helps when shorter days and indoor heating make conditions less consistent.
Respond to deterioration rather than the calendar
A soft, darkening stem or unpleasantly deteriorating medium needs attention. Remove failed material and clean the setup rather than adding fertilizer to force recovery. If a healthy section remains, reassess whether it contains a usable node before deciding a new attempt is possible.
For a parent plant with suspected rot, consult Fiddle Leaf Fig Root Rot: How to Save Your Plant. Do not move contaminated material among healthy cuttings. Keep individual attempts separated enough that you can inspect and remove one without disturbing everything else.
Distinguish roots from a finished plant
A root is progress, not completion. A new plant needs a functioning root system, usable shoot growth, and the ability to maintain healthy foliage after transition. This is why the leaf-only mistake matters and why a photograph of roots does not prove a successful growing tree.
Slow growth is not automatically failure. Check light, temperature, and tissue condition, and use Why is My Fiddle Leaf Fig Not Growing? 9 Reasons for established plants that remain stalled. Do not interpret every delay as a request for more fertilizer or a new method.
Keep your own propagation record
Use a notebook or a simple photo album to record the parent, method, date, and observations. There is no need to sign up for a checklist to remember the essentials. A short record helps you separate useful changes from repeated anxious adjustments.
Healthy parent and pest-free starting material selected.
Usable stem node included; leaf-only pieces excluded.
Clean tools, gloves, and stable containers prepared.
Bright indirect light and steady temperature arranged.
Moisture checked without leaving the setup dirty or saturated.
Root development observed before transfer or separation.
New plant given gradual, stable aftercare.
Start with the method you can monitor comfortably. For a first apartment attempt, a manageable stem cutting is often less intimidating than air layering a tall branch. Success means a healthy new plant and a parent that continues growing—not the fastest possible photograph of a root.
Frequently Asked Questions
Reading about plants and recognising them are different skills. These three build the second.
- Daily PlantIdentify the day’s mystery plant from a close-up photograph.
- Keyed OutWork a dichotomous key, lead by lead, to name a hidden specimen.
- Name That PlantName a specimen from botanical clues dealt hardest first.
Free to play, no account needed
Tagged with
Jessica transformed her small Brooklyn balcony into a thriving container garden after moving to New York City. What started as a pandemic hobby turned into a plant care consulting business serving urban apartment dwellers across the city. She specializes in small-space gardening, indoor plant troubleshooting, and helping clients keep houseplants alive in less-than-ideal conditions (dim light, dry heat, tiny spaces). Jessica completed a home gardening certificate program and shares her plant wins and failures on her modest Instagram following. Her partner, Maya, jokes that their apartment is now 40% plants, 60% living space. Jessica's passionate about making plant care accessible to renters who think they don't have room to garden.