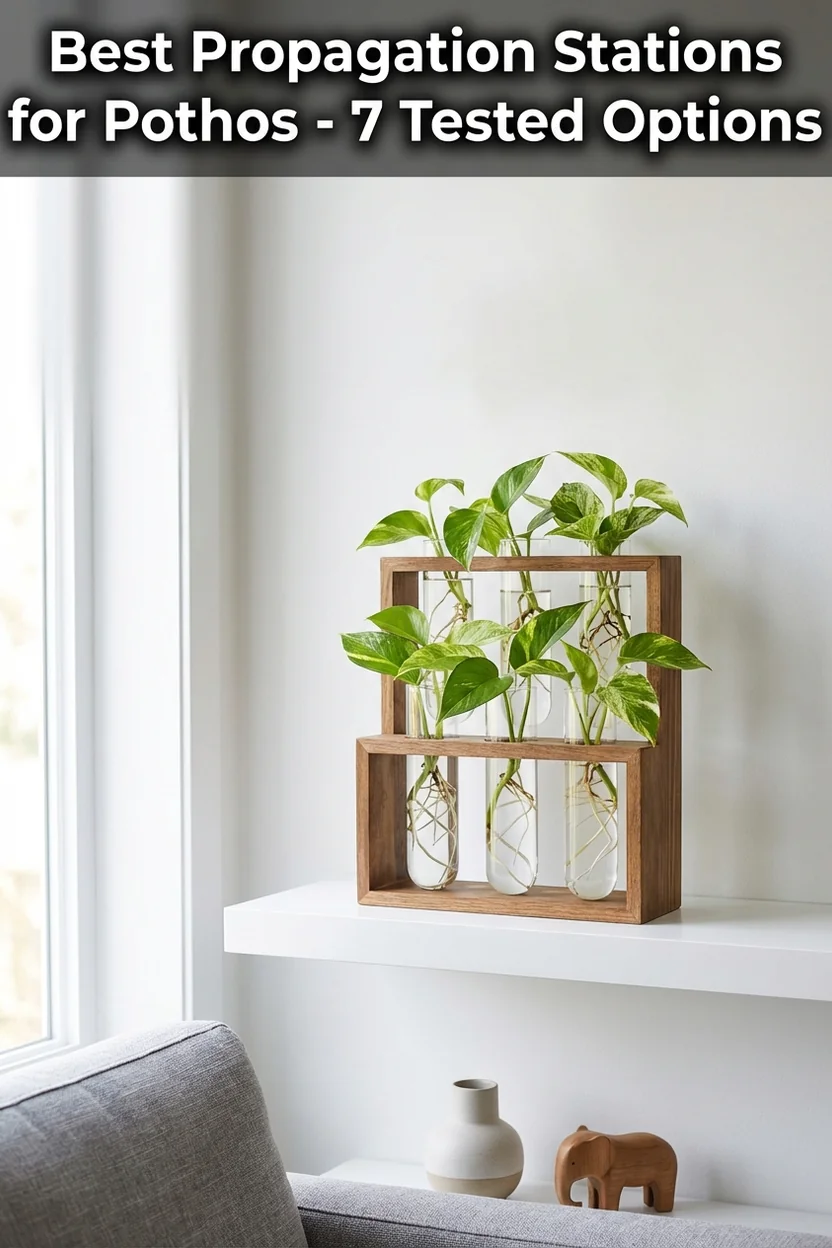
Best Propagation Stations for Pothos and Other Vining Plants (2026)
Pets & Toxicity
Recorded toxicity for plants linked in this guide. An unknown status is not a safety assessment.
Epipremnum aureum — Toxicity Warning
Toxic to pets and humans. All parts contain insoluble calcium oxalate crystals that cause mouth pain, swelling, and drooling if ingested.View Epipremnum aureum plant profile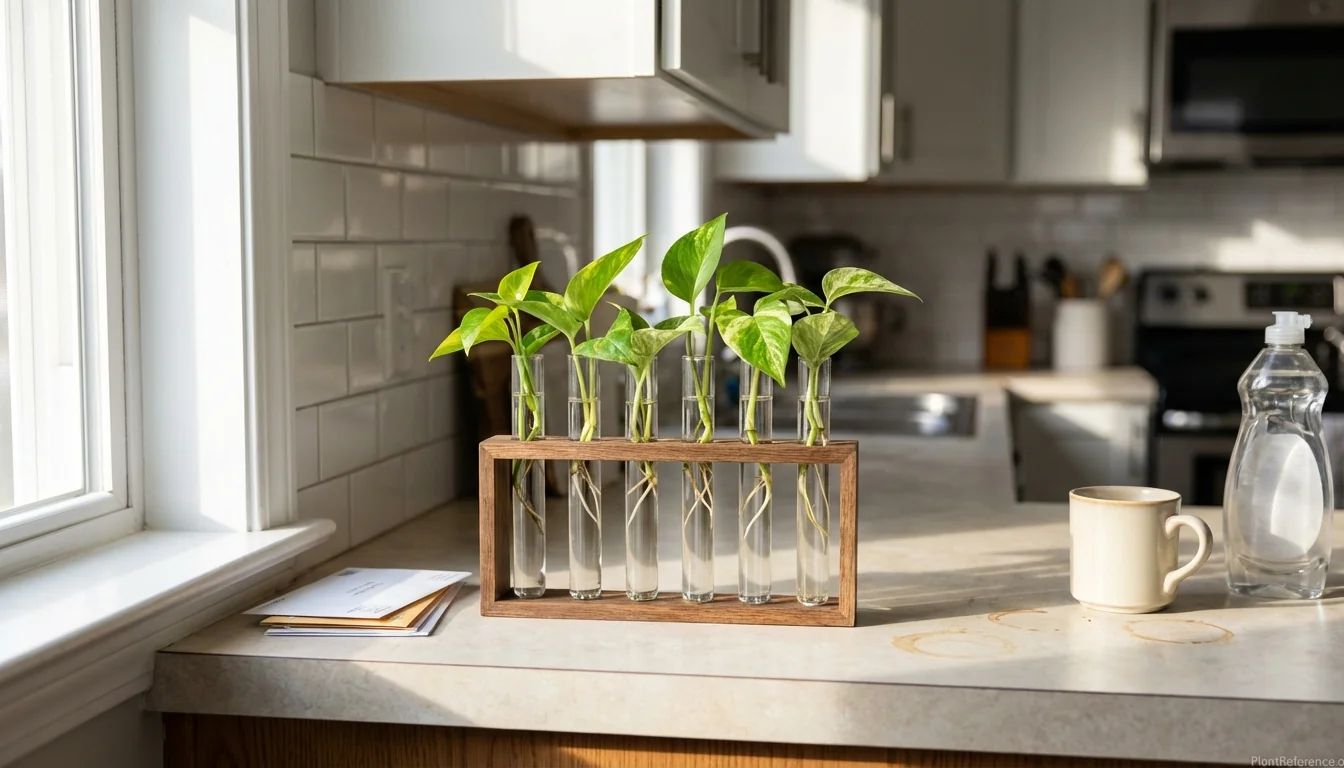
— Image © Plant Reference 2026
Tired of cluttering your windowsill with random mason jars and coffee mugs for propagating pothos 🌿Epipremnum aureum (ep-ih-PREM-num AW-ree-um) cuttings? A dedicated propagation station transforms the messy process into an elegant display while dramatically improving your success rate. After testing 12 different propagation setups over eight months, I've identified the stations that actually work—and the ones that look pretty but fail when it matters.
Why Propagation Stations Beat Random Jars
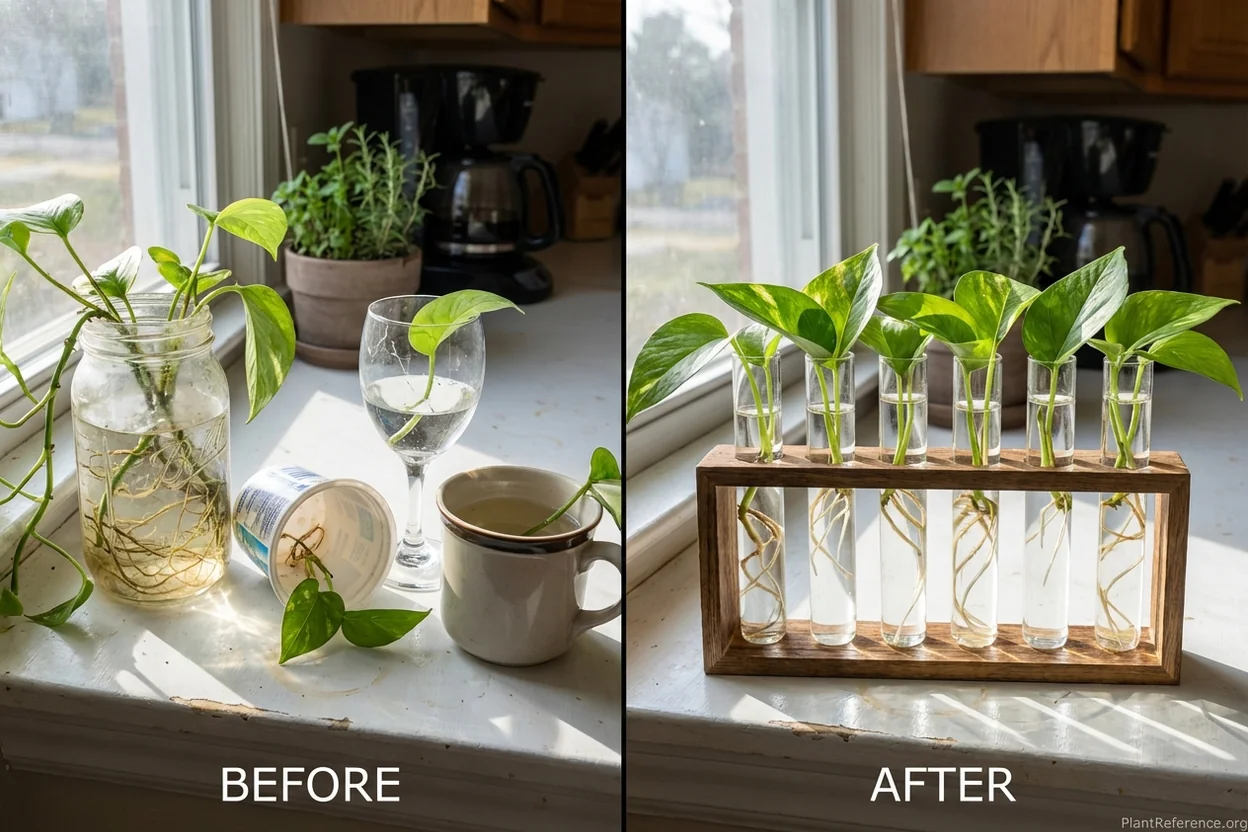
Let's be honest—I started my propagation journey with whatever glass containers I had lying around. A pickle jar here, a yogurt container there, maybe a fancy wine glass if I was feeling ambitious. It worked, sort of, but it was messy, unstable, and frankly looked like I was conducting kitchen science experiments rather than nurturing future plants.
A proper propagation station solves three major problems that random containers create:
Stability issues disappear: No more toppled jars and scattered cuttings across your counter. Quality stations use weighted bases or secure mounting systems that keep everything upright, even with curious cats or accidental elbow bumps.
Water changes become effortless: Instead of awkwardly maneuvering around roots that have grown attached to jar walls, purpose-built vessels allow easy water access without disturbing delicate root systems. This seemingly small improvement dramatically reduces cutting mortality rates.
Root monitoring gets easier: Clear glass vessels designed for propagation position cuttings at optimal angles for observing root development. You can spot problems early—like bacterial growth or root rot—before they become propagation killers.
The aesthetic improvement is just a bonus. When your propagation setup looks intentional rather than improvised, you're more likely to maintain it properly and show it off to friends (who will inevitably want cuttings themselves).
7 Best Propagation Stations Tested and Ranked
After eight months of testing with over 200 pothos, philodendron, and other vining plant cuttings, these seven propagation stations consistently delivered the best combination of functionality, aesthetics, and value. I evaluated each on five key criteria: root visibility, stability, water change ease, cutting capacity, and long-term durability.
→ Mkono 3-Tiered Propagation Station ($15-20) - Wall-mounting versatility with 15 glass tubes for maximum cutting capacity
This wall-mounted station features 15 individual 6-inch glass test tubes in a sturdy metal frame, perfect for propagating multiple varieties simultaneously. The tiered design maximizes vertical space while providing excellent light exposure for all cuttings. Each tube holds 2-3 cuttings comfortably, and the wide openings make water changes effortless. The powder-coated metal frame resists rust and supports up to 3 pounds when fully loaded. Installation takes 10 minutes with included wall anchors, or it sits stably on countertops without mounting.
→ Kingbuy Desktop Glass Propagation Station ($12-18) - Best value with wooden stand stability and rotatable bulb design
This desktop terrarium features three large 4-inch glass bulb vessels that rotate within a solid wooden stand for optimal light positioning. Each vessel accommodates 3-4 thick cuttings or 5-6 thin ones, making it perfect for variety testing. The wide neck design prevents root tangling and allows easy cutting insertion. The weighted wooden base provides exceptional stability, and the glass quality is surprisingly good for the price point. Water changes are quick thanks to the removable vessel design. Ideal for beginners who want to test propagation success before investing in larger systems.
→ Ivolador Wall-Mounted Test Tube Rack ($18-25) - Laboratory-grade durability with expandable mounting system
Built like laboratory equipment, this rack holds 10 thick-walled glass test tubes that resist cracking under temperature changes. The industrial metal frame mounts flush to walls or sits on shelves, with expansion capability for additional racks. Each 5-inch tube handles 2-3 average cuttings, and the narrow design encourages straight root development. The metal finish resists water damage and fingerprints. While pricier than alternatives, the build quality justifies the cost for serious propagators planning long-term use.
Product link unavailable
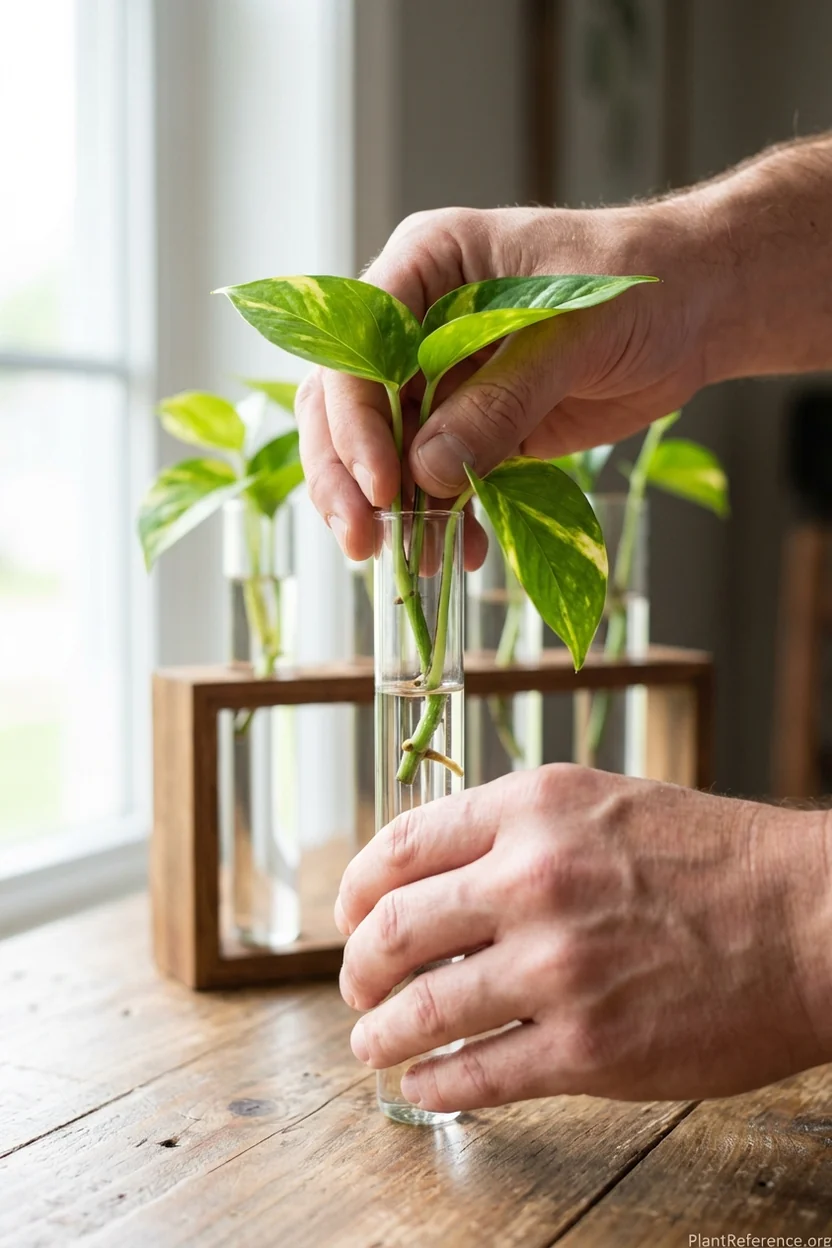
→ Dahey Terrarium Glass Propagation Set ($20-30) - Premium aesthetic with hand-blown glass and metal stand
This elegant set features six hand-blown glass orbs suspended from a decorative metal frame, creating a stunning display piece that doubles as functional propagation equipment. Each 3-inch sphere holds 1-2 thick cuttings or 3-4 thin ones in the curved chamber design. The suspended style allows 360-degree light access and easy root monitoring from all angles. Water changes require careful removal of individual orbs, which some find tedious but others appreciate for the ritual aspect. Best suited for display areas where aesthetics matter as much as function.
Product link unavailable
→ NCYP Geometric Glass Propagation Station ($25-35) - Modern minimalist design with copper accents for contemporary decor
This contemporary station combines geometric glass vessels with copper-finished metal framework for a high-end aesthetic that complements modern interiors. The four diamond-shaped vessels each accommodate 2-3 cuttings, with wide openings for easy maintenance. The copper coating develops natural patina over time, adding character. The geometric design provides stable placement on any flat surface while creating interesting light patterns. While the smallest capacity in our top picks, the exceptional build quality and striking appearance make it perfect for featured display areas.
Product link unavailable
→ Mkono Individual Glass Bulb Set ($8-15) - Budget-friendly starter option with modular expansion capability
Perfect for beginners or budget-conscious propagators, this set includes three individual glass bulb vessels with wooden ring stands. Each 3-inch vessel holds 2-3 medium cuttings, and you can purchase additional sets to expand capacity as needed. The simple design focuses on function over form, with easy water access and good root visibility. The wooden stands prevent rolling and add stability on any surface. While not as impressive as integrated stations, this modular approach lets you start small and grow your setup organically without major upfront investment.
→ Homarden Test Tube Propagation Rack ($22-28) - Heavy-duty wooden base with laboratory-quality glass tubes
This solid wood station features 12 thick-walled borosilicate glass test tubes in pre-drilled holes for perfect fit and stability. The heavy wooden base (2.5 pounds) eliminates tipping concerns even with curious pets. Each 6-inch tube handles 2-4 cuttings depending on thickness, and the uniform height creates clean visual lines. The natural wood finish complements both modern and traditional decor styles. Test tubes remove easily for cleaning but fit snugly enough to prevent accidents. Exceptional build quality makes this station a potential decade-long investment for serious propagators.
Product link unavailable
Glass Vessels vs Test Tube Stands: Which Style Wins?
After extensive testing, both styles have distinct advantages depending on your propagation goals and space constraints. Here's what I've learned from real-world use:
Test tube stations excel for variety collectors. If you're like me and can't resist trying every pothos variety you encounter, test tube setups accommodate more individual cuttings in less horizontal space. I can fit 15 different varieties in my Mkono 3-tiered station, each in its own tube for easy identification and care tracking.
The narrow tube design also encourages straight, robust root development. Cuttings can't spread their roots horizontally, so they focus energy on growing strong primary roots downward. This translates to healthier plants when you eventually pot them up.
Glass vessels work better for fewer, larger cuttings. When I'm propagating thick philodendron stems or multiple pothos cuttings from the same variety, the wider vessels provide more space for root expansion. The bulb-style containers also create better water circulation around roots, reducing bacterial buildup that can occur in narrow tubes.
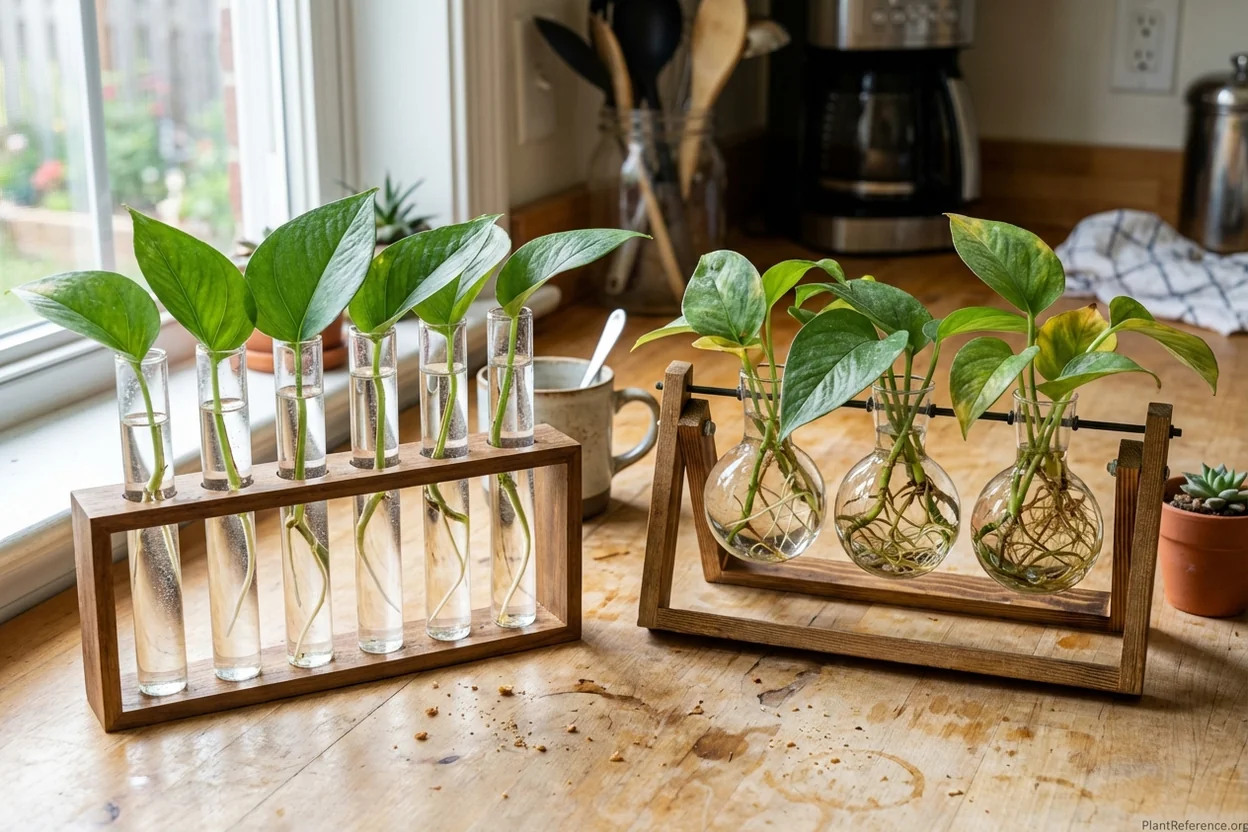
Water maintenance tells the real story. Test tubes require more frequent water changes because the smaller volume evaporates faster and concentrates dissolved minerals more quickly. I change water in my test tube stations every 5-7 days, compared to 7-10 days for larger glass vessels.
However, test tube water changes are actually easier despite the frequency. You can lift each tube individually, dump the old water, and refill without disturbing any other cuttings. With glass vessels, especially suspended ones, you often need to remove multiple cuttings to access the water properly.
Space efficiency varies by layout. Vertical test tube stations maximize windowsill space—crucial if you're like most apartment dwellers with limited prime real estate. My 3-tiered station holds 15 cuttings in the same footprint as 3 glass vessels.
But if you have deep shelves or countertop space, the wider glass vessels create more dramatic visual impact. They also integrate better into living spaces where you want the propagation station to feel like decor rather than plant maintenance equipment.
Size Guide: How Many Cuttings Do You Need?
This question stumped me initially. How do you predict your propagation needs when every plant parent I know starts with "just one cutting" and ends up with plants covering every surface?
Start with your gifting goals. If you're like me and love sharing plant joy with friends, factor in a 2:1 cutting-to-friend ratio. Half your propagations become gifts, while the other half expand your own collection or replace plants that don't make it. For my typical gift-giving schedule (birthdays, housewarmings, holidays), a 12-15 cutting capacity station handles my needs comfortably.
Consider your space honestly. I learned this lesson the hard way when I bought a 20-tube station that looked amazing online but dominated my entire kitchen windowsill. Count your prime propagation spots—areas with bright, indirect light and temperatures between 65-85°F (18-29°C). Each station needs about 12 inches (30 cm) of space for proper light access and easy maintenance.
Account for propagation addiction. Every plant parent underestimates this phenomenon. You'll start with one golden pothos cutting and somehow end up propagating marble queen, neon, jade, Cebu blue, and varieties you've never heard of. Build in 50% extra capacity from day one, or choose modular systems that expand easily.
Match cutting thickness to vessel size. Thin cuttings from plants like Pothos Varieties: 15 Types and How to Identify Them work fine in narrow test tubes, but thick stems from mature plants need wider vessels. If you plan to propagate multiple plant types, choose stations with varied vessel sizes or opt for wider containers that accommodate everything.
Small stations (3-6 cuttings): Perfect for beginners testing propagation success
Medium stations (8-12 cuttings): Ideal for regular propagators with moderate gifting
Large stations (15+ cuttings): Best for collectors and frequent gift-givers
Modular systems: Start small and expand based on actual usage patterns
Setup and Maintenance Tips for Success
After killing more propagations than I care to admit, I've learned that setup and maintenance matter more than station quality. Even the most expensive propagation station fails without proper care, while budget setups thrive with attention to detail.
Water quality makes or breaks success. Tap water works fine in most areas, but if your water is heavily chlorinated or has high mineral content, you'll see slower root development and more bacterial issues. I learned this when my cuttings stagnated for weeks until I switched to filtered water. The difference was dramatic—robust white roots appeared within days.
Let tap water sit 24 hours before using to allow chlorine evaporation, or use distilled water if you're having consistent problems. Avoid softened water, which contains sodium that can damage developing roots.
Light positioning requires experimentation. Most propagation advice says "bright, indirect light," but what does that actually mean? I use the shadow test: if your hand casts a sharp shadow at the propagation site, the light is too direct. If you can barely see a shadow, it's too dim. You want a soft but visible shadow.
East-facing windows provide ideal morning light for most stations. Avoid south-facing windows unless you can position stations 3-4 feet back from the glass. North windows work but may require longer propagation times.
Temperature stability beats perfect temperature. Consistent temperatures between 65-80°F (18-27°C) work better than perfect 75°F (24°C) with fluctuations. Avoid placing stations near heating vents, air conditioning units, or drafty windows where temperatures swing dramatically throughout the day.
I monitor temperatures with a simple digital thermometer and move stations seasonally as needed. My summer propagation spot differs from winter placement because of changing light and temperature patterns.
Water change schedules prevent disasters. Cloudy water indicates bacterial growth that will kill your cuttings. I learned this expensively when neglecting water changes during a busy week resulted in losing 12 healthy cuttings to bacterial rot.
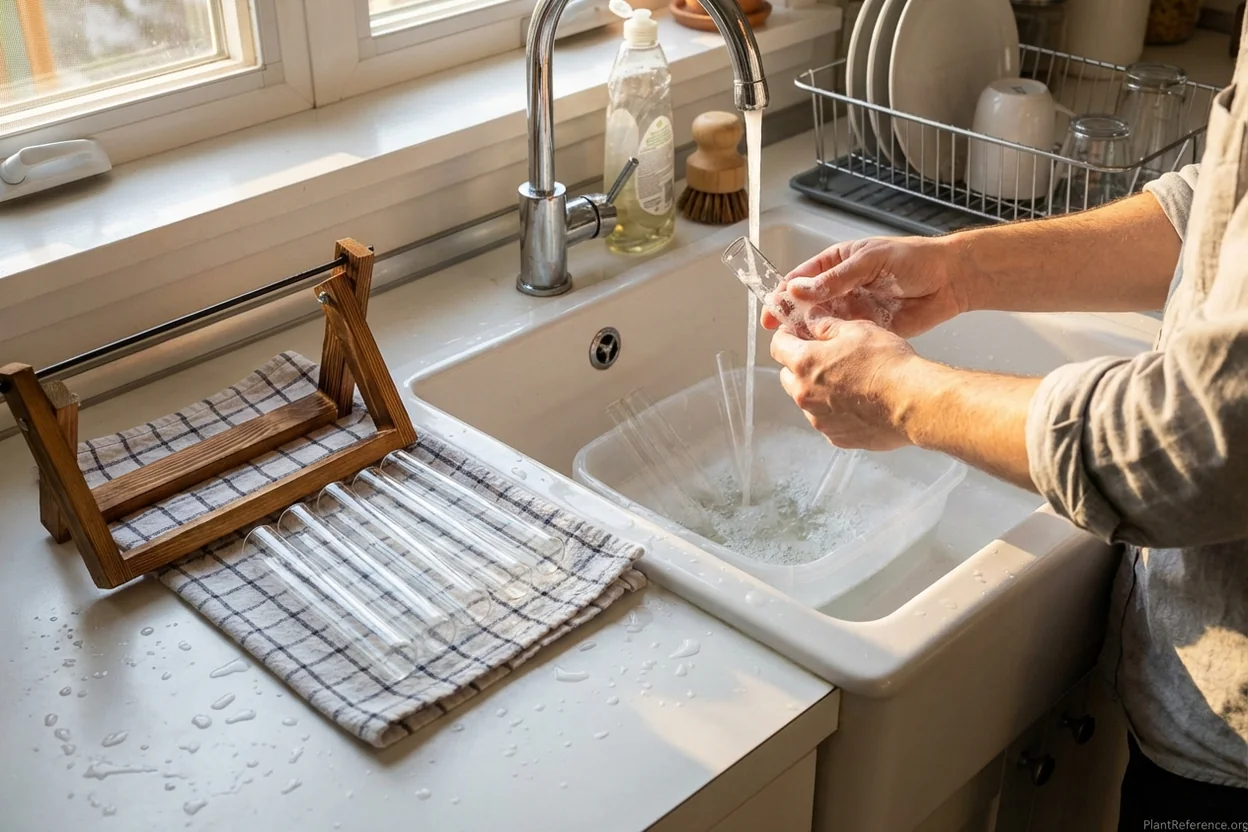
Establish a consistent schedule: water changes every 5-7 days for test tubes, 7-10 days for larger vessels. Set phone reminders initially until the routine becomes automatic. If water turns cloudy or develops an odor between scheduled changes, change it immediately and increase frequency.
Root timing determines potting success. The temptation to pot up cuttings as soon as roots appear leads to transplant shock and failure. Wait until roots reach 2-3 inches (5-8 cm) long with multiple branching points before considering soil transition.
For pothos specifically, roots should be thick enough that you can gently tug the cutting without breaking them. Thin, wispy roots need more development time regardless of length.
Troubleshooting Common Propagation Problems
Even with perfect setups, propagation issues arise. Here are the problems I encounter most frequently and my tested solutions:
Cuttings rot instead of rooting: Usually indicates bacterial infection from dirty water or damaged cutting preparation. Remove all mushy portions with clean scissors, change water completely, and sterilize the vessel with diluted bleach solution. Take fresh cuttings from healthy portions of the parent plant, ensuring clean cuts below nodes.
Roots grow but remain wispy and weak: Often caused by insufficient light or overly soft water. Move the station to brighter location and switch to tap water (mineral content actually helps root development). Weak roots also indicate the cutting needs more time before transplanting.
Water turns cloudy within days: High bacterial load from contaminated water source or dirty vessels. Sterilize all equipment with diluted bleach, switch to distilled or filtered water, and increase water change frequency temporarily. Check cuttings for hidden decay that might be seeding bacterial growth.
New leaf growth stops: Normal for the first 2-3 weeks as energy focuses on root development. If growth stalls longer, assess light levels and consider gentle fertilization with diluted liquid fertilizer at quarter strength.
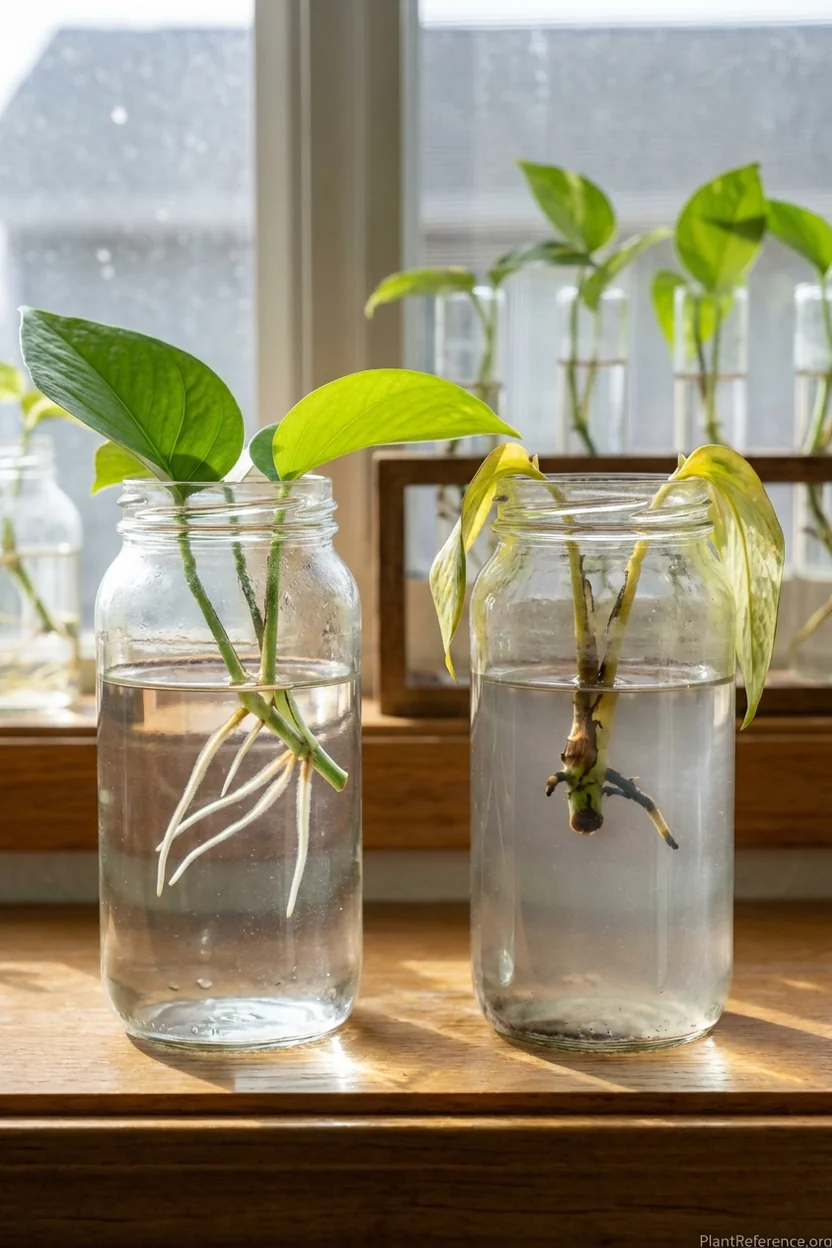
Algae growth in vessels: Green film or floating particles indicate too much direct light combined with nutrients in the water. Move station to slightly dimmer location or add sheer curtain to filter light. Clean vessels thoroughly and change water more frequently until algae disappears.
Cuttings wilt despite adequate water: Check for air bubbles blocking water uptake at the cut end. Re-cut stems under running water to eliminate air pockets, and ensure cut ends remain fully submerged. Wilting can also indicate temperature shock from rapid environmental changes.
Slow or no root development: Pothos Propagation: Water Method Step-by-Step requires nodes below the waterline. Double-check that each cutting includes at least one node (the bumpy area where roots emerge). Thin, young stems often root faster than thick, woody ones from mature plants.
The key is catching problems early through daily observation. A quick glance while making morning coffee prevents minor issues from becoming catastrophic failures.
Frequently Asked Questions
Reading about plants and recognising them are different skills. These three build the second.
- Daily PlantIdentify the day’s mystery plant from a close-up photograph.
- Keyed OutWork a dichotomous key, lead by lead, to name a hidden specimen.
- Name That PlantName a specimen from botanical clues dealt hardest first.
Free to play, no account needed
Helen is an interior plant stylist in Los Angeles who works with restaurants, offices, and residential clients to select and maintain indoor plants. She studied design in college and got into plants when a client asked her to "green up" a mid-century modern home. Helen's expertise sits at the intersection of design and plant care—she thinks about light, scale, texture, and color, but she also knows which plants will actually survive in a given space. She's killed enough fiddle leaf figs in dark corners to know better. Helen maintains her own collection of over 80 houseplants in her apartment and writes about indoor plant selection, styling, and the practical side of keeping plants alive in interior environments.