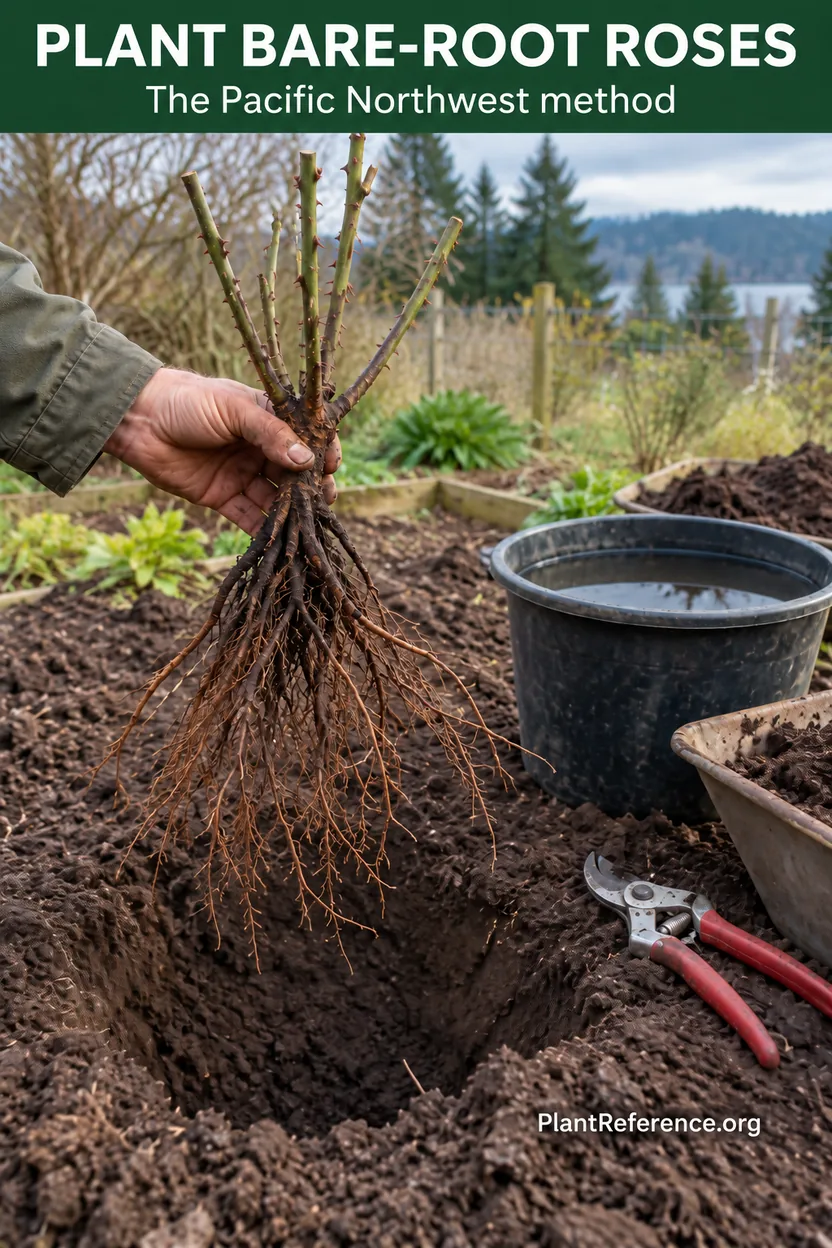
Plant Bare-Root Roses in the Pacific Northwest
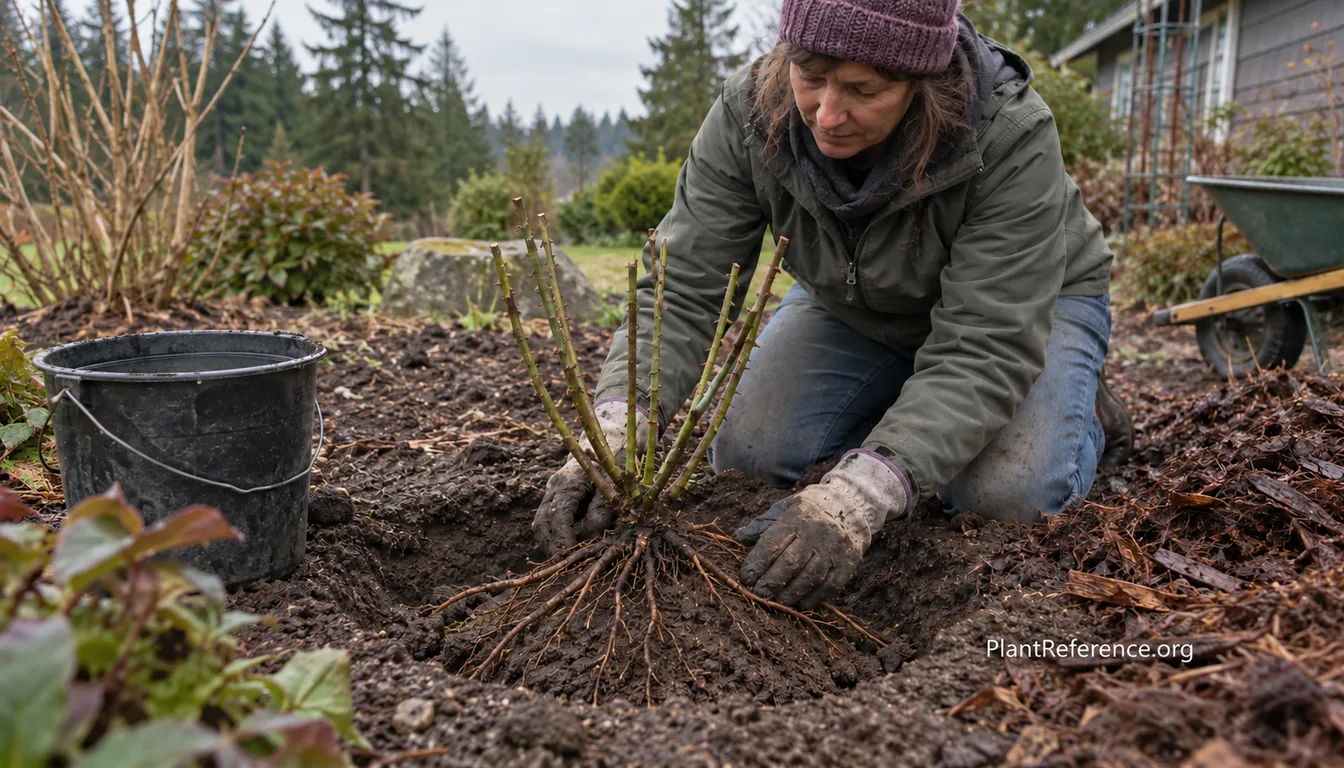
— Image © PlantReference.org 2026
Pets & Toxicity
Recorded toxicity for plants linked in this guide. An unknown status is not a safety assessment.
No linked plant is recorded as toxicDetailsHide
A bare-root rose looks like a bundle of canes and roots rather than a finished garden plant, but that simplicity is an advantage. It is easy to inspect, easy to position, and ready to begin root growth before leaves make heavy demands. In the Pacific Northwest, success comes from matching that dormant plant to cool, workable spring soil—not from following a calendar designed for a colder or drier region.
This method is intended for maritime Pacific Northwest gardens and other regional sites with wet winters, gradually warming springs, and comparatively dry summers. For the larger climate picture, Pacific Northwest Gardening Guide: Climate, Soil & Plant Selection explains why regional timing and drainage need to be planned together.
Why March Is the Best Planting Window
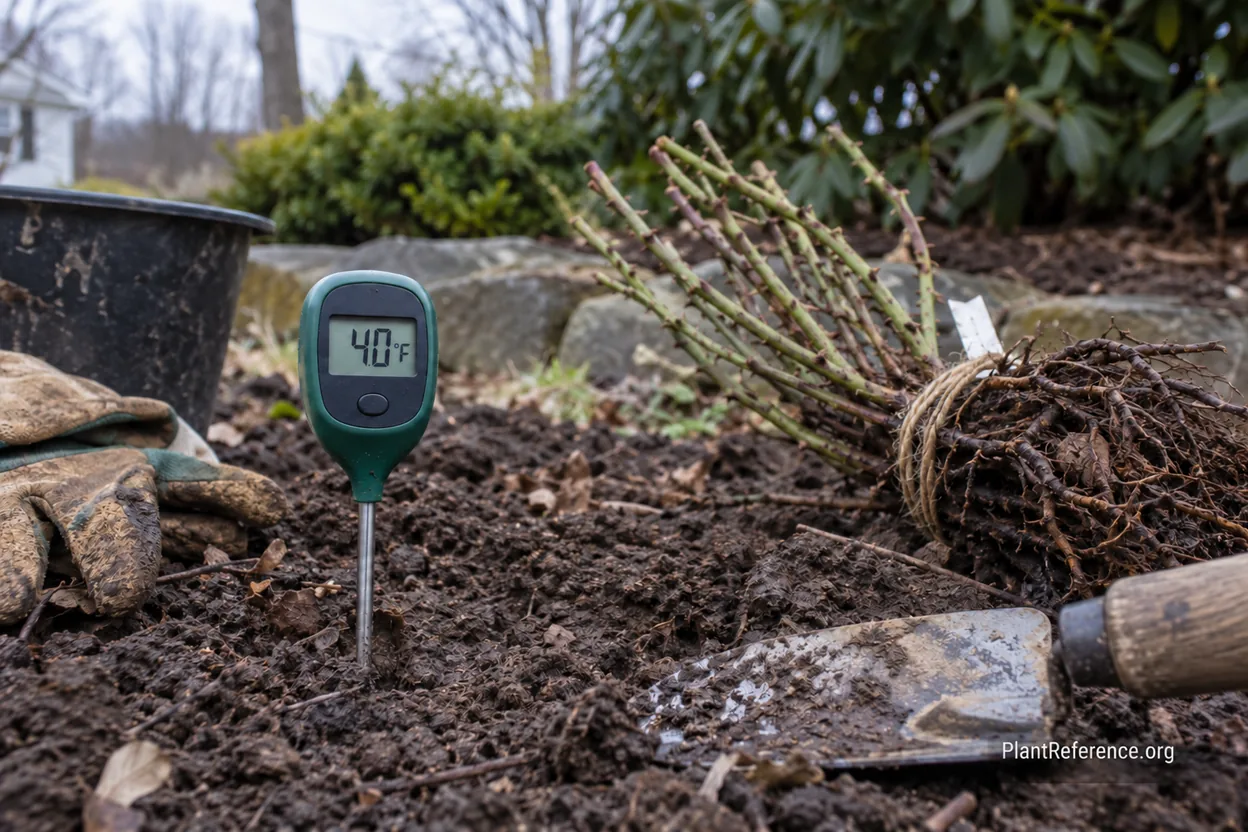
March is the practical target because bare-root roses establish best after severe winter weather has eased but before vigorous shoot growth begins. Use soil condition as the final decision-maker. When the root zone reaches about 40°F (4°C), roots can begin functioning, yet cool air keeps the top of the plant from racing ahead.
Measure in the morning at roughly 4 inches (10 cm) deep for several days. A single warm afternoon can heat the surface while the lower soil remains cold. The bed should also be workable: squeeze a handful of soil, then tap it. If it stays as a glossy, dense lump, wait. Digging saturated soil smears pore spaces shut and creates a compacted wall that can persist around the plant.
Do not force a dormant rose into frozen, flooded, or sticky ground because it arrived by mail. Keep unopened plants cool and protected from freezing according to the supplier's directions. If roots are exposed, wrap them in barely damp material and plant promptly; never let them dry in wind or sun.
A March planting gives roots time to extend before the region's summer dry period. Later planting is possible while the rose remains dormant, but the establishment window narrows. Container roses provide more seasonal flexibility, while bare-root stock rewards precise early timing with an open, inspectable root system and usually lower cost.
Plant when soil is near 40°F (4°C), unfrozen, and crumbly enough to work cleanly.
Delay if the hole fills with water or the soil smears against the shovel.
Keep dormant stock cool and roots damp if planting must wait briefly.
Finish the job before buds have pushed substantial soft growth.
Choose a Healthy Bare-Root Rose
Open the package as soon as practical and inspect what you bought. Healthy canes are firm, with green tissue visible beneath a light scratch of the outer bark. Roots should feel pliable and substantial, not brittle, slimy, or foul smelling. A little surface wrinkling can rehydrate, but extensively shriveled canes or blackened roots signal trouble worth documenting with the seller.
Bare-root roses may be own-root or grafted. Own-root plants grow entirely on their own root system. If winter or accidental damage kills top growth, new shoots remain true to the original plant. They may take two to three years to reach mature size, but they avoid unwanted rootstock suckers.
A grafted plant joins the desired rose to a separate rootstock at the swollen graft union. Rootstock choice affects adaptation. 🌿Rosa multiflora (ROH-zuh mul-tih-FLOR-uh) suits acidic, rainy maritime conditions better than many alternatives. Rosa fortuniana (ROH-zuh for-too-nee-AH-nuh) is vigorous in warm climates but is a poor match for typical Pacific Northwest winters. Other common industry rootstocks can establish well yet may send up vigorous suckers below the graft.
Plant type | Main advantage | Main tradeoff | Pacific Northwest note |
|---|---|---|---|
Own-root rose | New shoots remain true to type | May need 2–3 years to mature | Good long-term choice where patience matters |
Grafted on 🌿Rosa multiflora | Adapts well to acidic, rainy soil | Graft depth needs attention | Strong regional fit for maritime conditions |
Grafted on sucker-prone stock | Widely available and initially vigorous | Rootstock shoots require prompt removal | Identify growth arising below the graft |
Grafted on Rosa fortuniana | Vigorous in warm climates | Poor cold adaptation | Avoid for typical Pacific Northwest gardens |
Choose the system that fits your site and willingness to monitor it. Ask the supplier for the rootstock name rather than accepting “grafted” as a complete answer. If a vigorous shoot later appears below the graft, trace it to its origin and remove it flush at the rootstock; clipping only the visible tip encourages branching.
Prepare the Entire Bed, Not Just the Hole
The most expensive mistake is also the easiest to avoid: digging one deep hole in dense soil and filling it with a rich, fluffy mix. Water moves quickly through the amended pocket, hits the surrounding compacted soil, and stops. The result behaves like a buried bathtub, holding water exactly where new rose roots need oxygen.
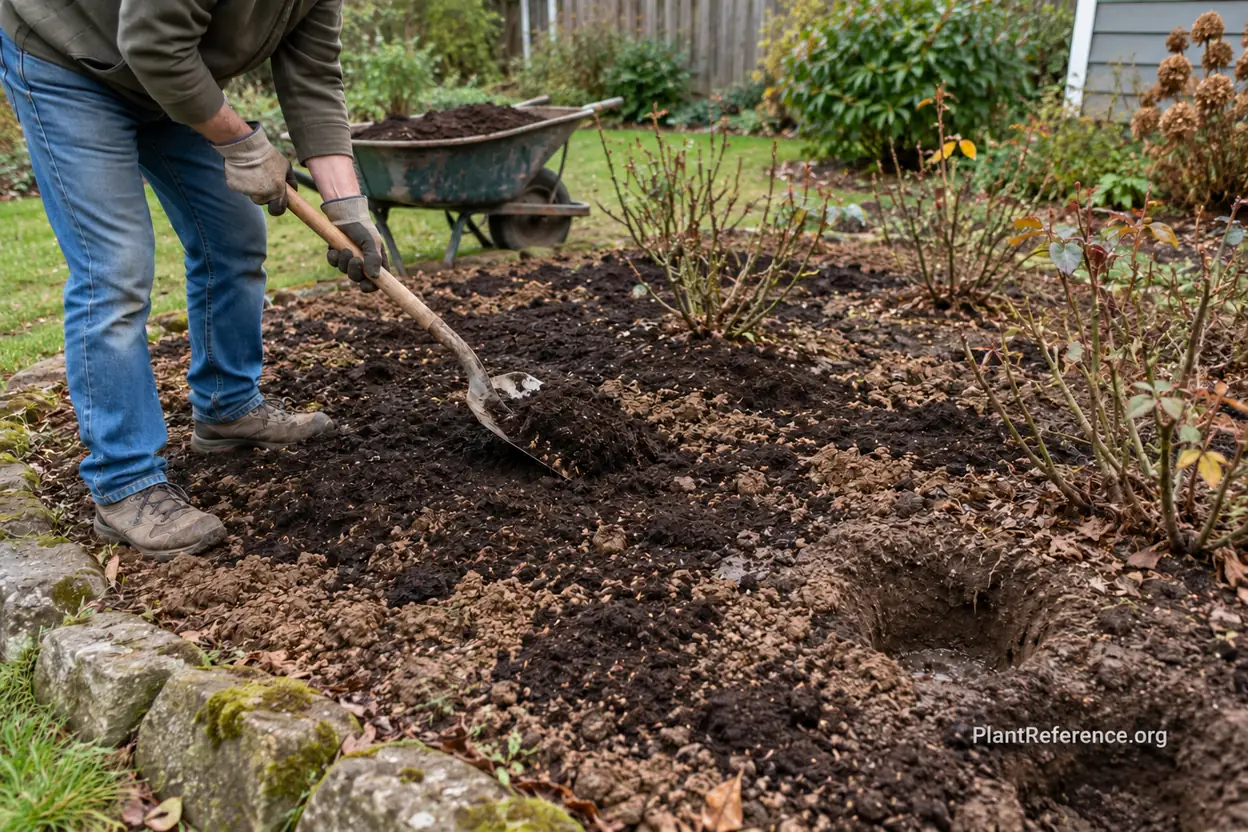
Improve the whole planting zone instead. Loosen a bed at least several feet across where site conditions permit, and distribute finished compost through the upper 8–12 inches (20–30 cm). Keep the native mineral soil as the main structural material. The transition from prepared bed to surrounding ground should be gradual, so roots keep moving outward rather than circling inside one artificial pocket.
Aim for soil pH 6.2–6.8, but test before adding lime or sulfur. Regional rain often leaches soil toward acidity, yet imported soil, masonry debris, or years of amendments can produce a different result. Why Pacific Northwest Soil Is Acidic + How to Fix It explains how to correct a measured problem without turning routine planting into guesswork.
Evaluate drainage before the rose is on site. Dig a test hole about 12 inches (30 cm) deep, fill it, let it drain, then refill it and observe. Water that remains for a day points to compaction, hardpan, grade, or a high seasonal water table. Fix PNW Garden Drainage: Glacial Till, Hardpan & Raised Beds helps separate those causes. If the problem cannot be corrected across the root zone, choose a raised position or a different location.
Build a practical site with:
At least six hours of direct sun, preferably with morning exposure.
Room for mature width and airflow, not merely the packaged cane spread.
Broadly improved soil rather than a compost-lined planting hole.
A pH test and drainage check completed before planting day.
A route for root-zone irrigation during the dry season.
For beds already elevated above grade, compare the drainage and settlement issues in Poor Drainage in Raised Beds: Causes and Fixes for Waterlogged Soil. A raised edge does not guarantee free drainage when the fill sits over compacted subsoil.
Soak, Inspect, and Position the Roots
On planting day, place the roots—not the canes—in clean water for 2–24 hours. Two hours is useful for recently packed, pliable stock; a longer soak helps roots that have spent more time in transit. Do not leave the plant submerged for days. Roots need oxygen, and prolonged soaking does not repair dead tissue.
After soaking, use clean bypass pruners to remove only broken, dead, or badly damaged root ends. Healthy length is stored energy and future reach, so do not trim the root system merely to fit a small hole. Make the planting area fit the roots.
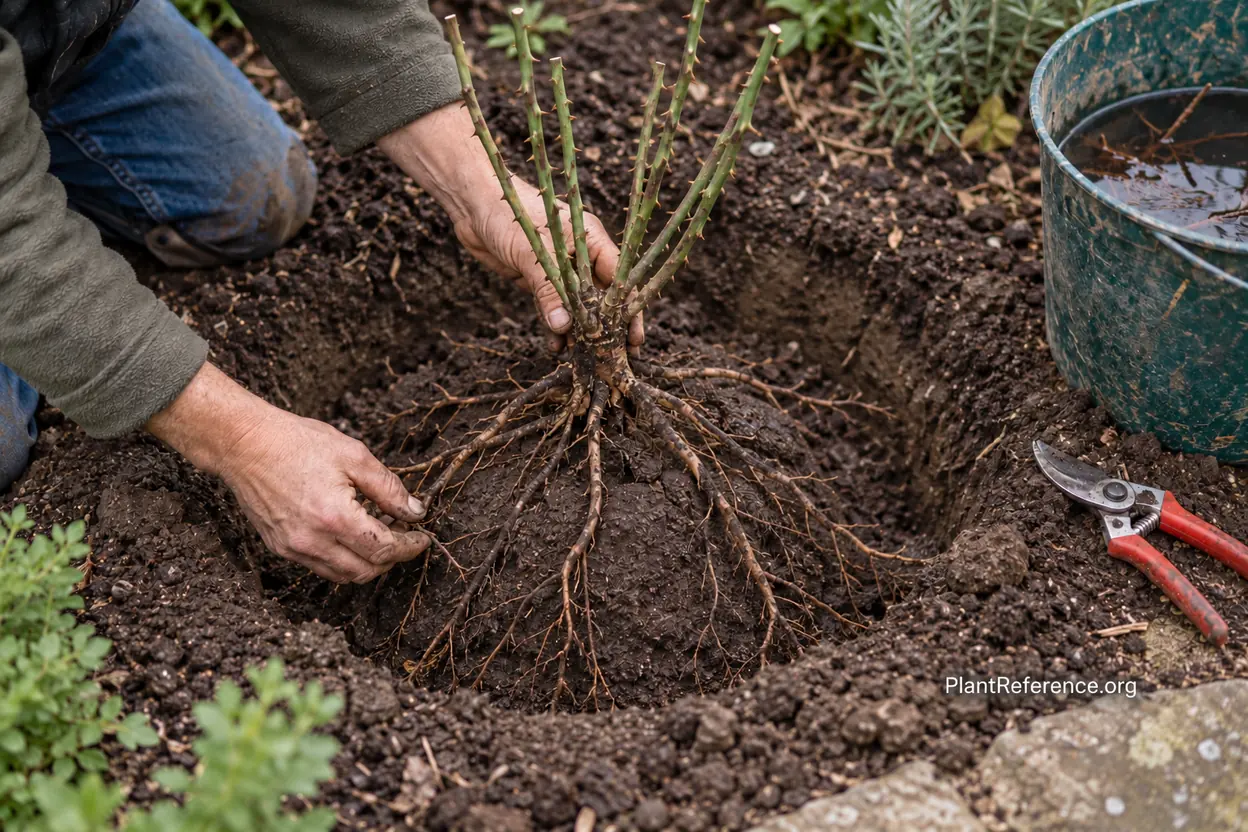
Dig wide enough for every major root to extend without doubling back. Form a low cone or mound of native prepared soil in the center, then lower the plant so roots drape naturally down its sides. Rotate the plant and check from several angles. Roots should radiate outward, not cross tightly or point upward.
Use a straight board or shovel handle across the finished grade as a depth reference. This simple builder's trick is more reliable than judging depth from inside the excavation. Hold the rose at the intended height while adding soil around the roots in stages.
Soak the root system in clean water for 2–24 hours.
Remove broken or dead root tips with sanitized bypass pruners.
Dig a broad opening and create a low central soil mound.
Spread each main root over the mound without sharp bends.
Check graft or crown height against a board laid across grade.
Set the Graft Union at the Correct Depth
Depth depends on plant construction and microclimate. On an own-root rose, position the crown—the transition between stems and roots—at finished soil level. On a grafted rose, identify the knobby union where the desired top was joined to the rootstock.
In a mild maritime Pacific Northwest setting with winter-wet soil, place that graft union at soil level or 1–2 inches (2.5–5 cm) above finished grade. This keeps the vulnerable joint away from persistently saturated soil and makes rootstock suckers easier to identify. Account for settling: loose backfill can sink after watering.
In a genuinely colder, exposed microclimate, the graft may be set 2–4 inches (5–10 cm) below grade for freeze protection. That is not a universal regional rule. Deep burial in heavy, wet soil trades cold protection for poor aeration and possible crown problems. Site drainage and exposure must decide the compromise.
Do not confuse mulch depth with planting depth. Soil establishes the permanent grade; mulch is a removable surface layer. Keep organic mulch pulled back from the canes and graft so it cannot hold constant moisture against living bark.
Correct depth is one reason broad preparation matters. A rose perched high in an isolated mound can dry rapidly, while one sitting at the bottom of an over-dug, amended cavity may settle below grade. Set the structural soil correctly first, then make the final planting opening.
Backfill, Water, and Mulch Correctly
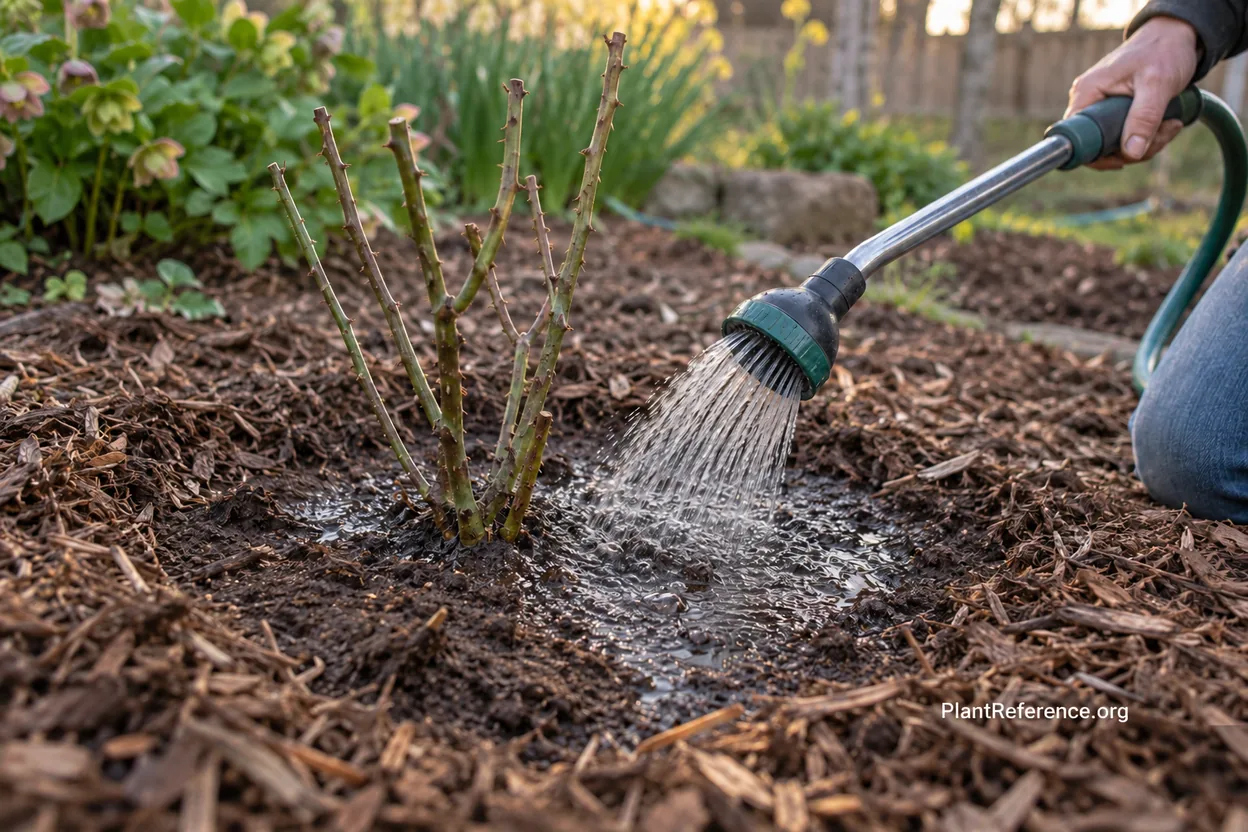
Backfill with the soil prepared across the bed. Work it gently among the roots by hand, then water when the hole is roughly half full. This first watering carries fine soil into air pockets without the heavy compression caused by stomping. Finish filling to grade, recheck the union or crown, and water again slowly.
Build a low, temporary watering rim outside the root spread if the bed is sloped, but do not create a permanent basin in winter-wet soil. Apply 2–3 inches (5–8 cm) of coarse organic mulch over the surrounding bed, leaving several inches clear around the canes. Mulch limits weeds and moderates moisture while the root system is small.
Do not add granular fertilizer directly against bare roots. A dormant plant first needs physical contact with moist, aerated soil. Concentrated salts can injure fresh root surfaces. Begin the regional feeding schedule only after growth is underway and always follow the product label. Soil preparation and correct watering do more for establishment than a handful of “starter” fertilizer.
After planting, shorten only dead or damaged cane portions unless the nursery's instructions require balancing an unusually reduced root system. Preserve sound buds. Attach the label loosely to a support rather than a growing cane, where wire can girdle expanding tissue.
Best Soil Mix for Raised Beds: Creating the Perfect Growing Medium offers useful principles for balancing organic matter, drainage, and moisture retention, but the new rose should still transition into the actual bed rather than remain inside a pocket of bagged mix.
Guide the Rose Through Its First Season
The first weeks are a root-building period. Keep the prepared zone evenly moist but not saturated. Check below the mulch with a finger or trowel rather than watering from habit. Spring rain may cover every leaf while leaving a sheltered root zone surprisingly dry; the opposite can occur in compacted ground.
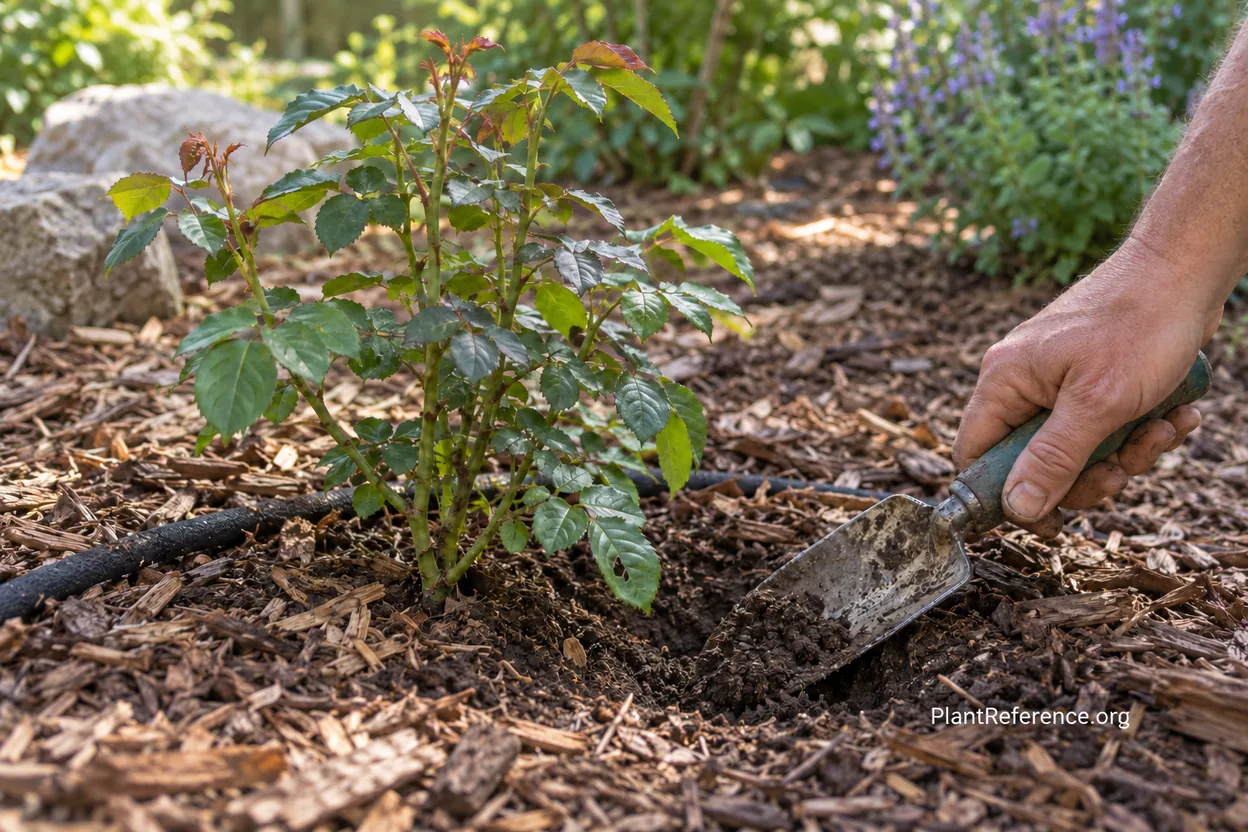
As leaves expand, shift toward deep root-zone watering. During dry weather, water slowly enough to moisten the developing root system rather than sprinkling the surface. Keep foliage dry when possible because black spot infection is favored by roughly seven hours of leaf wetness. A soaker hose laid beneath mulch supports the root zone without extending that wet-leaf period.
Do not let flowers outrank establishment. Removing the earliest weak buds from a stressed plant can redirect resources into roots and canes, although a vigorous plant may carry a modest first flush. Watch the overall trend: firm green canes and expanding leaves matter more than rapid height.
Feed only after active growth shows that roots are functioning. A balanced rose fertilizer can be used monthly from April through August according to its label and plant size. Stop nitrogen by mid-September so new growth can mature before winter. Excess fertilizer cannot compensate for cold soil, poor drainage, or damaged roots.
Inspect weekly for aphids, black spot, mildew, and rust. Remove diseased fallen leaves and thin only obvious crowding; save structural pruning for late winter or early spring around Forsythia bloom. How to Prune Roses: When and How to Prune Every Type of Rose explains how pruning differs once the plant has established a framework.
By late November, refresh 2–3 inches (5–8 cm) of mulch around—but not against—the base. Most maritime Zone 8b roses do not need elaborate hilling. Exposed or colder microclimates may need more protection, especially around a graft, but waterlogged coverings can do more harm than ordinary cold.
Use this first-season rhythm:
Weeks 1–4: maintain even root-zone moisture and protect new growth from drying wind.
Spring: begin labeled feeding only after active growth confirms establishment.
Summer: water deeply below mulch and keep irrigation off foliage.
Mid-September: stop nitrogen and let canes harden naturally.
Late fall: remove diseased debris, refresh mulch, and secure long canes.
If the new rose shares a mixed border, Plan a Perennial Garden That Blooms Spring to Fall can help reserve enough airspace while nearby plants carry color before the rose reaches full size.
Diagnose Common Planting Problems
A newly planted rose that remains dormant is not automatically dead. Scratch a tiny area of cane; green tissue indicates life. Soil may still be too cool for visible growth, especially when roots are beginning first. Keep moisture steady and avoid repeatedly lifting the plant to check it.
Wilting in wet soil points toward oxygen loss or root damage, not a need for more water. Check whether water is trapped in an amended pocket or whether the graft settled below grade. Correct drainage across the bed instead of pouring more compost into the same hole. If raised construction is needed, Best Season Extenders for the Pacific Northwest Garden is less relevant than fixing the root environment; warmth cannot substitute for aeration.
Wilting in dry soil is more straightforward. Water slowly across the original root spread and verify that moisture penetrates beneath mulch. Wind can dehydrate leafing canes faster than a limited root system can replace water, so a temporary permeable screen may help on an exposed site.
Shoots originating below a graft are rootstock suckers. Their leaves, prickles, or growth habit may differ from the desired rose. Trace each sucker to its source and remove it cleanly there. Cutting at soil level while leaving the base attached encourages regrowth.
Blackened cane tips should be trimmed back to healthy tissue with sanitized pruners. Widespread blackening, soft roots, or a sour smell suggests the plant was damaged before or after planting. Photograph the symptoms, keep the supplier label, and contact the seller within the guarantee period.
Finally, resist the urge to rebuild the planting every time top growth pauses. Bare-root roses need consistent conditions more than constant intervention. A sound installation—workable March soil, a broad prepared bed, naturally spread roots, correct graft depth, staged watering, and patient first-season care—does the durable work.
Frequently Asked Questions

Reading about plants and recognising them are different skills. These three build the second.
- Daily PlantIdentify the day’s mystery plant from a close-up photograph.
- Keyed OutWork a dichotomous key, lead by lead, to name a hidden specimen.
- Name That PlantName a specimen from botanical clues dealt hardest first.
Free to play, no account needed
Tagged with
Mike's been designing residential landscapes in the Seattle area, with a particular focus on Pacific Northwest natives and sustainable practices. He's a Washington State Master Gardener and worked in construction before landscaping, which gives him a practical edge when it comes to building raised beds and hardscaping projects. He runs a small side business propagating and selling unusual perennials at farmers markets on weekends. His property serves as a testing ground for low-maintenance, wildlife-friendly garden designs. Mike's philosophy: if it requires weekly maintenance, it's not sustainable.