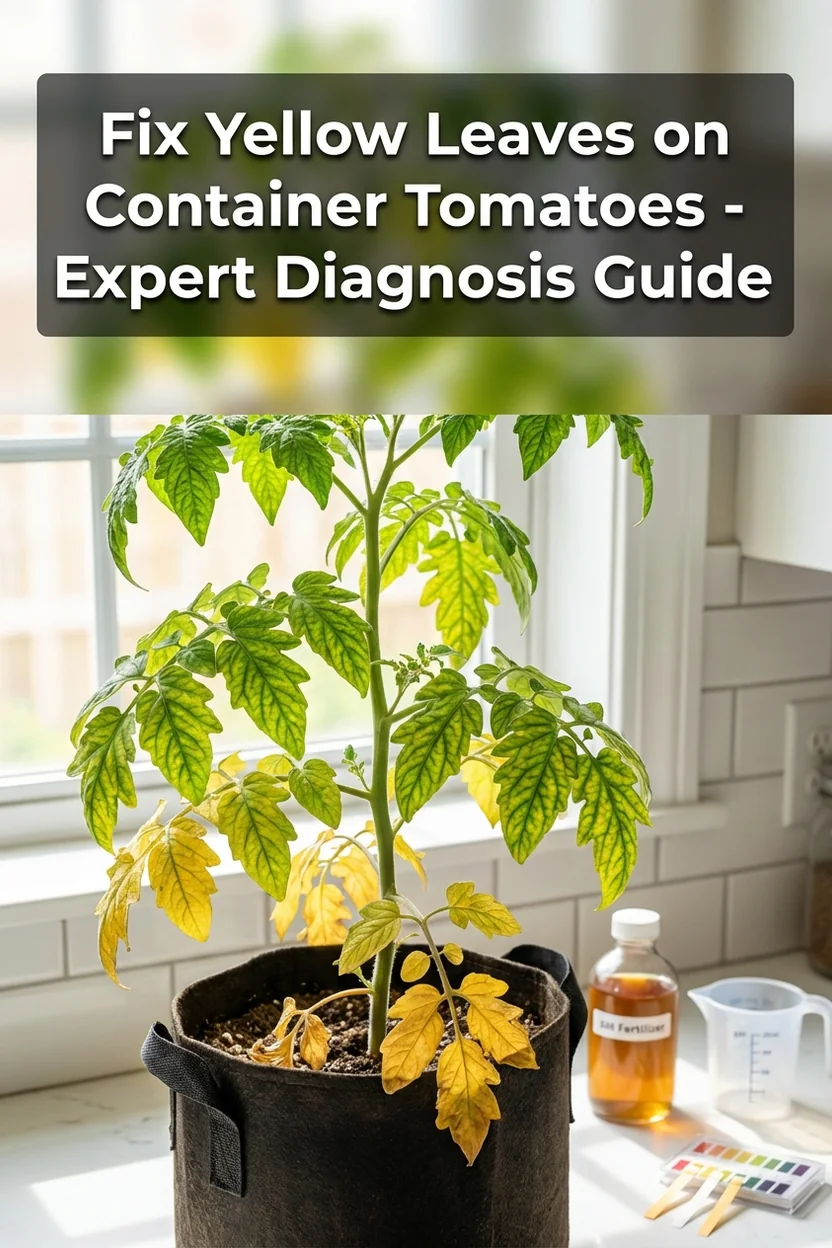
Yellow Leaves on Container Tomatoes: Diagnosing and Fixing Nutrient Deficiencies
Pets & Toxicity
Recorded toxicity for plants linked in this guide. An unknown status is not a safety assessment.
Toxic to pets: phoenix tomato, yellow pear tomatoDetailsHide
Solanum lycopersicum 'Phoenix' — Toxicity Warning
Toxic to petsView Solanum lycopersicum 'Phoenix' plant profileSolanum lycopersicum 'Yellow Pear' — Toxicity Warning
Toxic to petsView Solanum lycopersicum 'Yellow Pear' plant profile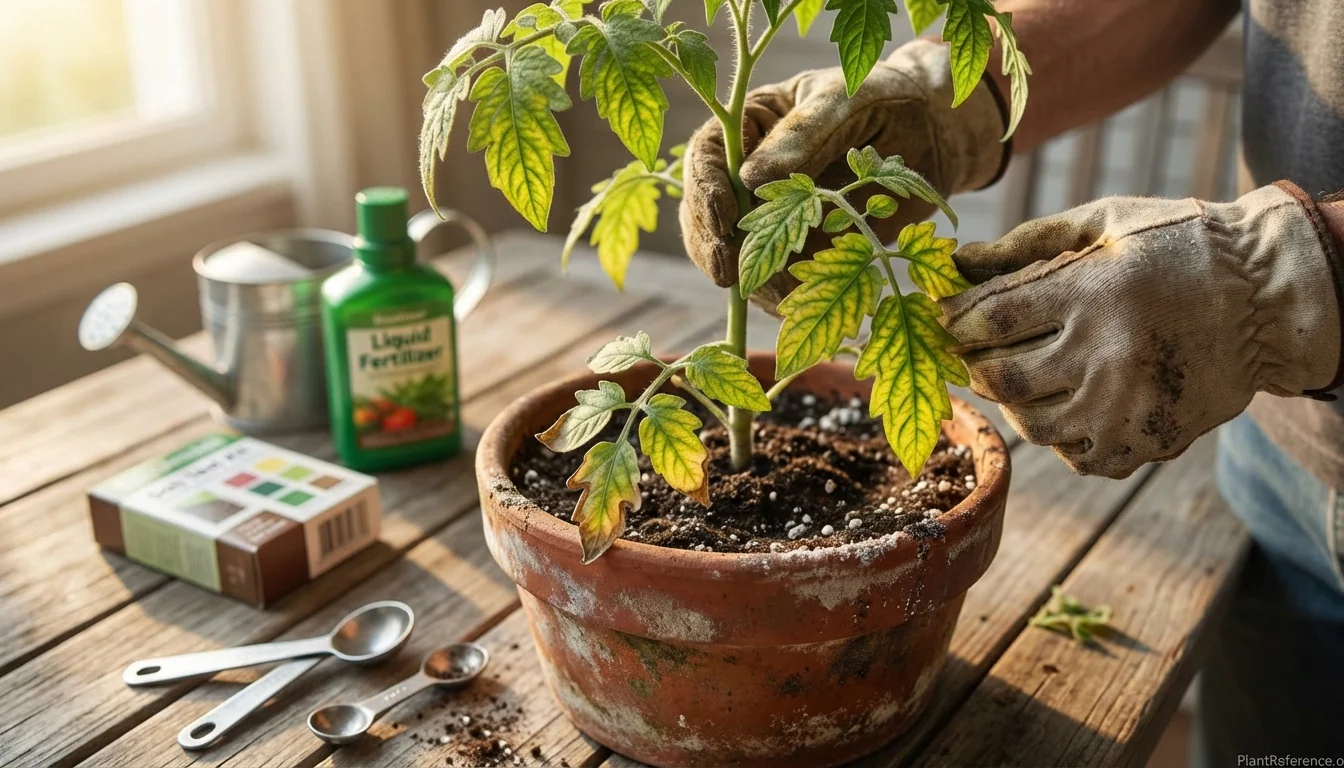
— Image © Plant Reference 2026
Let's cut to the chase—your container tomatoes are turning yellow because they're hungry, and I'm going to show you exactly which nutrients they need and how to fix it fast. Yellow leaves on container tomatoes signal specific nutrient deficiencies that are completely preventable with the right diagnosis.
Why Container Tomatoes Get Yellow Leaves
Container tomatoes 🌿Solanum lycopersicum 'Yellow Pear' (so-LAH-num ly-ko-PER-si-kum) are nutrient-hungry plants trapped in a limited soil volume. Unlike garden tomatoes that can extend their roots to find nutrients, your container plants rely entirely on what you provide—and here's the problem most people don't realize.
Every time you water, nutrients leach out the drainage holes. Container plants need 30-50% more fertilizer than in-ground plants because of this constant washout. Add in the fact that containers heat up faster, increasing plant metabolism and nutrient demand, and you've got a recipe for deficiencies.
The three most common culprits behind yellow leaves are:
Nitrogen deficiency (bottom leaves turn yellow first)
Iron deficiency (new growth appears yellow or pale green)
Magnesium deficiency (yellowing between leaf veins while veins stay green)
Each deficiency has a distinct pattern, and once you learn to read the signs, you can fix the problem in days, not weeks.
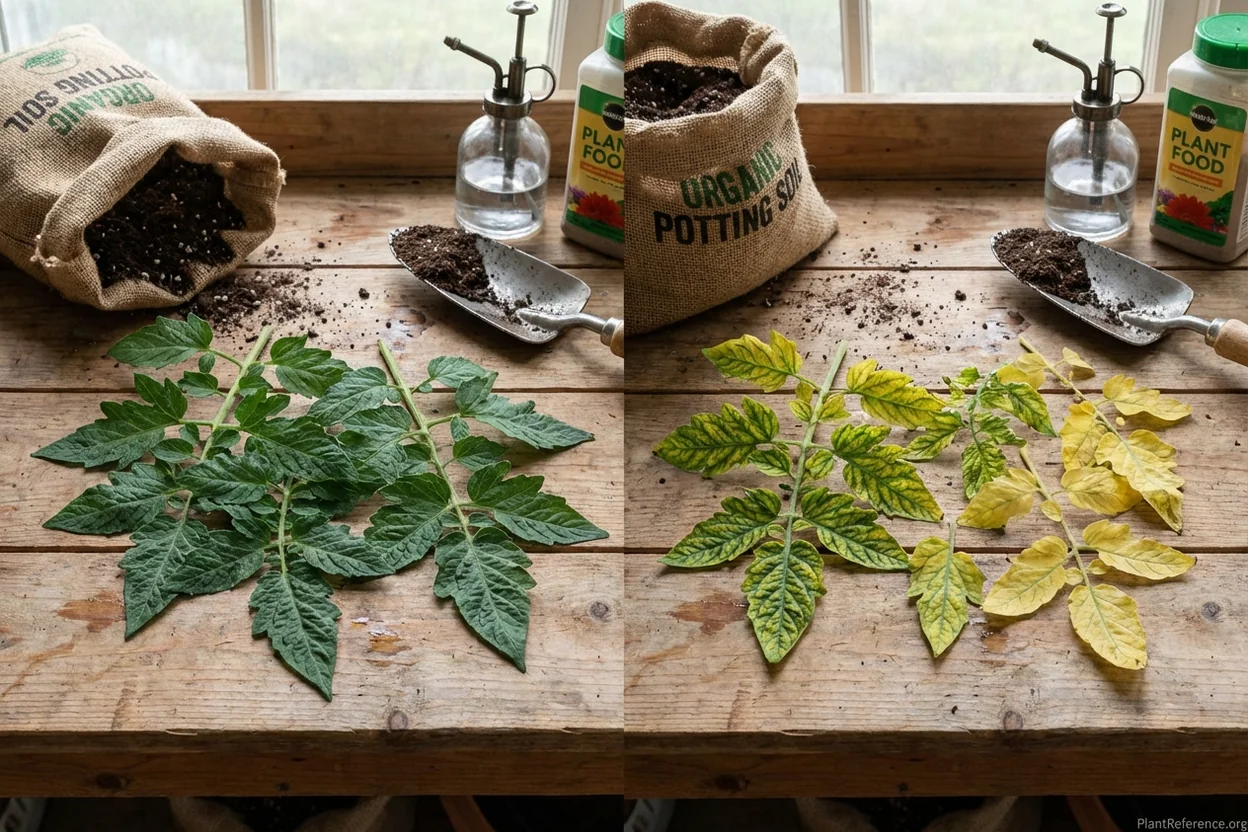
The Big Three: Nitrogen, Iron, and Magnesium Deficiencies
Nitrogen Deficiency: The Bottom-Up Problem
Nitrogen deficiency starts with the oldest leaves at the bottom of the plant. These leaves turn uniformly yellow, then brown, and eventually drop off. The plant is literally cannibalizing its older leaves to feed new growth above.
You'll see this most commonly in containers because nitrogen is highly water-soluble and washes out quickly. If you're watering daily in hot weather (which you should be), you're flushing nitrogen out the drainage holes every single day.
Quick test: Look at your plant from the side. If yellowing starts at the bottom and works its way up, and the veins aren't staying green, it's nitrogen deficiency.
Iron Deficiency: The New Growth Problem
Iron deficiency shows up in the newest, youngest leaves first. These leaves emerge pale green or yellow while the older leaves stay green. Iron is what tomatoes need to produce chlorophyll, so without it, new leaves can't green up properly.
Container tomatoes get iron deficiency when soil pH rises above 7.0, which makes iron unavailable even if it's present in the soil. This happens because most potting soils start neutral and become more alkaline over time as you water with alkaline tap water.
Magnesium Deficiency: The Vein Pattern
Magnesium deficiency creates the most distinctive pattern: yellowing between the leaf veins while the veins themselves stay green. It looks like a roadmap with green highways and yellow neighborhoods.
This deficiency typically affects middle-aged leaves first, not the oldest or newest. Magnesium gets locked out when container soil becomes too acidic (below 6.0) or when there's too much potassium in the soil from overfertilizing.
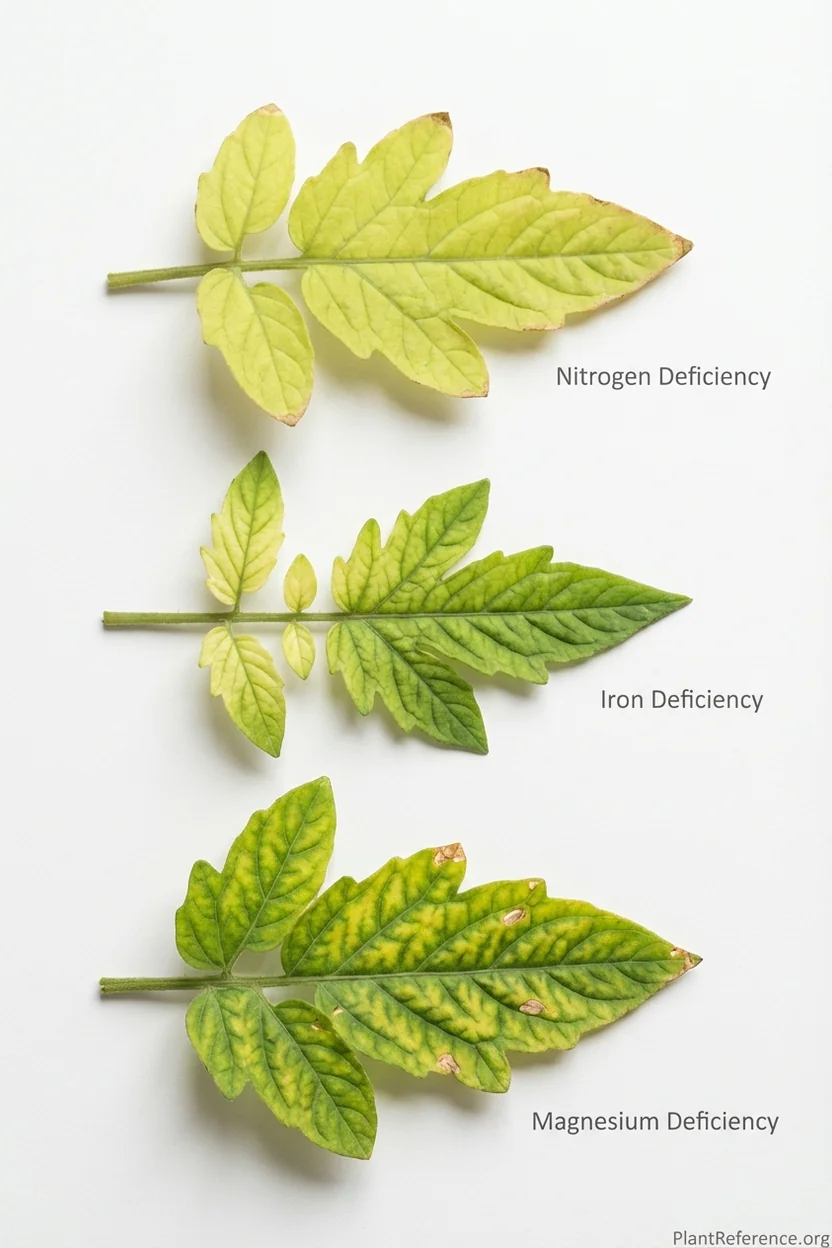
Visual Diagnosis Guide: Which Yellow Pattern Do You See?
Here's my foolproof method for diagnosing yellow leaves on container tomatoes. Walk outside with your plant and answer these questions:
Step 1: Where are the yellow leaves?
Bottom of plant working up = Nitrogen deficiency
Top of plant (newest growth) = Iron deficiency
Middle sections of plant = Magnesium deficiency
Step 2: What do the veins look like?
Veins yellow too = Nitrogen deficiency
Veins stay green, areas between turn yellow = Magnesium deficiency
New leaves pale all over = Iron deficiency
Step 3: How long has this been happening?
Gradual over weeks = Chronic underfertilizing (nitrogen)
Sudden in hot weather = Iron lockout from pH shift
After heavy fertilizing = Magnesium lockout from potassium excess
Most container tomato yellow leaves fall into nitrogen deficiency because people simply don't feed their plants enough. Container growing requires aggressive fertilization compared to garden growing.
For a detailed guide on proper container tomato nutrition, check out Container Tomato Fertilization Schedule. And if you're dealing with other container problems, The Complete Guide to Growing Tomatoes in Containers covers prevention strategies.
Quick Fixes for Each Type of Deficiency
Fixing Nitrogen Deficiency (24-48 Hour Results)
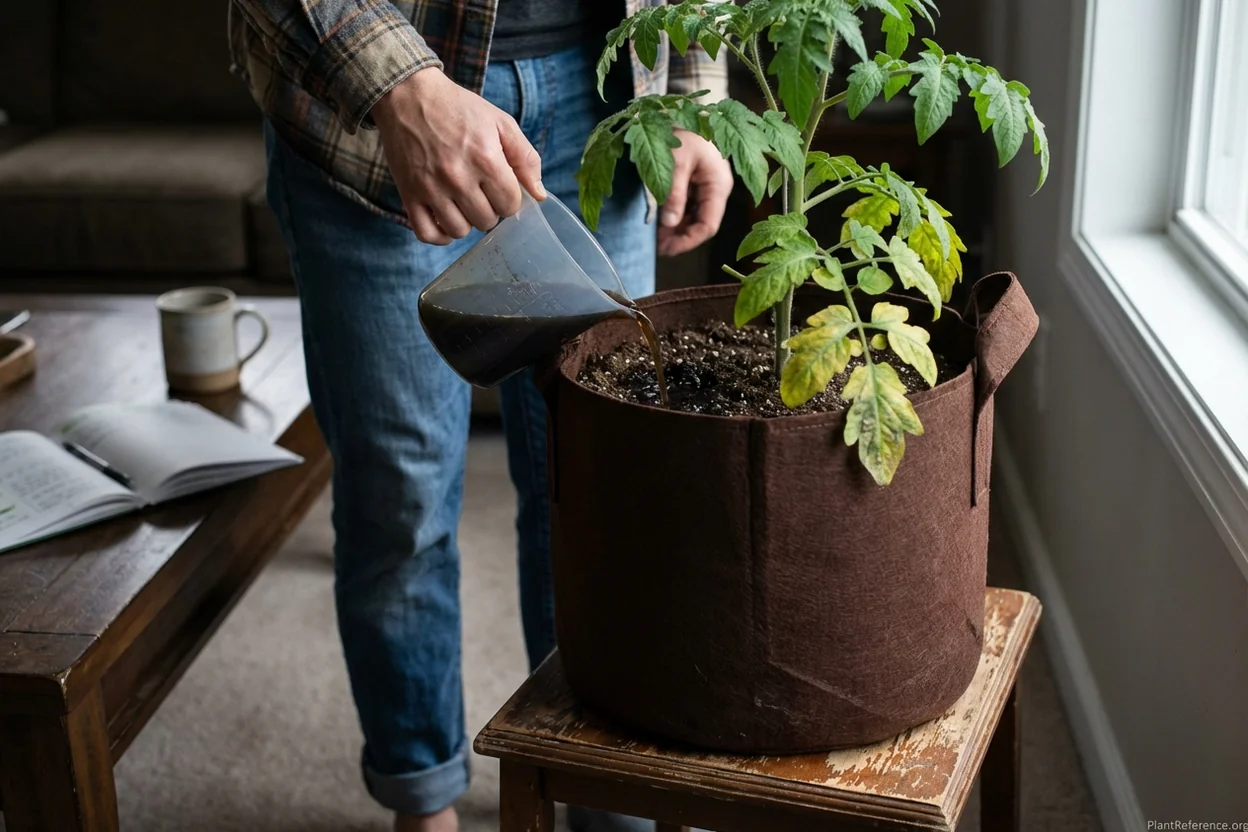
For immediate results, apply liquid fertilizer diluted to half strength every other day until you see new green growth, then switch to weekly full-strength feeding. I recommend fish emulsion or a balanced liquid fertilizer with equal N-P-K ratios.
Emergency nitrogen fix: Mix 1 tablespoon fish emulsion per gallon of water and soak the entire root zone. You'll see greening start within 48 hours.
Long-term prevention requires a feeding schedule: liquid fertilizer every 2 weeks or slow-release granules applied monthly during growing season.
Fixing Iron Deficiency (3-7 Day Results)
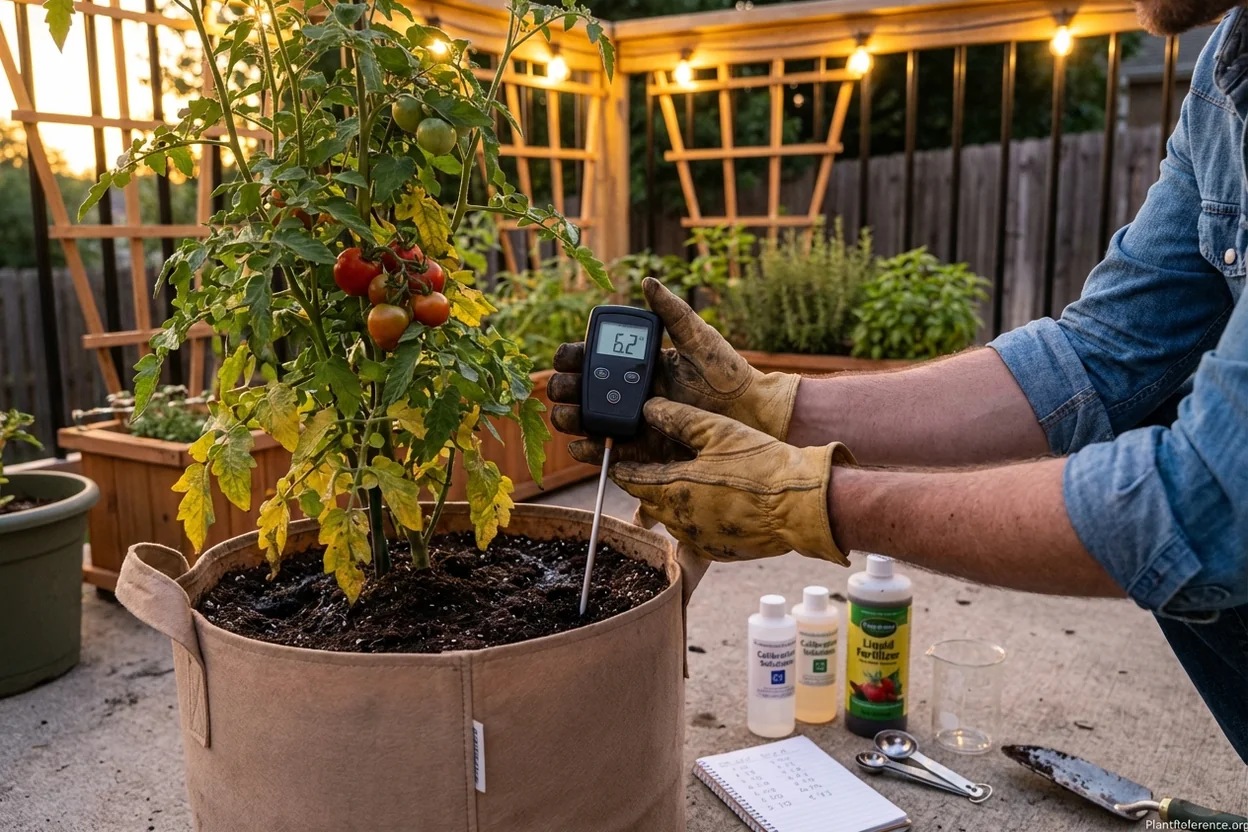
Iron deficiency usually means your soil pH is too high, making iron unavailable. Test your soil pH—if it's above 7.0, you need to acidify.
Immediate fix: Apply chelated iron fertilizer as a foliar spray on new growth. Mix according to package directions and spray early morning or evening to avoid leaf burn.
Long-term fix: Lower soil pH to 6.0-6.8 using sulfur or switching to an acidic fertilizer like ammonium sulfate. This makes existing iron in the soil available again.
Fixing Magnesium Deficiency (5-10 Day Results)
Magnesium deficiency responds quickly to Epsom salt (magnesium sulfate) applications. This is one of the few times I recommend Epsom salt for tomatoes—when you have a confirmed magnesium deficiency.
Quick fix: Mix 2 tablespoons Epsom salt per gallon of water and apply to soil monthly. You can also foliar spray at 1 tablespoon per gallon for faster absorption.
Check your potassium levels if magnesium deficiency persists—too much potassium prevents magnesium uptake.
Preventing Yellow Leaves in Container Tomatoes
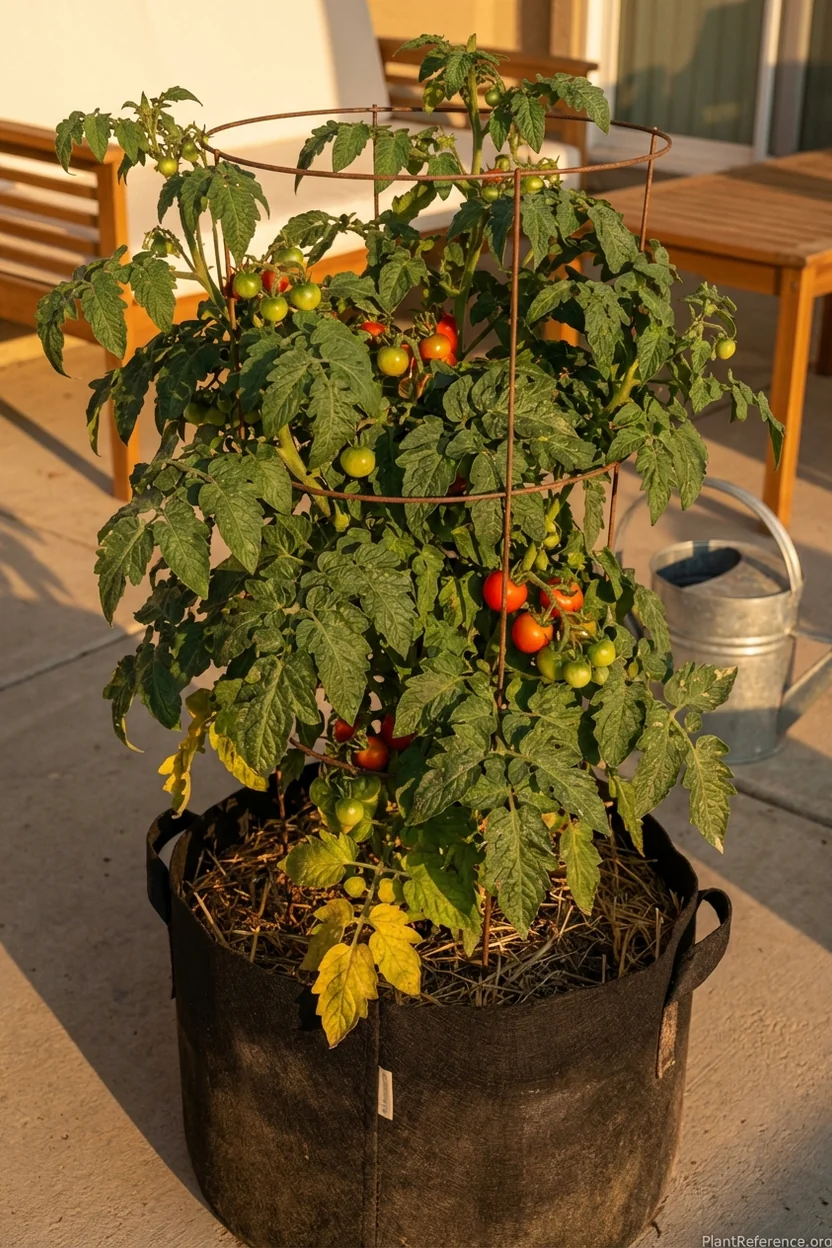
Prevention beats treatment every time. Here's my bulletproof system for keeping container tomato leaves green all season:
1. Start with Quality Potting Mix Use a potting mix designed for vegetables, not flowers. Vegetable mixes contain slow-release fertilizer and maintain better pH over time. I recommend mixes with compost, perlite, and vermiculite for drainage and nutrient retention.
2. Install a Feeding Schedule Container tomatoes need food every 2 weeks with liquid fertilizer or monthly with slow-release granules. Set calendar reminders because forgetting for 3-4 weeks guarantees yellow leaves.
3. Monitor Soil pH Monthly Test soil pH every 4 weeks during growing season. Container soil pH drifts over time due to fertilizer applications and watering. Keep it between 6.0-6.8 for optimal nutrient availability.
4. Use the Right Container Size Small containers (under 5 gallons or 19 liters) create nutrient stress because plants quickly exhaust available nutrients. Minimum 5 gallons (19 liters) for determinate varieties, 10+ gallons (38+ liters) for indeterminate varieties.
If you're struggling with container size selection, Container Size Matters: The Ultimate Guide to Choosing the Perfect Pot for Tomatoes provides detailed sizing recommendations by variety type.
Advanced Troubleshooting: When Simple Fixes Don't Work
Sometimes yellow leaves persist despite fertilizing. Here are the less common causes I troubleshoot when standard fixes fail:
Root Problems If the entire plant looks pale and growth slows, check for root rot. Remove the plant from its container and examine roots. Healthy roots are white or cream-colored; rotten roots are brown or black and smell sour.
Water Quality Issues High-chlorine water or water with extreme pH can interfere with nutrient uptake. Let tap water sit 24 hours before using, or switch to filtered water if problems persist.
Temperature Stress Container soil temperatures above 85°F (29°C) can shut down nutrient absorption even with adequate fertilization. Move containers to receive morning sun but afternoon shade, or use white containers to reflect heat.
Overfertilization Lockout Too much fertilizer can actually cause yellowing by creating salt buildup that blocks water and nutrient uptake. If soil has white crusty deposits, flush containers with plain water until runoff runs clear, then resume normal feeding.
For comprehensive container troubleshooting, including root problems and diseases, see Container Tomato Diseases: Preventing Septoria Early Blight.
The bottom line: yellow leaves on container tomatoes are completely preventable with consistent feeding and proper soil pH management. Start with my quick diagnosis guide, apply the appropriate fix, and maintain a regular fertilization schedule to keep leaves green all season.
Frequently Asked Questions
Reading about plants and recognising them are different skills. These three build the second.
- Daily PlantIdentify the day’s mystery plant from a close-up photograph.
- Keyed OutWork a dichotomous key, lead by lead, to name a hidden specimen.
- Name That PlantName a specimen from botanical clues dealt hardest first.
Free to play, no account needed
Linda's been growing tomatoes in containers on her suburban Pittsburgh balcony—ever since her kids grew up and she finally had time for hobbies again. She's a medical billing specialist by day and a tomato enthusiast by night and weekend. Linda started documenting her container growing experiments on a simple blog and discovered other renters and condo dwellers were desperate for practical advice. She tests different varieties every season, tracking yields, disease resistance, and flavor in a detailed spreadsheet. Linda's approach is practical and budget-conscious—she saves seeds, reuses containers, and makes her own fertilizer from kitchen scraps. Her specialty is maximizing production in small spaces, and she's perfected the art of growing full-size tomatoes in 5-gallon buckets. She's a Pennsylvania Master Gardener and teaches container growing workshops at her local library.