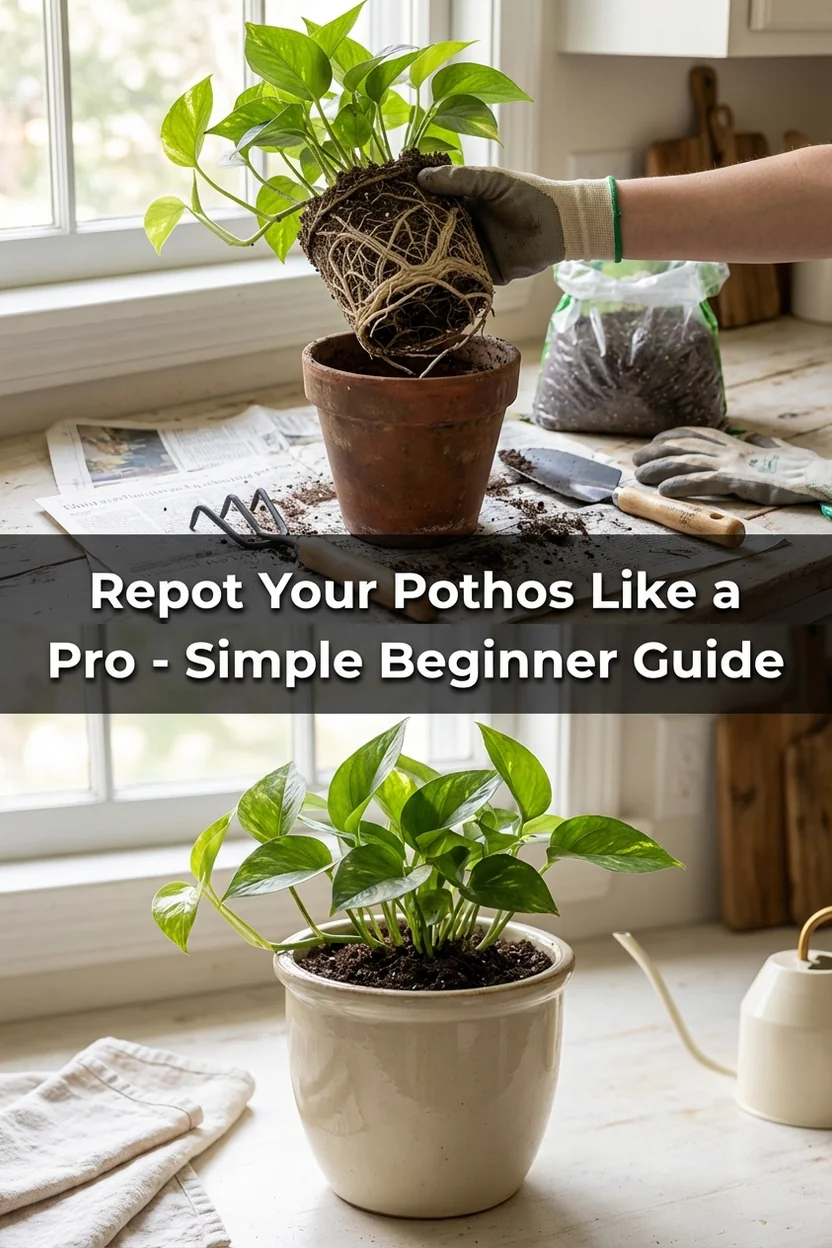
Repotting Pothos: When and How (Beginner-Friendly)
Pets & Toxicity
Recorded toxicity for plants linked in this guide. An unknown status is not a safety assessment.
Toxic to pets: golden pothosDetailsHide
Epipremnum aureum — Toxicity Warning
Toxic to pets and humans. All parts contain insoluble calcium oxalate crystals that cause mouth pain, swelling, and drooling if ingested.View Epipremnum aureum plant profile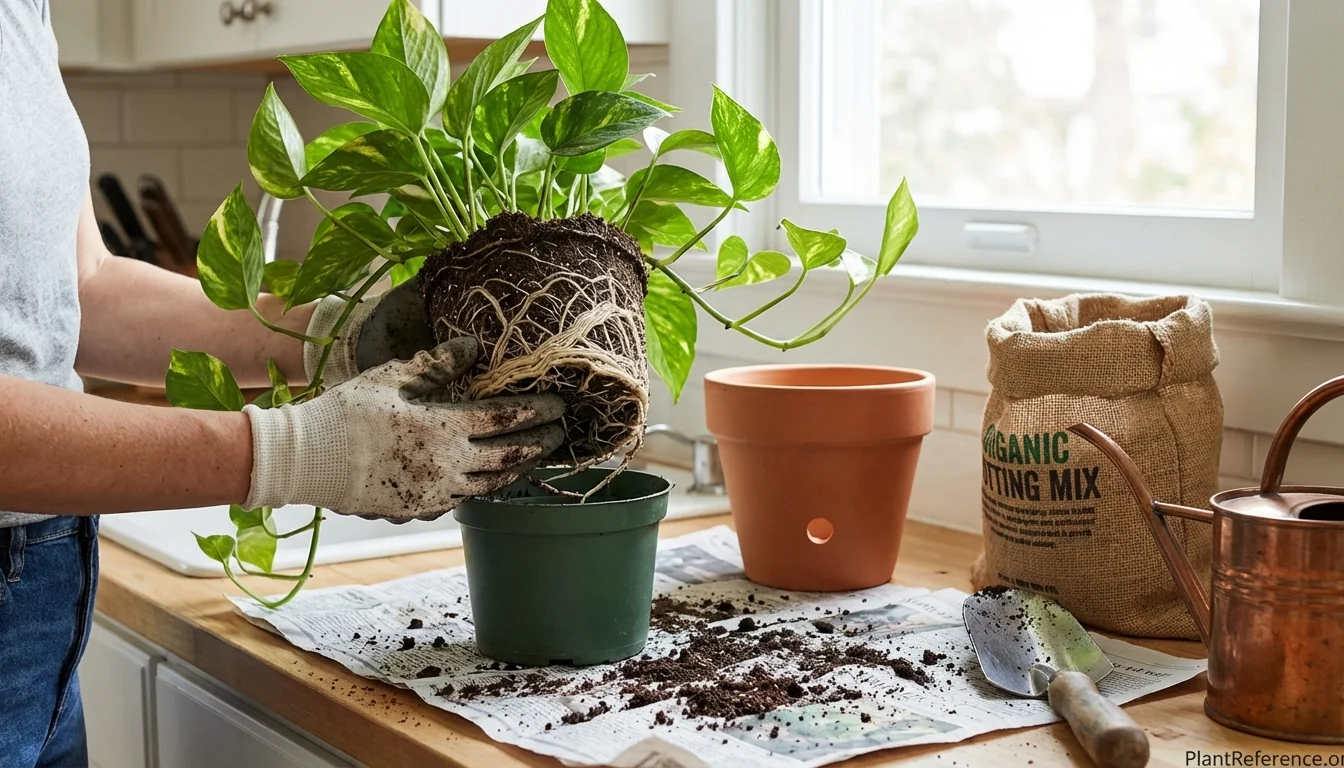
— Image © Plant Reference 2026
I remember the first time I noticed my marble queen pothos looking a little sad—growth had slowed, water was running straight through the pot, and I could see pale roots peeking out the drainage holes. If this sounds familiar, your pothos is probably ready for a bigger home.
Repotting pothos might seem intimidating, but these forgiving plants make it nearly impossible to mess up. Unlike fussy houseplants that hate being disturbed, pothos 🌿Epipremnum aureum (ep-ih-PREM-num AW-ree-um) actually benefits from fresh soil and a roomier pot. I've repotted dozens over the years, and each one bounced back stronger than before.
When Does Your Pothos Need Repotting?
Your pothos will give you clear signals when it's outgrown its current pot. I've learned to watch for these telltale signs that mean it's time to size up.
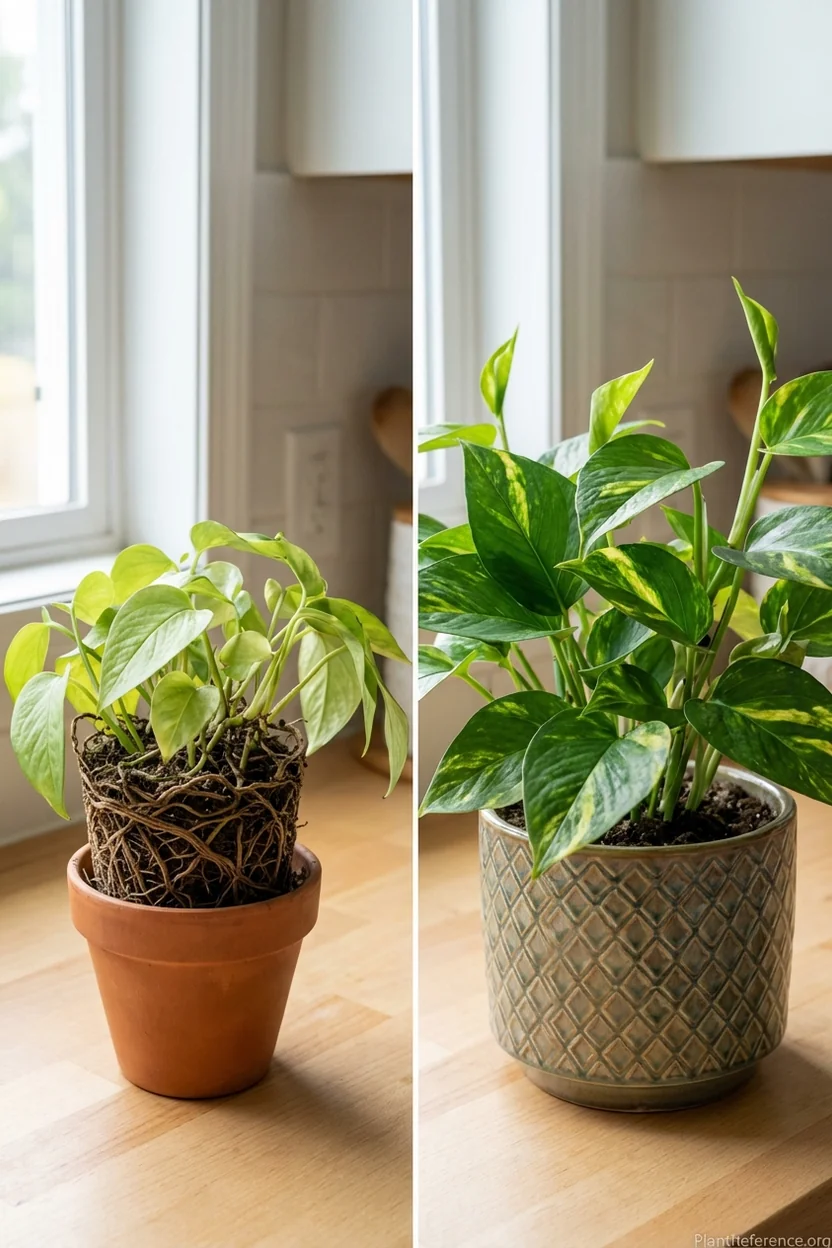
Roots growing through drainage holes are the most obvious indicator. When I see white or cream-colored roots poking out the bottom, I know the plant has run out of space. These aren't just a few stray roots—we're talking about multiple thick roots that have nowhere else to go.
Water running straight through the pot happens when roots have filled all available soil space. If you water your pothos and see water immediately flowing out the drainage holes without being absorbed, there's simply not enough soil left to hold moisture. This happened to my golden pothos after about 18 months in the same 6-inch (15 cm) pot.
Growth changes tell the real story of a rootbound plant:
New leaves emerge smaller than previous growth
Vines stop extending despite good care
Overall plant looks stunted or stops producing new growth
Leaves may yellow more frequently than normal
Soil pulling away from pot edges creates gaps around the perimeter where water escapes without reaching roots. I noticed this with my jade pothos last spring—the entire root ball had shrunk and hardened, creating a 0.5-inch (1.3 cm) gap all around.
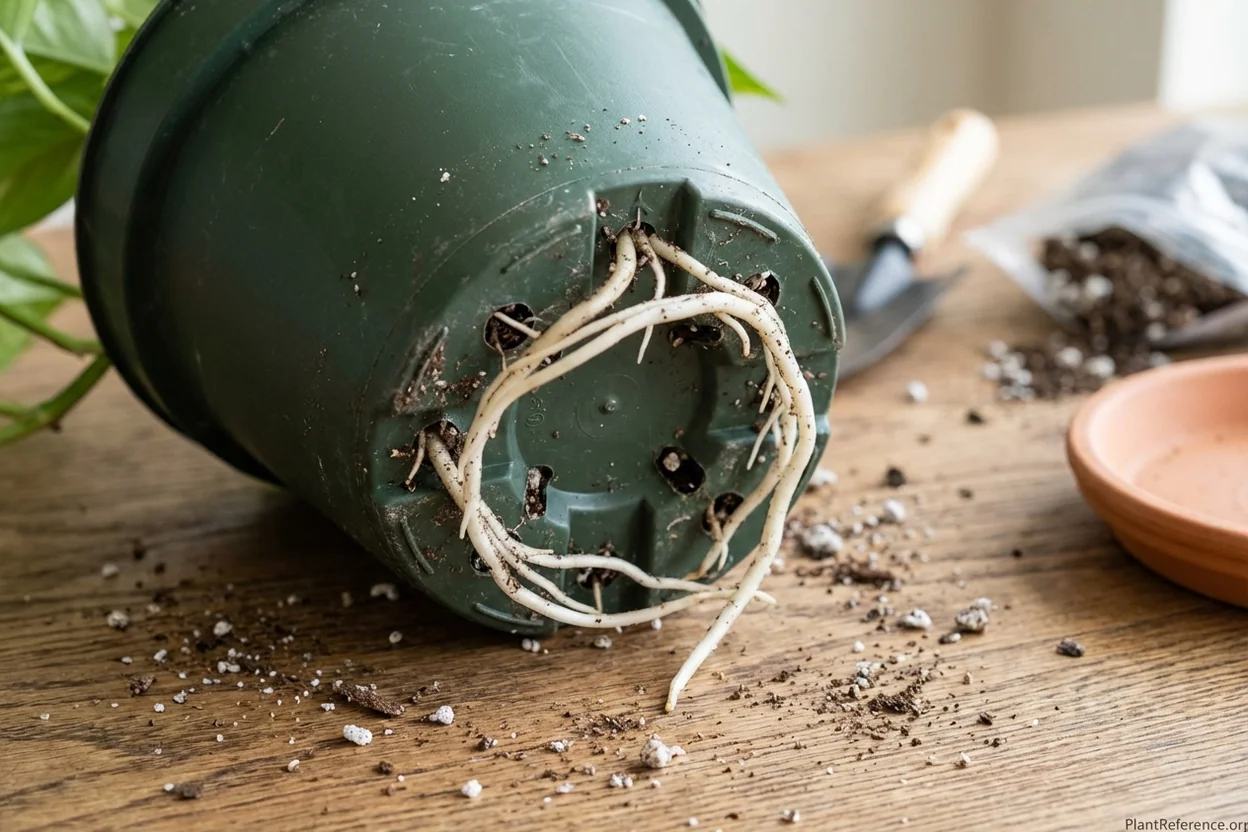
Timing matters for repotting success. I always repot my pothos in spring or early summer (March through July) when they're actively growing. This gives them the entire growing season to establish in their new pot. Avoid repotting in fall or winter unless it's an emergency—dormant plants recover much slower.
Most pothos need repotting every 1-2 years. Fast-growing varieties like golden pothos may need annual repotting, while slower-growing types like marble queen can go 18-24 months. I keep a simple calendar note for each plant so I don't forget.
Choosing the Right Pot Size and Style
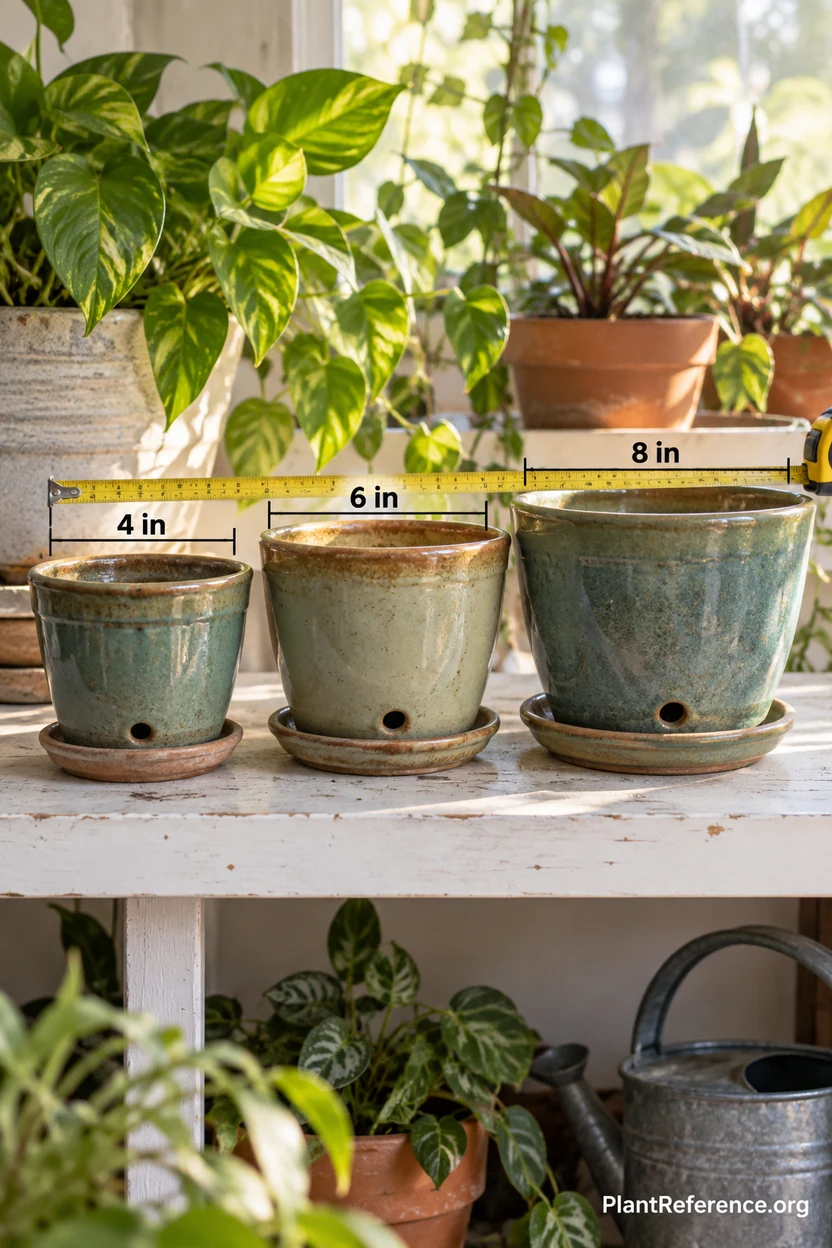
The biggest mistake I see beginners make is jumping to a pot that's way too big. Your instinct might be to give your pothos tons of room, but this actually causes problems. Size up by only 1-2 inches (2.5-5 cm) in diameter—that's it.
Here's why pot size matters so much: pothos roots need to feel snug to grow properly. In oversized pots, soil stays wet too long because there aren't enough roots to absorb the water. This leads to root rot, which I learned the hard way with my first neon pothos.
For hanging planters, consider weight when choosing materials. A large ceramic pot looks gorgeous but becomes incredibly heavy when filled with wet soil and a mature plant. I switched to lightweight resin or plastic hanging planters after my macrame hanger broke under the weight of a ceramic pot.
→ BUYMAX Ceramic Pots with Drainage 4-Pack ($18-25) - Perfect starter pots with matching saucers
Set includes 5-inch ceramic pots with drainage holes and matching saucers in modern white finish. High-temperature ceramic construction prevents cracking and includes non-slip cork pads. Each pot measures 5.1 inches wide by 4.5 inches tall, perfect for repotting 4-6 inch pothos. Elegant minimalist design complements any home decor while providing essential drainage for healthy root development.
Drainage is non-negotiable for pothos repotting. Every pot must have drainage holes—no exceptions. I've seen too many pothos die in decorative pots without drainage. If you fall in love with a pot that lacks holes, use it as a decorative outer pot (cachepot) with a plastic nursery pot inside.
For climbing pothos, choose taller pots that can accommodate a moss pole or trellis. Standard pots work fine for trailing varieties. My marble queen has been happily trailing from the same 8-inch (20 cm) ceramic pot for two years.
Best Soil Mix for Pothos
Don't overthink soil selection—pothos are remarkably adaptable. Standard indoor potting mix works perfectly for 99% of situations. I use regular Miracle-Gro Indoor Potting Mix for all my pothos and they thrive.
Avoid garden soil or outdoor potting mix, which stays too wet indoors and may contain pests or diseases. Indoor potting mixes drain faster and are sterilized, making them much safer for houseplants.
Key soil characteristics that make pothos happy:
Well-draining but retains some moisture
Slightly acidic to neutral pH (6.0-7.0)
Contains perlite or vermiculite for drainage
Lightweight and fluffy texture
Some organic matter for nutrition
DIY soil mix isn't necessary, but if you want to customize, try this simple recipe I use for my collection: 2 parts standard potting soil + 1 part perlite + 1 part coco coir. This creates excellent drainage while holding enough moisture for steady growth.
Cactus mix is too dry for pothos, despite what some sources suggest. I tried it once with my jade pothos and had to water almost daily. Stick with regular houseplant soil.
→ Miracle-Gro Indoor Potting Mix 6 Qt ($8-12) - Trusted formula that works every time
Premium indoor potting mix specially formulated for houseplants with excellent drainage and moisture retention. Contains coconut coir, aged bark, and perlite for optimal root health. 6-month controlled-release fertilizer feeds plants continuously. Less prone to gnats compared to outdoor mixes. Sterile formula prevents soil-borne diseases while providing proper aeration. Perfect consistency for repotting pothos and other houseplants.
Step-by-Step Repotting Process
I've streamlined my repotting process over the years to minimize stress on both me and my plants. Here's exactly how I repot every pothos, step by step.
Gather your supplies first so everything's within reach:
New pot with drainage holes
Fresh potting soil
Newspaper or towels to protect surfaces
Watering can with lukewarm water
Small trowel or large spoon
Scissors for trimming damaged roots (optional)
Step 1: Prepare your workspace. I always repot over newspaper spread on my kitchen counter. This makes cleanup much easier and protects surfaces from soil stains.
Step 2: Water your pothos 1-2 days before repotting. Slightly moist (not wet) soil holds together better and reduces root damage during removal. Don't water the day of repotting—you want the soil workable but not muddy.
Step 3: Remove the plant gently. Turn the pot upside down and support the base of the plant with your palm. Tap the pot bottom until the root ball slides out. If it's stuck, squeeze flexible pots or run a knife around the edge of rigid pots.
For severely rootbound plants, I sometimes need to cut plastic pots off. Don't feel bad about this—it's better than damaging roots by forcing the plant out.
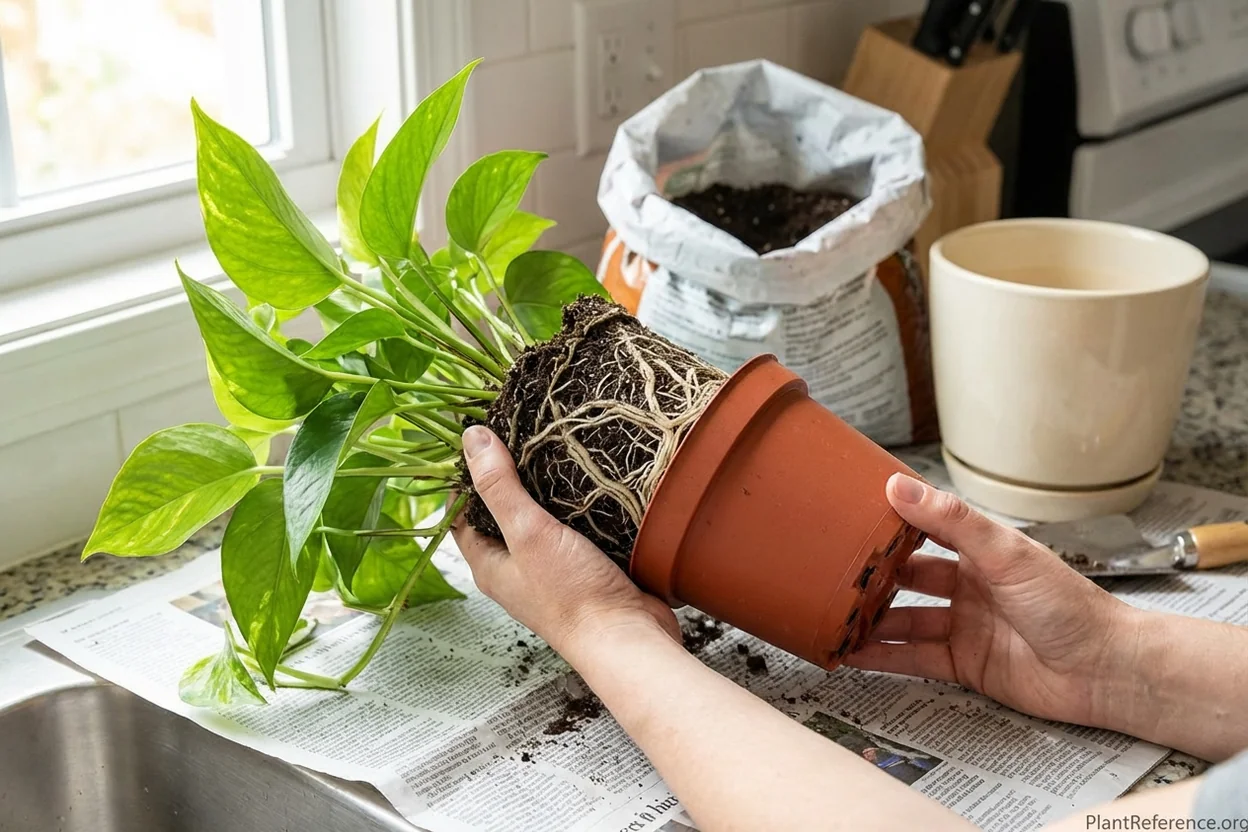
Step 4: Examine the roots. Healthy pothos roots are white to cream-colored and firm. Look for any black, mushy, or foul-smelling roots, which indicate rot. Trim these with clean scissors, cutting back to healthy white tissue.
Teasing apart circled roots helps them grow outward in the new pot. I gently pull apart the bottom and sides of the root ball with my fingers. Don't be afraid—pothos roots are quite resilient.
Step 5: Add soil to the new pot. Fill the bottom with 1-2 inches (2.5-5 cm) of fresh potting mix. The goal is to position your pothos at the same depth it was growing before—no deeper, no shallower.
Step 6: Position and backfill. Center the plant in the new pot and hold it steady while adding soil around the sides. Firm gently with your fingers but don't pack tightly. Leave about 0.5 inches (1.3 cm) of space between the soil surface and pot rim for watering.
Step 7: Water lightly after repotting. I give my newly repotted pothos just enough water to settle the soil—maybe 1/4 cup (60 ml) for a 6-inch (15 cm) pot. The soil is already slightly moist, and overwatering freshly disturbed roots can cause problems.
Post-Repotting Care and Recovery
Even though pothos are resilient, they still need time to adjust to their new home. Expect some drooping or leaf drop for 1-2 weeks after repotting—this is completely normal and doesn't mean you did anything wrong.
I place freshly repotted pothos in bright, indirect light during recovery. Avoid direct sun, which adds stress when roots are already working to reestablish. My north-facing window shelf is perfect for recovery time.
Hold off on fertilizing for 4-6 weeks after repotting. Fresh potting soil contains nutrients, and fertilizing stressed roots can cause damage. I learned this lesson when I fertilized a newly repotted marble queen and saw leaf burn within days.
Water sparingly for the first month while roots grow into new soil. I check soil moisture every few days and water only when the top 2 inches (5 cm) feel dry. Overwatering is the #1 killer of freshly repotted plants.
Signs your pothos is successfully establishing in its new pot:
New growth appears within 3-4 weeks
Leaves perk up and regain their normal position
Plant stops dropping leaves
Soil dries at a normal rate (every 7-14 days)
Overall plant looks healthier and more vigorous
→ XLUX Soil Moisture Meter ($8-13) - Essential tool for post-repotting watering success
No-battery soil moisture meter provides instant readings with simple probe insertion. Three-color indicator shows dry, moist, or wet conditions clearly. 7-inch probe reaches deep into root zone for accurate measurements. Essential for preventing overwatering during post-repotting recovery period. Durable construction withstands repeated use in multiple pots. Also tests soil pH and light levels. Compact size stores easily with other plant care tools.
Common Repotting Mistakes to Avoid
After helping dozens of friends repot their pothos, I've seen the same mistakes repeatedly. Here are the ones that cause the most trouble—and how to avoid them.
Choosing a pot that's too large is mistake #1. Your instinct says "give it lots of room," but pothos actually prefer being slightly snug. In oversized pots, soil stays wet too long and roots rot. Stick to the 1-2 inch (2.5-5 cm) size increase rule.
Repotting at the wrong time sets your plant up for slow recovery. Late fall and winter repotting means your pothos won't have the energy to establish quickly. Spring through mid-summer gives the best results.
Using the wrong soil happens when people grab whatever's available. Garden soil, succulent mix, or old potting soil from last year can all cause problems. Fresh indoor potting mix is worth the extra $10.
I made the "burying too deep" mistake with my first jade pothos. When you bury the stem deeper than it was originally growing, it can lead to stem rot. Keep the soil level exactly where it was before.
Overwatering immediately after repotting kills more plants than any other mistake. Those disturbed roots can't process lots of water right away. A light watering to settle the soil is all they need for the first few days.
Fertilizing too soon burned the leaves on three of my pothos before I learned this lesson. Fresh potting soil has nutrients, and fertilizer on top of that overwhelms stressed roots. Wait at least a month.
For the complete guide to ongoing pothos care, including detailed watering schedules and light requirements, check out our comprehensive Pothos Care: The Complete Beginner's Guide (2025). And if you're interested in expanding your collection, our Pothos Varieties: 15 Types and How to Identify Them guide covers all the most popular types.
Most importantly, don't be intimidated by repotting. Pothos are incredibly forgiving, and even if you make small mistakes, they'll likely bounce back just fine. I've never lost a pothos to repotting errors—they're tough plants that want to thrive in their new homes.
The satisfaction of seeing your pothos flourish in its new pot makes the whole process worthwhile. Those bigger leaves, longer vines, and vibrant growth are your reward for giving your plant room to spread out.
Frequently Asked Questions
Reading about plants and recognising them are different skills. These three build the second.
- Daily PlantIdentify the day’s mystery plant from a close-up photograph.
- Keyed OutWork a dichotomous key, lead by lead, to name a hidden specimen.
- Name That PlantName a specimen from botanical clues dealt hardest first.
Free to play, no account needed
Jessica transformed her small Brooklyn balcony into a thriving container garden after moving to New York City. What started as a pandemic hobby turned into a plant care consulting business serving urban apartment dwellers across the city. She specializes in small-space gardening, indoor plant troubleshooting, and helping clients keep houseplants alive in less-than-ideal conditions (dim light, dry heat, tiny spaces). Jessica completed a home gardening certificate program and shares her plant wins and failures on her modest Instagram following. Her partner, Maya, jokes that their apartment is now 40% plants, 60% living space. Jessica's passionate about making plant care accessible to renters who think they don't have room to garden.