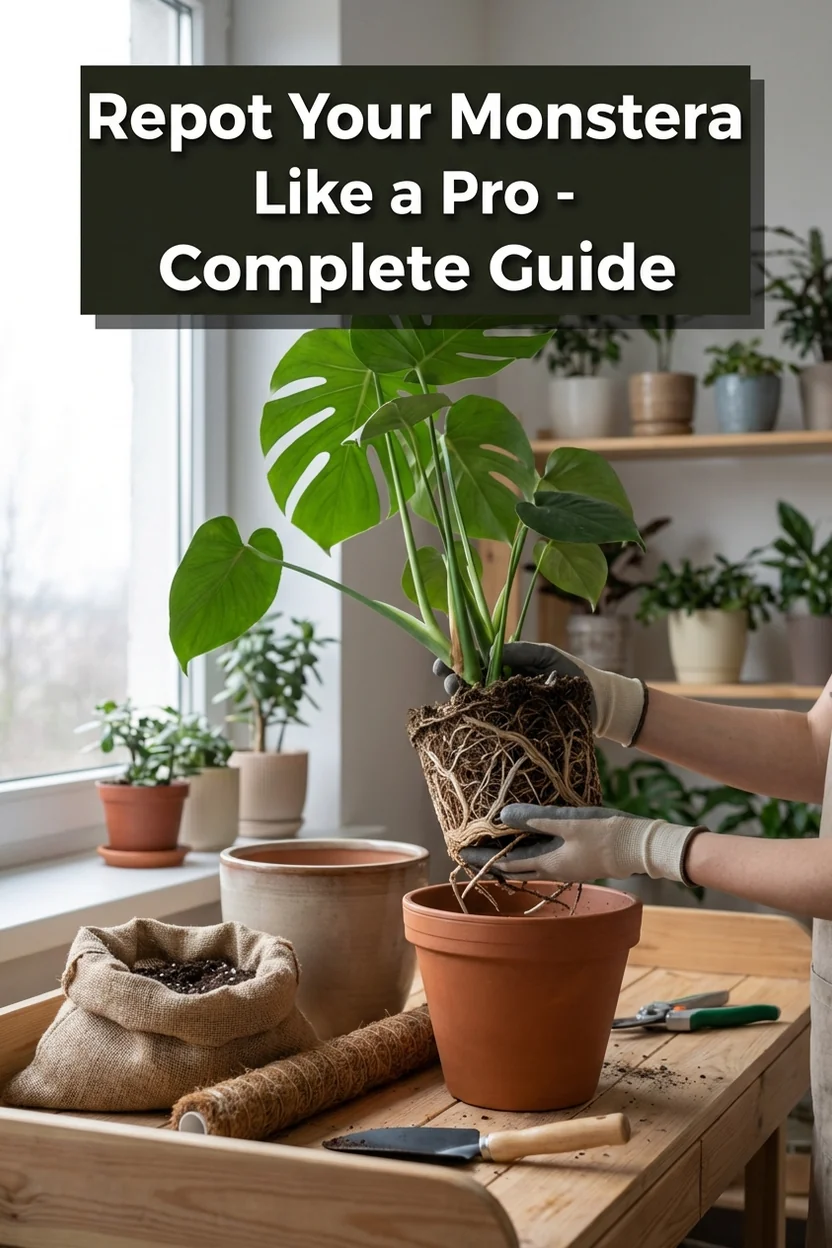
How to Repot a Monstera: Complete Step-by-Step Guide
Pets & Toxicity
Recorded toxicity for plants linked in this guide. An unknown status is not a safety assessment.
Toxic to pets: Swiss cheese plantDetailsHide
Monstera deliciosa — Toxicity Warning
Toxic to pets and humans. All vegetative parts contain calcium oxalate crystals that cause mouth pain, swelling, and drooling if ingested. Unripe fruit also contains calcium oxalate and is toxic; only fully ripened fruit (after 12+ months) is edible.View Monstera deliciosa plant profile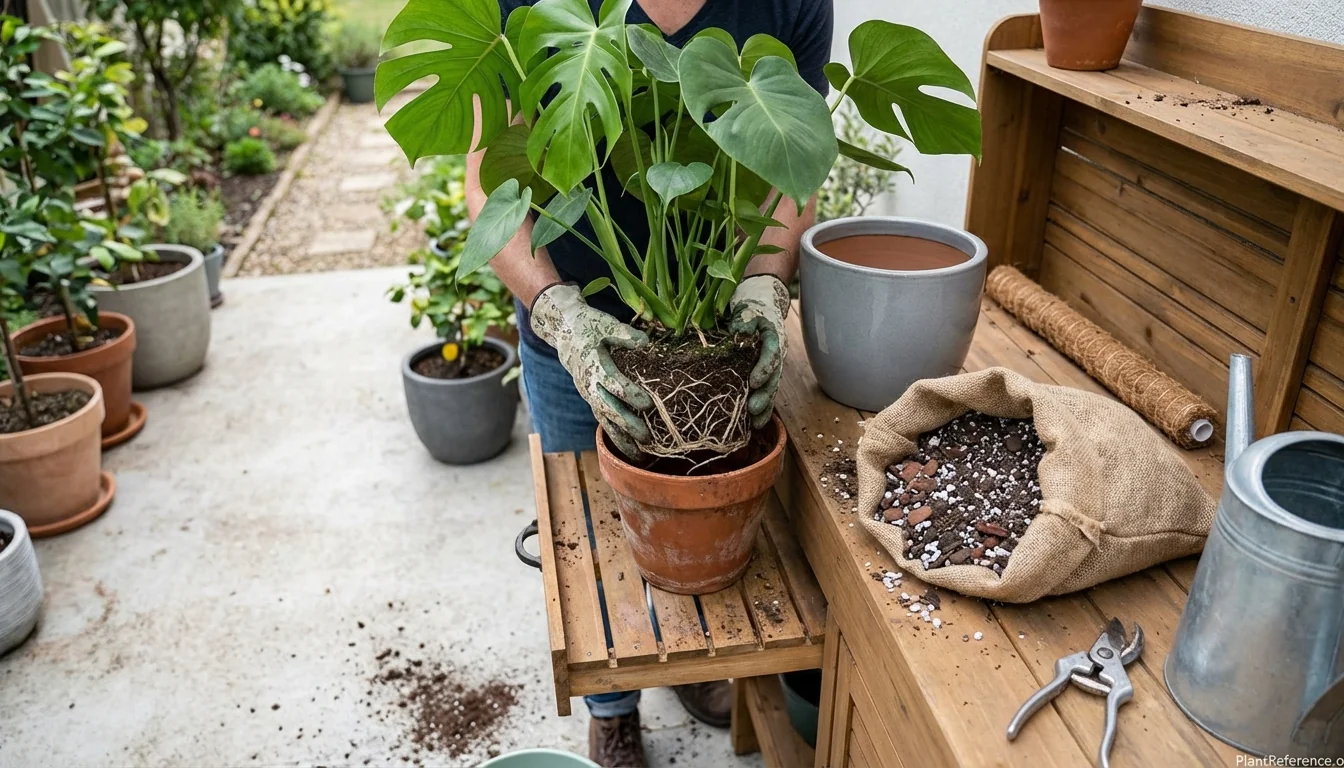
— Image © Plant Reference 2026
Repotting your monstera 🌿Monstera deliciosa (mon-STER-ah de-lis-ee-OH-sah) is one of the most important maintenance tasks for keeping your plant healthy and encouraging those coveted fenestrated leaves. Unlike many houseplants that can remain in the same pot for years, monsteras are vigorous growers that quickly outgrow their containers and benefit from fresh soil and room to expand their extensive root systems.
When to Repot Your Monstera
Spring is the optimal time for repotting monstera, specifically between March and May when the plant is entering its active growing season. During this period, your monstera's energy is focused on producing new growth, which means it will recover more quickly from the temporary stress of repotting and establish itself in the new container.
The plant's natural growth cycle aligns with longer daylight hours and warmer temperatures in spring, creating ideal conditions for root development. Repotting during dormant winter months can stress the plant unnecessarily, as it lacks the energy reserves to quickly establish new root growth in fresh soil.
Timing frequency depends on your monstera's age and growth rate:
Young monsteras (under 3 years): Annual repotting in spring
Mature monsteras (3+ years): Every 1-2 years depending on growth
Large specimens (6+ feet): Every 2-3 years with top-dressing in between
Recently purchased plants: Wait 4-6 weeks to allow adjustment before repotting
Avoid repotting during winter dormancy (October through February) unless you're dealing with an emergency situation like severe root rot. The reduced light and cooler temperatures slow the plant's metabolism, making recovery more difficult.
Signs Your Monstera Needs Repotting
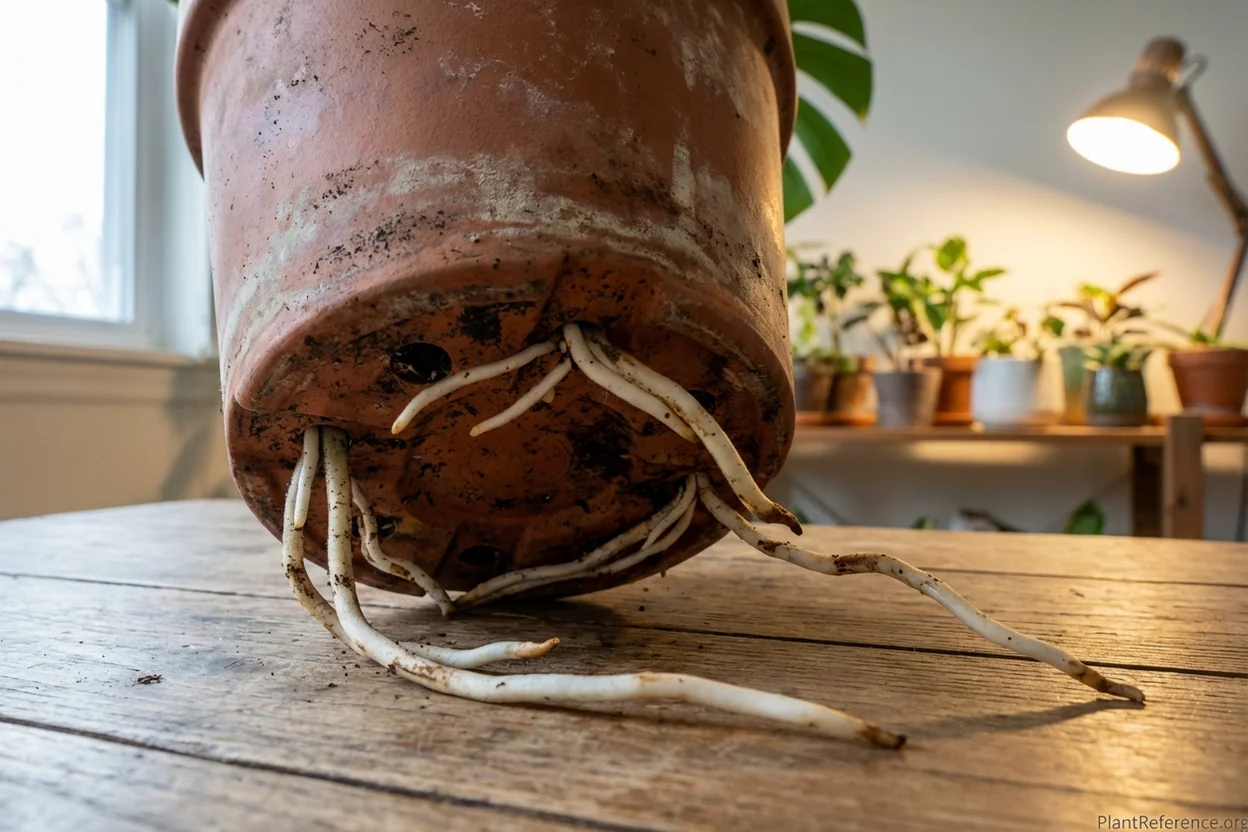
Root system indicators are the most reliable signals that your monstera requires repotting. Unlike leaf symptoms that can have multiple causes, root-bound conditions create specific, observable signs that clearly indicate the need for a larger container.
Primary root indicators:
Roots circling the pot's interior perimeter when lifted
White or brown roots emerging from drainage holes
Soil pulling away from pot edges due to dense root mass
Water running straight through without absorption
Top-heavy plant tipping over frequently despite adequate pot weight
Growth and health indicators:
The plant's above-ground growth patterns also signal when repotting becomes necessary. Stunted new leaf development, where recent leaves are noticeably smaller than previous growth, often indicates the root system has reached maximum capacity in the current container.
Watering behavior changes provide additional clues. When a previously well-draining pot suddenly requires daily watering, the dense root mass has likely displaced most of the soil, reducing the container's water-holding capacity.
Soil condition assessment:
Soil becomes hydrophobic and water beads on surface
Growing medium breaks down into dust-like consistency
Visible salt buildup on soil surface or pot rim
Persistent fungus gnat issues despite proper watering
Emergency repotting situations include suspected Monstera Root Rot: Emergency Rescue Guide|root rot with mushy, dark roots, or severe pest infestations that require soil replacement and root inspection.
Choosing the Right Pot and Soil
Pot size selection follows the "2-3 inch rule" for container diameter increases. A 6-inch (15 cm) pot should be upgraded to 8-9 inches (20-23 cm), while a 10-inch (25 cm) container moves to 12-13 inches (30-33 cm). This moderate increase provides growth room without creating excessive soil volume that stays wet too long.
Drainage is non-negotiable for monstera health. Every pot must have multiple drainage holes—at least 3-4 holes for containers 8 inches (20 cm) or larger. The holes should be ½ inch (1.3 cm) minimum diameter to prevent clogging with soil particles or roots.
Material considerations:
Terra cotta: Excellent breathability, prevents overwatering, but heavy when large
Ceramic with drainage: Decorative options with good drainage, moderate weight
Plastic nursery pots: Lightweight, inexpensive, can be placed inside decorative cache pots
Fabric grow bags: Maximum aeration, prevents root circling, but requires saucers
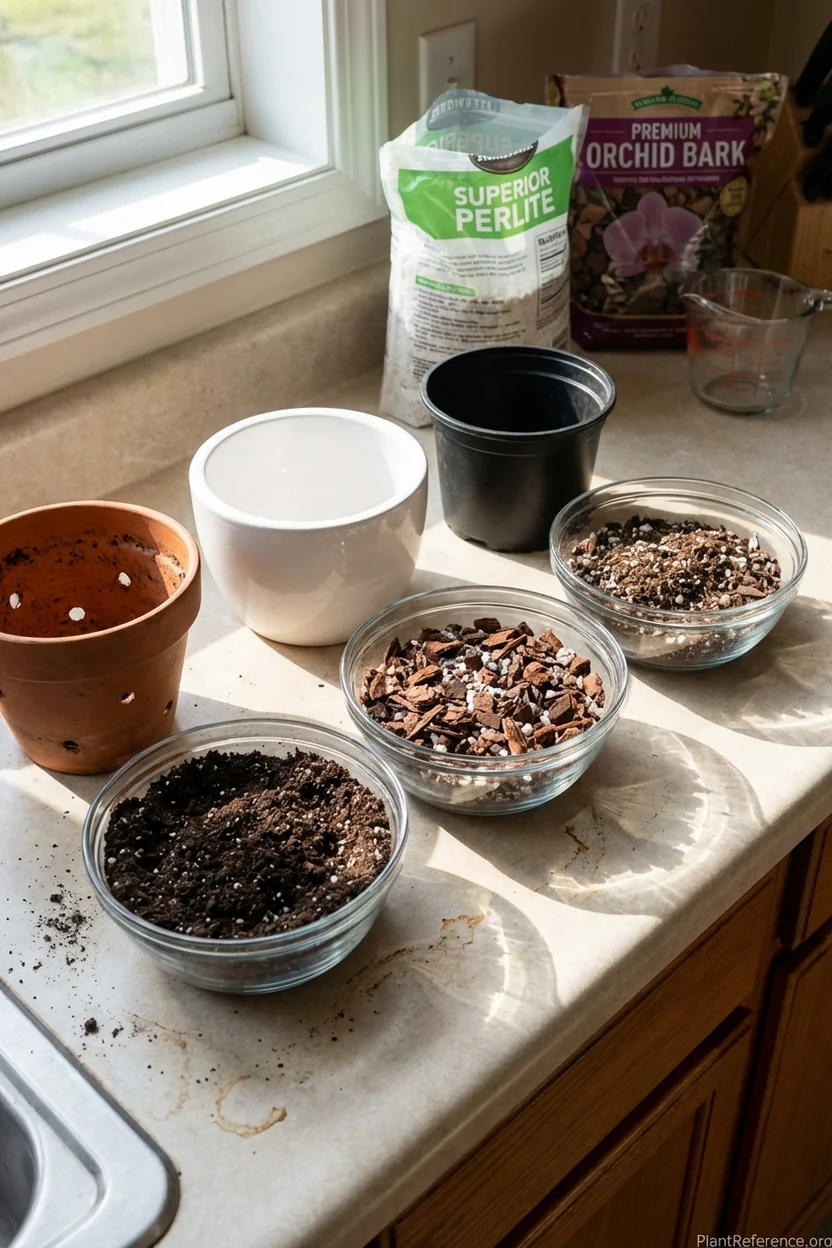
Soil requirements for optimal monstera growth center on drainage and aeration. Standard potting soil alone retains too much moisture for these epiphytic plants. The ideal mix drains quickly while maintaining some moisture retention around roots.
Recommended soil blend (by volume):
50% high-quality potting soil
25% perlite or pumice for drainage
15% orchid bark (small to medium chunks)
10% coco coir or sphagnum moss for moisture retention
Commercial aroid mixes provide convenient alternatives, with brands like Premium Monstera Potting Soil offering pre-balanced blends designed specifically for Araceae family plants.
Step-by-Step Repotting Process
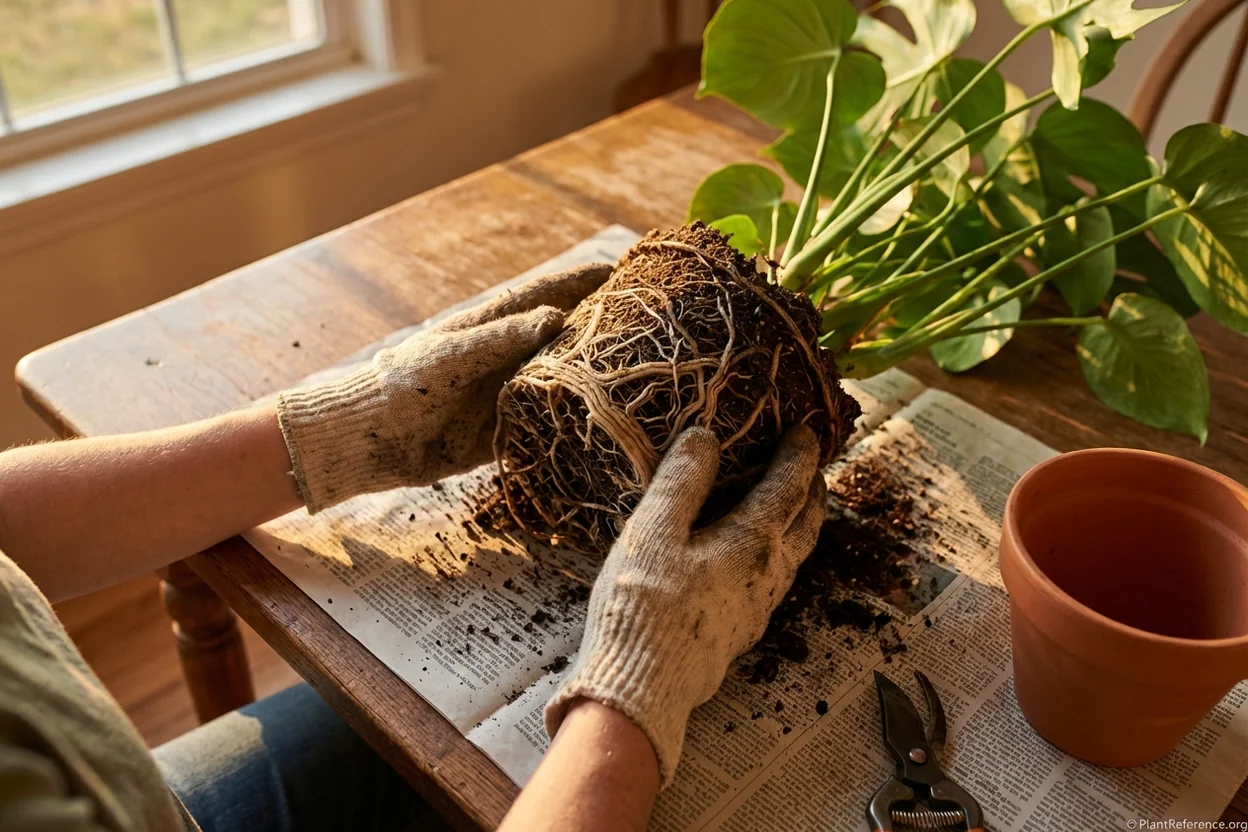
Preparation prevents problems during the repotting process. Gather all materials before beginning: new pot, fresh soil mix, moss pole (if installing), pruning shears, gloves, and a tarp or newspapers to protect work surfaces. Water your monstera 24 hours before repotting—moist (not wet) soil holds together better and reduces transplant shock.
Step 1: Remove from Current Pot
Turn the pot on its side and gently slide the plant out. For stuck plants, run a knife around the pot's interior edge or squeeze flexible plastic pots. Never pull the plant by its stem—this can damage the root crown and growing points.
Step 2: Root System Assessment
Examine the root ball thoroughly for signs of health or problems. Healthy roots appear white to light brown, feel firm, and have a earthy smell. Dark, mushy roots with foul odors indicate rot and require removal with sterilized pruning shears.
Gently tease apart circled roots using your fingers or a clean fork. Severely root-bound plants may require more aggressive root pruning—remove up to 25% of the root mass if necessary to encourage new growth.
Step 3: Prepare the New Container
Add a 2-3 inch (5-7 cm) layer of fresh soil mix to the new pot's bottom. The top of the root ball should sit 1-2 inches (2.5-5 cm) below the pot rim to allow for watering and future soil settling.
Step 4: Position and Backfill
Center the plant in the new container, ensuring it sits at the same depth as the previous pot. Planting too deeply can lead to stem rot, while too shallow positioning exposes roots to air drying.
Fill around the root ball with fresh soil mix, gently tapping the pot to settle soil without compacting. Leave ½ inch (1.3 cm) of space below the rim for watering.
Installing Support During Repotting
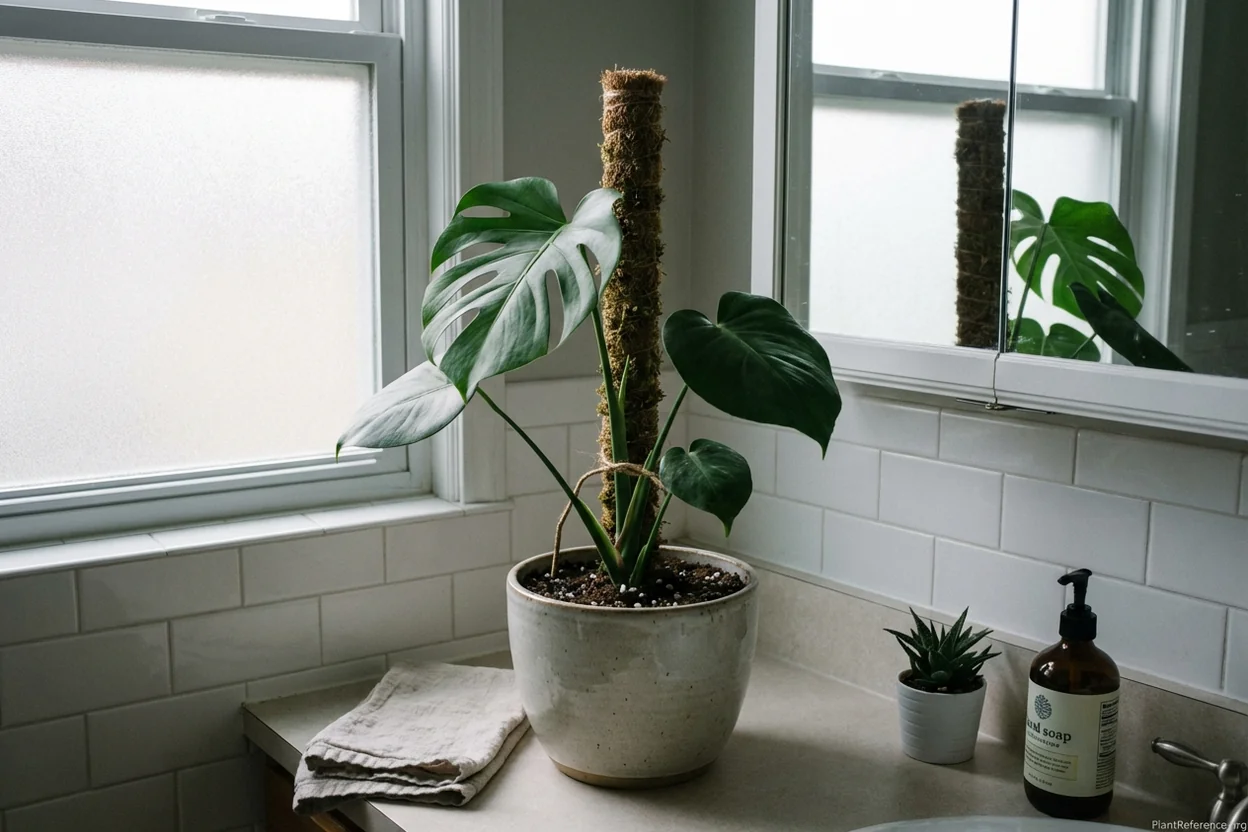
Repotting presents the ideal opportunity to install climbing support without disturbing established roots. Monstera's hemiepiphytic nature means it naturally seeks vertical surfaces to climb, and providing support encourages larger, more fenestrated leaves.
Moss pole installation process:
Insert the moss pole into fresh soil before positioning the plant
Push the pole 3-4 inches (7-10 cm) into the soil for stability
Position the pole slightly behind the plant's center to allow forward growth
Secure aerial roots to the pole using soft plant ties or twist ties
Alternative support options include bamboo stakes for smaller plants, trellises for wider growth patterns, or plantstiks for modern aesthetic preferences. The key is installing support systems while roots are exposed and manipulable.
For detailed guidance on support selection and installation, see our comprehensive guide on Best Moss Pole for Monstera: Support Systems Compared|choosing the right support system.
Training aerial roots during repotting:
Gently guide existing aerial roots toward the moss pole or tuck them into the fresh soil. Never force or break aerial roots—they're living extensions of the plant's vascular system and contribute to overall plant health.
Post-Repotting Care and Recovery
The first 2-3 weeks after repotting are critical for your monstera's successful establishment in its new container. During this period, the plant focuses energy on developing new root growth rather than leaf production, which is completely normal.
Immediate post-repotting protocol:
Water lightly immediately after repotting to settle soil
Place in bright, indirect light—avoid direct sun that could stress the plant
Maintain higher humidity (60-70%) to reduce transpiration stress
Avoid fertilizing for 4-6 weeks to prevent root burn
Expected recovery timeline:
Week 1-2: Plant may show slight wilting or leaf drooping as it adjusts to the new environment. Continue normal watering when the top 2 inches (5 cm) of soil dry out.
Week 3-4: Root establishment begins in the new soil. You may notice the plant stabilizing and any drooping leaves regaining turgor pressure.
Month 2-3: New growth typically appears, often larger and more robust than pre-repotting growth due to increased root space and fresh nutrients.
Monitor for signs of transplant shock including excessive yellowing (beyond 1-2 lower leaves), persistent wilting despite adequate moisture, or complete growth cessation beyond 6 weeks. These symptoms may indicate root damage or inappropriate soil conditions requiring intervention.
Common Repotting Mistakes to Avoid
Pot size errors rank among the most frequent repotting mistakes. Choosing a dramatically oversized container may seem generous, but excess soil around roots stays wet too long, creating anaerobic conditions that promote root rot. The "bigger is better" mentality often backfires with monsteras.
Soil compaction during planting prevents proper root development and drainage. Avoid pressing soil firmly around roots or using heavy potting mixes that compress over time. The chunky, aerated soil structure that monsteras require needs to remain loose for optimal root oxygen exchange.
Timing mistakes:
Repotting during winter dormancy when recovery is slow
Repotting immediately after purchase before adjustment period
Repotting stressed or sick plants instead of addressing underlying issues first
Simultaneous repotting and major pruning, which doubles plant stress
Watering errors post-repotting cause many plant failures. Overwatering newly repotted plants in an attempt to help them recover actually impedes root development. Fresh soil retains more moisture than old, depleted soil, so watering frequency should initially decrease.
Root handling mistakes:
Rough root handling during the repotting process can damage fine feeder roots responsible for nutrient uptake. Always handle the root ball gently and avoid shaking off all old soil unless dealing with diseased roots.
For plants showing signs of distress after repotting, refer to our Monstera Leaves Turning Yellow: Causes and Fixes|yellowing troubleshooting guide to distinguish between normal adjustment and serious problems.
Long-term care integration requires adjusting your overall plant care routine after repotting. Fresh soil provides nutrients for several months, so fertilization should be reduced initially. How to Water a Monstera: Complete Watering Guide|Watering schedules may need adjustment as new soil has different drainage characteristics than the old root ball.
Understanding your monstera's growth patterns and providing appropriate support through Monstera Light Requirements: Finding the Perfect Spot|proper lighting ensures your repotting investment pays dividends in healthy, vigorous growth for years to come.
Frequently Asked Questions
Reading about plants and recognising them are different skills. These three build the second.
- Daily PlantIdentify the day’s mystery plant from a close-up photograph.
- Keyed OutWork a dichotomous key, lead by lead, to name a hidden specimen.
- Name That PlantName a specimen from botanical clues dealt hardest first.
Free to play, no account needed
Jessica transformed her small Brooklyn balcony into a thriving container garden after moving to New York City. What started as a pandemic hobby turned into a plant care consulting business serving urban apartment dwellers across the city. She specializes in small-space gardening, indoor plant troubleshooting, and helping clients keep houseplants alive in less-than-ideal conditions (dim light, dry heat, tiny spaces). Jessica completed a home gardening certificate program and shares her plant wins and failures on her modest Instagram following. Her partner, Maya, jokes that their apartment is now 40% plants, 60% living space. Jessica's passionate about making plant care accessible to renters who think they don't have room to garden.