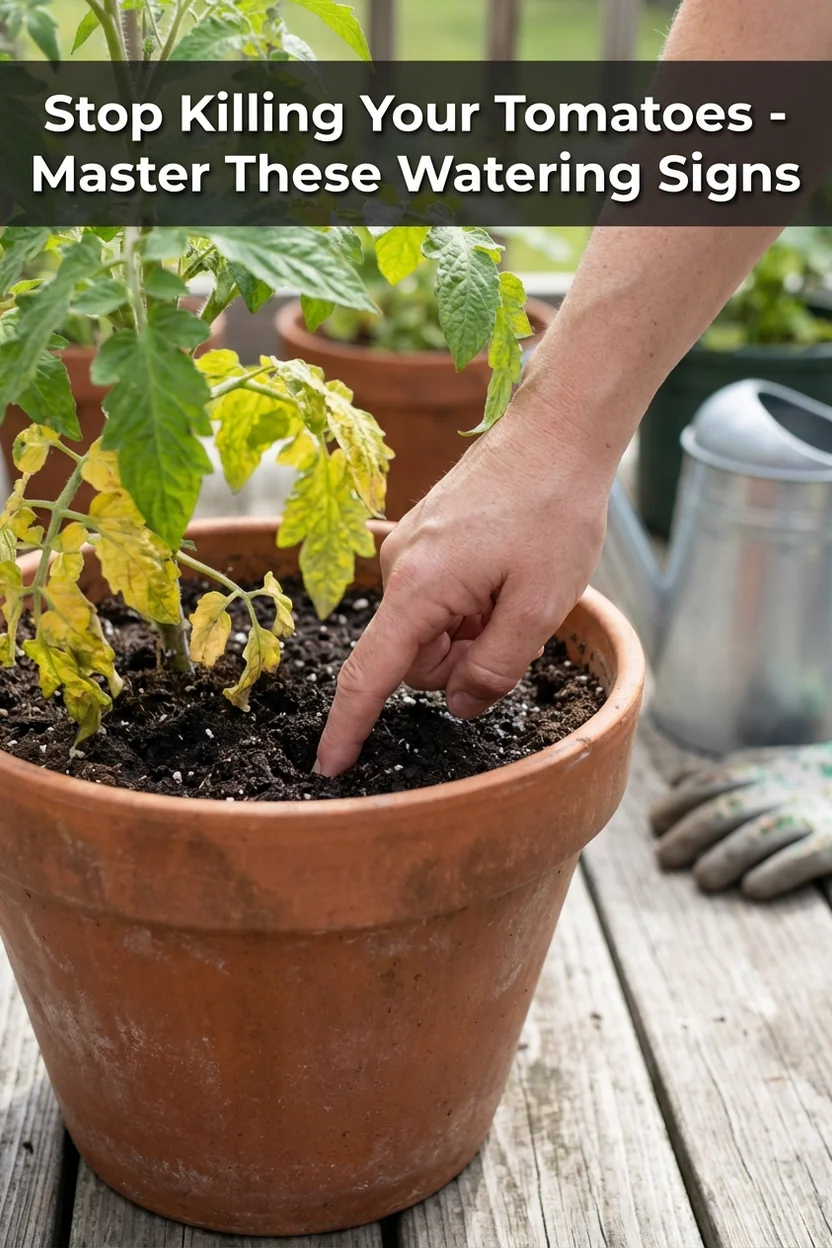
Overwatering vs Underwatering Container Tomatoes: How to Tell the Difference
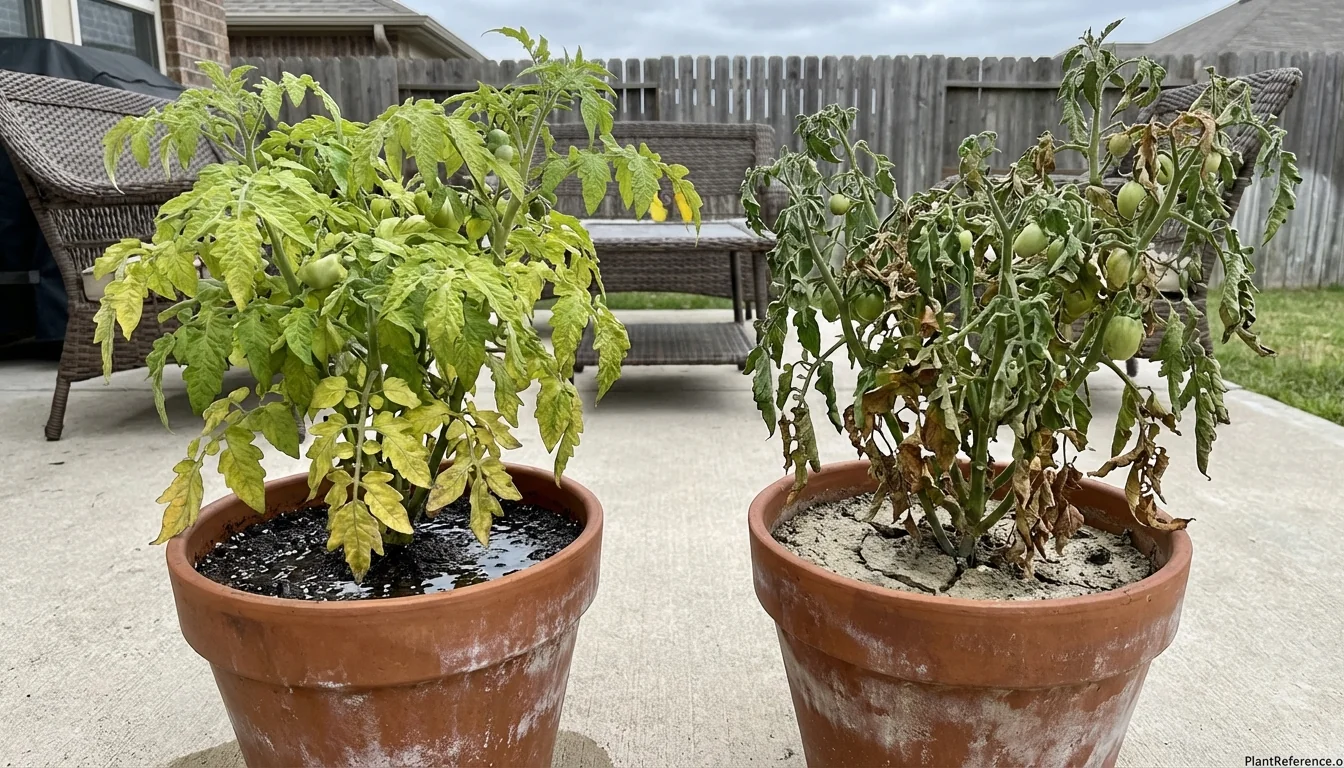
— Image © Plant Reference 2026
Let's be honest—most container tomato failures come down to watering problems. You're either drowning your plants or letting them turn into crispy critters. The frustrating part? Overwatered tomato plant signs can look almost identical to underwatering symptoms at first glance.
Both problems cause wilting, but for completely opposite reasons. One kills roots with too much water, the other starves them of moisture. Here's how to tell the difference and fix both problems before you lose your crop.
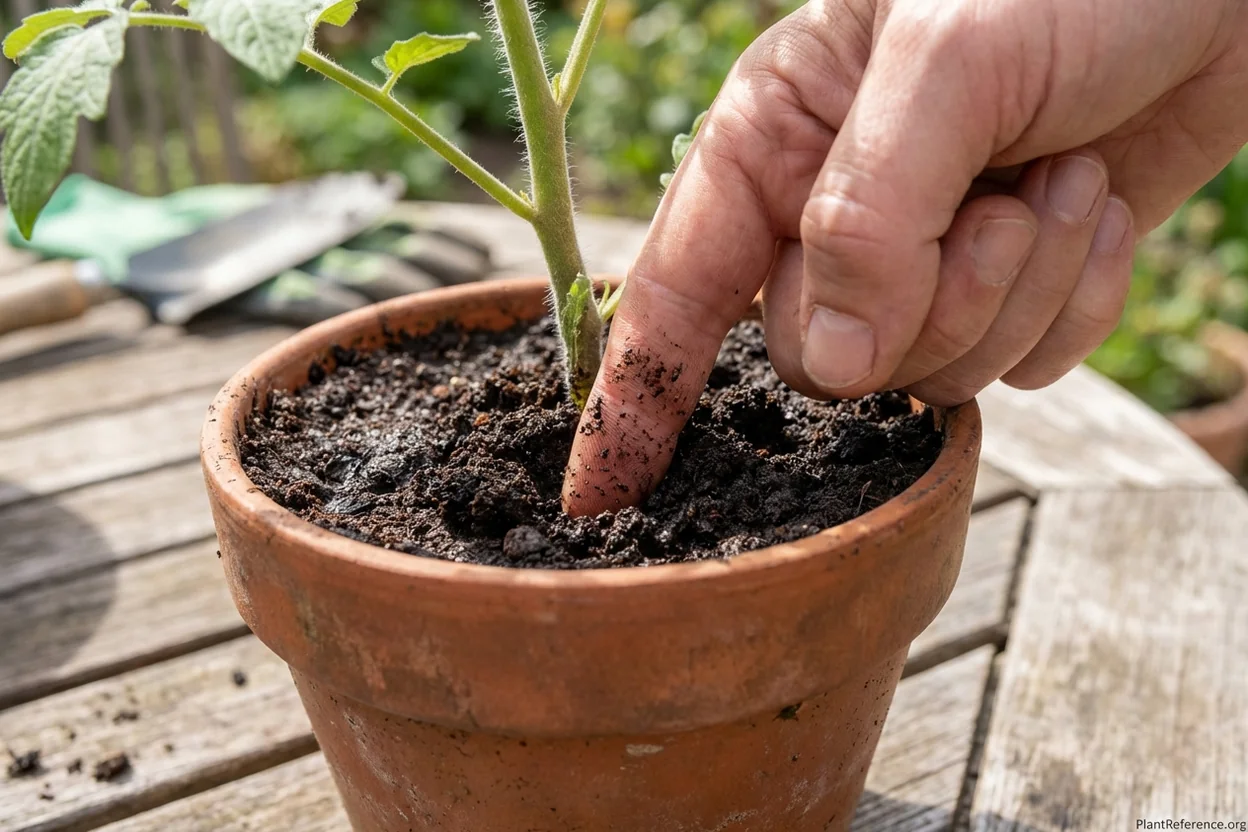
Quick Diagnostic: The 2-Inch Finger Test
Before you panic about dying leaves, perform this simple test that eliminates guesswork completely.
Push your finger straight down into the soil 2 inches (5 cm) deep, about halfway between the plant stem and container edge. This reaches past the surface layer that deceives most gardeners.
What you'll find:
If the soil feels soggy, muddy, or stays wet on your finger—you're overwatering. If it feels dry, crumbly, or dusty—you're underwatering. It's that simple.
The surface can look completely dry while the root zone stays waterlogged for days. Container soil also dries from the top down, so what looks parched on top might be perfectly moist where roots need it.
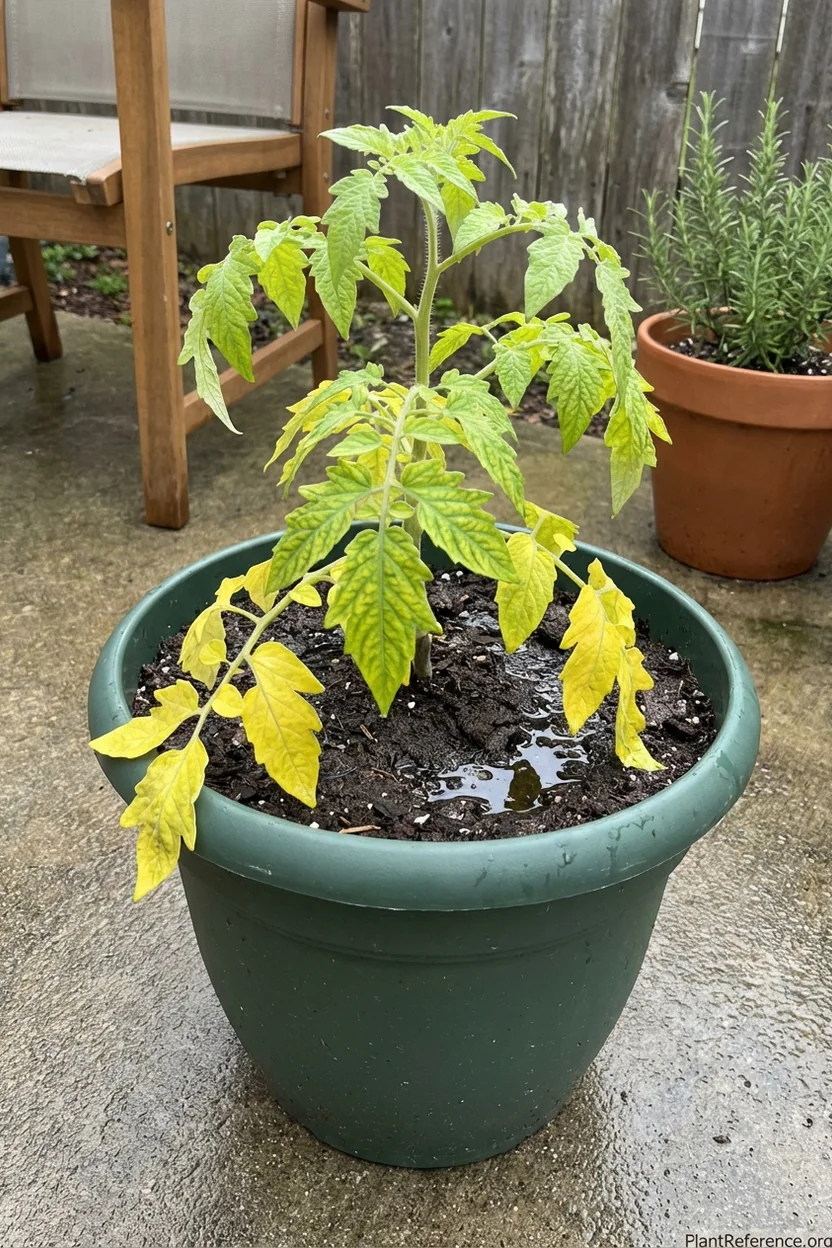
Overwatered Tomato Plant Signs: What to Look For
Overwatered tomato plant signs develop gradually as roots suffocate from lack of oxygen. Here's what happens in order:
Early Stage Overwatering Signs
The first overwatered tomato plant signs appear on lower leaves:
Lower leaves turn yellow from the bottom up
Yellowing starts between leaf veins (interveinal chlorosis)
Leaves feel soft and puffy, not crispy
Wilting occurs even though soil stays wet
Growth slows despite adequate light and temperature
Advanced Overwatering Damage
If you ignore these early overwatered tomato plant signs, the damage escalates:
Root rot smell from container (musty, sour odor)
Black or brown mushy roots visible at drainage holes
Stem base becomes soft or discolored
New growth appears pale green or yellow
Fruit production stops or flowers drop
The key difference? Overwatered tomato plant signs always include wet soil and soft, yellowing leaves that progress upward from the bottom.
Why Overwatering Kills Container Tomatoes
Tomato roots need oxygen to function. When soil stays constantly wet, air pockets fill with water and roots literally suffocate. This triggers a cascade of problems:
Root cells die without oxygen, which reduces nutrient uptake. The plant responds by yellowing older leaves first to redirect resources to new growth. Meanwhile, damaged roots can't absorb water efficiently, causing wilting even in wet soil.
Underwatering Symptoms: The Opposite Problem
Underwatered container tomatoes tell a different story through their leaves and soil condition.
Early Underwatering Signs
These symptoms appear when soil moisture drops below critical levels:
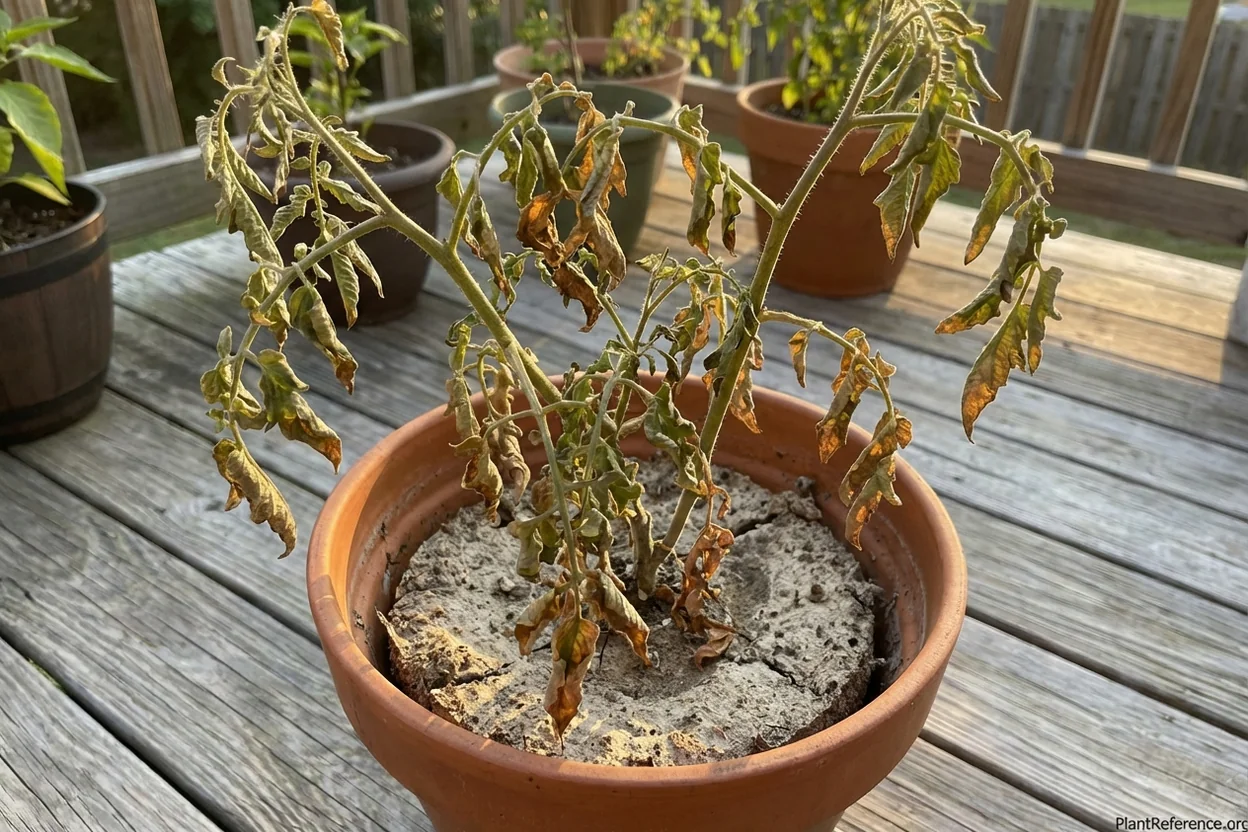
Leaves feel crispy or papery to touch
Leaf edges turn brown and curl inward
Wilting starts with newest growth first
Soil pulls away from container sides
Surface soil looks dusty or cracked
Severe Underwatering Damage
Prolonged drought stress creates these underwatering symptoms:
Entire plant wilts dramatically during day
Leaves curl lengthwise (taco-shaped)
Brown crispy areas spread from edges inward
Flowers and small fruits drop off
Plant recovers only partially after watering
The telltale sign? Bone-dry soil combined with crispy, brown-edged leaves that feel brittle when touched.
How Underwatering Damages Plants
Without adequate moisture, tomato plants shut down non-essential functions to survive. Leaf edges—the farthest point from the water-conducting stem—die first as the plant sacrifices them to maintain core functions.
Prolonged drought also damages root hairs, reducing the plant's ability to absorb water even when you resume proper watering.
Why Container Tomatoes Are Water-Sensitive
Container growing creates unique watering challenges that don't exist in ground gardens:
Limited soil volume means less water storage capacity. A mature tomato plant in peak summer can use 1-2 gallons (4-8 L) per day, but most containers hold only 2-5 gallons (8-20 L) of soil.
Container walls heat up in sun, raising soil temperature and increasing water evaporation. Dark containers can reach 120°F (49°C) on hot days, literally cooking roots.
No natural water table means containers depend entirely on your watering schedule. Ground-planted tomatoes send roots deep to find consistent moisture, but container roots hit walls within inches.
Drainage holes that work too well (or get clogged) create either bone-dry or waterlogged conditions with no middle ground.
Emergency Fixes for Both Problems
When you've identified the problem, immediate action prevents permanent damage.
Fixing Overwatering Fast
Stop the damage cycle with these emergency steps:
Stop watering immediately until soil dries
Move container to area with better air circulation
Remove yellowed leaves (they won't recover)
Check drainage holes for clogs and clear them
Tip container slightly to drain excess water from saucer
For severe cases, consider repotting with fresh, well-draining soil. Mix the new soil with 30% perlite to improve drainage permanently.
→ XLUX Soil Moisture Meter ($10.99-$12.99) - No-battery tool prevents future overwatering
Features 10-inch probe reaching deep container root zones for accurate moisture readings. No batteries required—simple push-and-read design provides instant feedback on soil moisture levels. Color-coded dial prevents overwatering guesswork. Durable construction withstands repeated use in multiple containers. Essential tool for container gardeners who struggle with watering schedules and want to eliminate the most common cause of tomato plant failure.
Product link unavailable
Fixing Underwatering Emergency
Severely dehydrated plants need careful rehydration:
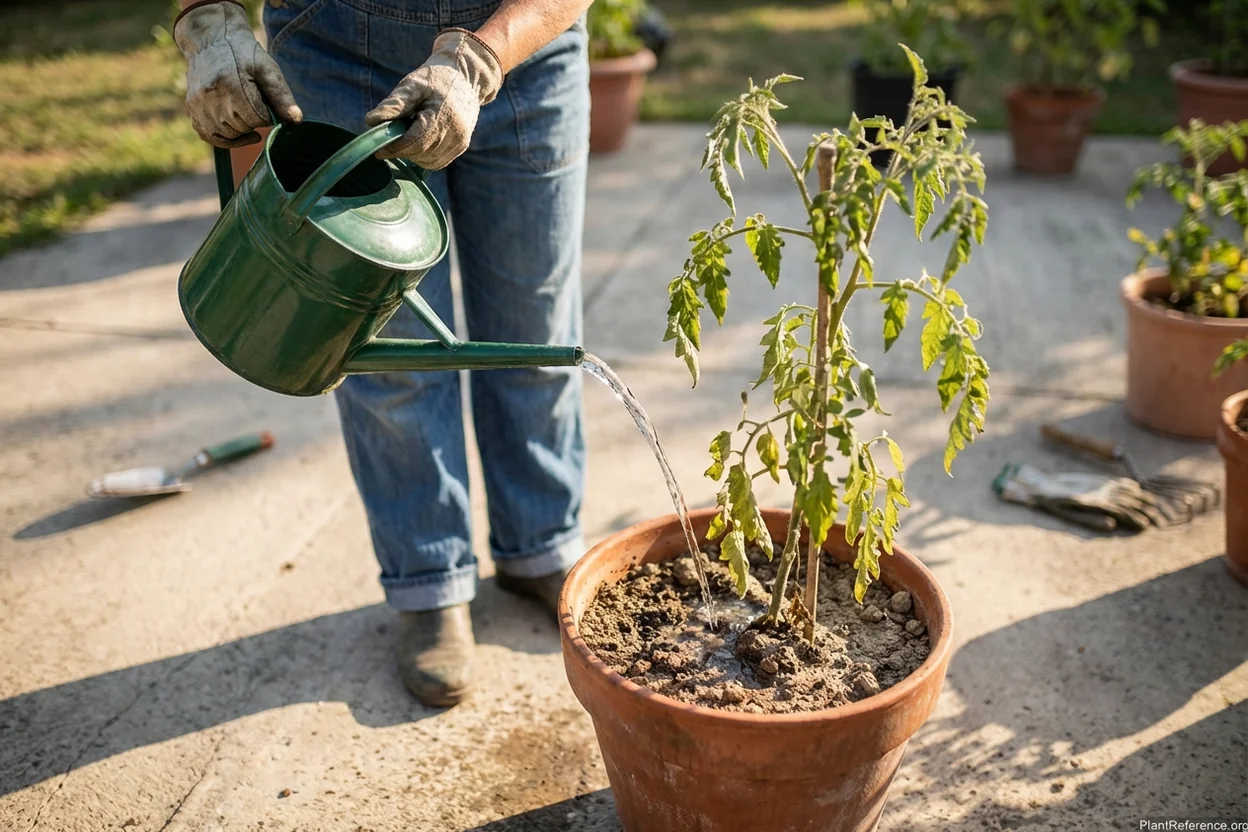
Water slowly and deeply, allowing soil to absorb gradually
Apply water directly to soil surface, not leaves
Water again in 2-3 hours if soil absorbed all water quickly
Provide temporary shade during hottest part of day
Remove any completely crispy leaves (they won't recover)
Avoid shock-watering a bone-dry plant. Extremely dry soil often repels water initially, so slow, repeated applications work better than flooding.
Proper Watering Techniques for Container Tomatoes
Preventing both problems requires understanding how container tomatoes actually use water.
The Deep Watering Method
Instead of frequent light watering, use this proven approach:
Check soil moisture with finger test before every watering
When top 2 inches (5 cm) feel dry, water deeply
Apply water slowly until it runs from drainage holes
Allow excess water to drain completely (never let pots sit in water)
Check again in 24 hours and adjust timing as needed
This encourages deep root development and prevents the wet-dry-wet cycle that stresses container plants.
Seasonal Watering Adjustments
Container tomatoes need different watering schedules throughout the growing season:
Early season (small plants, cool weather): Every 3-5 days Mid-season (established plants, warm weather): Every 1-2 days Peak summer (large plants, hot weather): Daily, sometimes twice daily Late season (fruit ripening, cooling weather): Every 2-3 days
Always use the finger test rather than rigid schedules. Weather, container size, and plant maturity all affect water needs.
Critical Watering Rules
Follow these non-negotiables for container tomato success:
Water soil directly, never spray leaves (prevents disease)
Water in early morning when possible (reduces evaporation)
Use lukewarm water, not ice-cold from hose (prevents shock)
Ensure every container has drainage holes (minimum 3-4 holes)
Empty saucers within 2 hours after watering (prevents root rot)
For more detailed watering strategies, check out our complete guide: Watering Container Tomatoes: The Complete Guide to Preventing Common Problems.
Tools to Prevent Watering Mistakes
The right equipment eliminates guesswork and prevents both overwatering and underwatering problems.
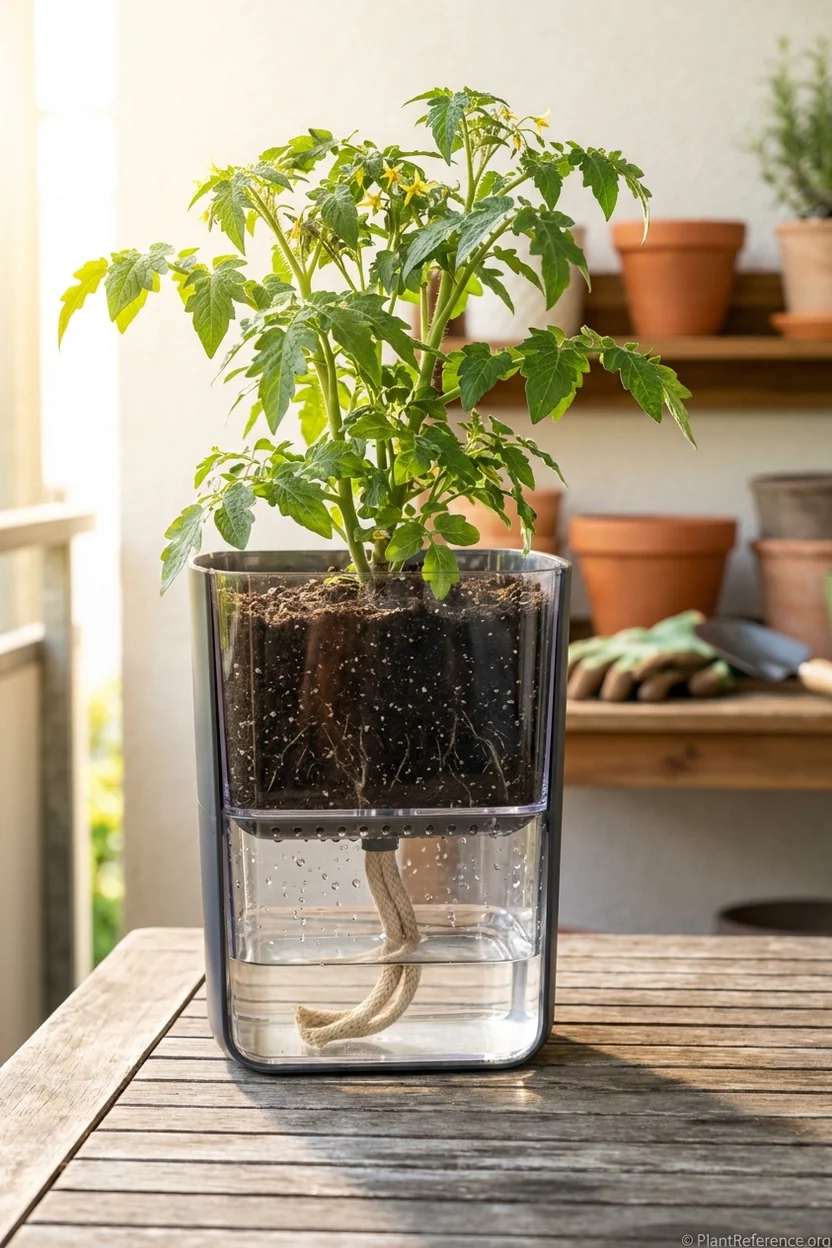
→ EarthBox Original Garden Kit ($59.95-$89.95) - Self-watering system eliminates daily guesswork
Features patented sub-irrigation design with 3-gallon water reservoir that maintains optimal soil moisture automatically. Prevents both overwatering and underwatering through consistent water delivery to root zone. Includes aeration screen, fertilizer strip, and mulch cover for complete growing system. Perfect for beginners or experienced gardeners who travel frequently. Proven system produces 2-3 times more vegetables than traditional containers while using less water and fertilizer.
Additional Water Management Tools
Moisture meters take guesswork out of the finger test. Look for models with 6-8 inch (15-20 cm) probes that reach container root zones.
Self-watering containers maintain consistent moisture through reservoir systems. They prevent both problems by delivering water as plants need it.
Drip irrigation timers automate watering for multiple containers. Particularly useful during vacation periods or peak summer when daily watering becomes critical.
For container selection guidance that prevents water problems from the start, see: Container Size Matters: The Ultimate Guide to Choosing the Perfect Pot for Tomatoes.
Signs Your Watering System Works
Healthy, properly watered container tomatoes display these characteristics:
New growth appears bright green and vigorous
Leaves feel firm and slightly rubbery to touch
Soil stays evenly moist 2-4 inches (5-10 cm) deep
No yellowing on lower leaves (except normal aging)
Consistent fruit development without dropping
When you see these signs, you've mastered container tomato watering. The difference between plant success and failure often comes down to this single skill.
Remember: overwatered tomato plant signs always include wet soil and soft yellowing, while underwatered plants show crispy edges with bone-dry soil. Master the finger test, fix problems quickly, and your container tomatoes will reward you with months of productive growth.
For troubleshooting other common container tomato problems, visit our comprehensive guide: The Complete Guide to Growing Tomatoes in Containers: From Seedling to Harvest.
Frequently Asked Questions
Reading about plants and recognising them are different skills. These three build the second.
- Daily PlantIdentify the day’s mystery plant from a close-up photograph.
- Keyed OutWork a dichotomous key, lead by lead, to name a hidden specimen.
- Name That PlantName a specimen from botanical clues dealt hardest first.
Free to play, no account needed
Linda's been growing tomatoes in containers on her suburban Pittsburgh balcony—ever since her kids grew up and she finally had time for hobbies again. She's a medical billing specialist by day and a tomato enthusiast by night and weekend. Linda started documenting her container growing experiments on a simple blog and discovered other renters and condo dwellers were desperate for practical advice. She tests different varieties every season, tracking yields, disease resistance, and flavor in a detailed spreadsheet. Linda's approach is practical and budget-conscious—she saves seeds, reuses containers, and makes her own fertilizer from kitchen scraps. Her specialty is maximizing production in small spaces, and she's perfected the art of growing full-size tomatoes in 5-gallon buckets. She's a Pennsylvania Master Gardener and teaches container growing workshops at her local library.