Pothos Root Rot: Emergency Rescue in 5 Steps
Pets & Toxicity
Recorded toxicity for plants linked in this guide. An unknown status is not a safety assessment.
Epipremnum aureum — Toxicity Warning
Toxic to pets and humans. All parts contain insoluble calcium oxalate crystals that cause mouth pain, swelling, and drooling if ingested.View Epipremnum aureum plant profile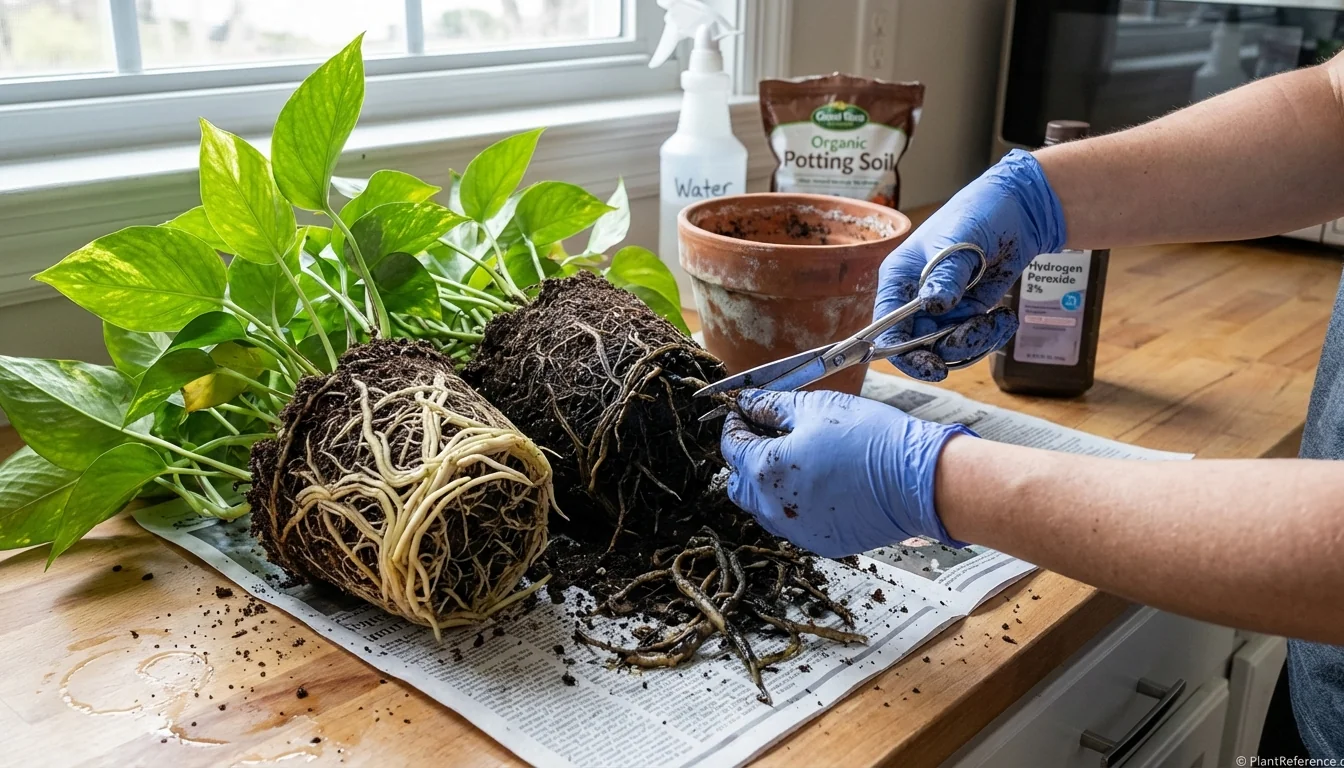
— Image © Plant Reference 2026
Let's be honest—your pothos 🌿Epipremnum aureum (ep-ih-PREM-num AW-ree-um) probably has root rot because you've been watering it like it's a thirsty fern. Those yellowing leaves and that funky smell coming from the soil? Classic overwatering damage. Here's how to save your plant before you lose it completely.
Emergency Signs: When Your Pothos Has Root Rot
Root rot doesn't happen overnight, but once it takes hold, it moves fast. Here's what screams "emergency rescue needed":
Obvious red flags: - Yellowing leaves that feel soft and mushy (not just crispy yellow from underwatering) - Soil that stays wet for weeks even when you stop watering - Funky, sour smell coming from the soil or drainage holes - Black or dark brown water draining from pot holes - Plant feels loose in its pot like the roots aren't holding it steady
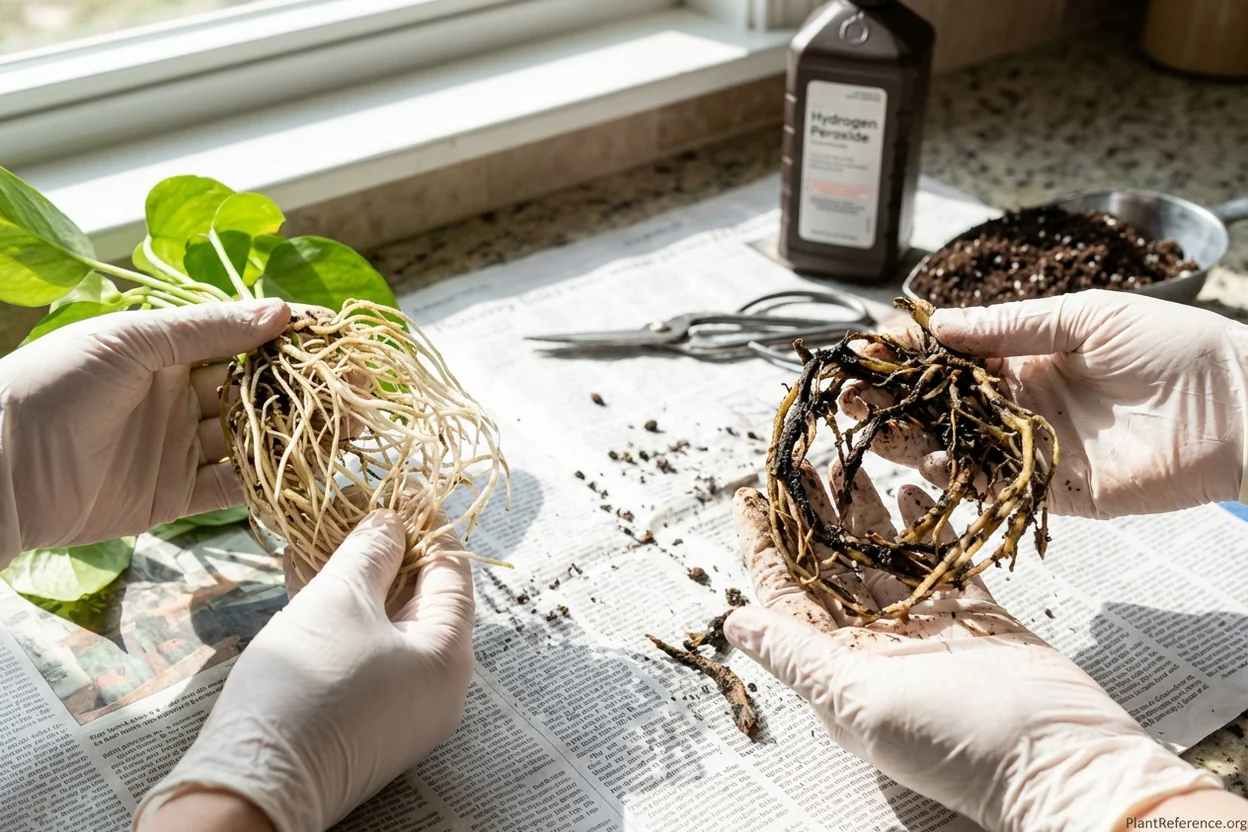
The root check test: Gently lift your pothos from its pot. Healthy roots should be white, cream, or light tan and feel firm when squeezed. Root rot creates black, brown, or gray roots that feel mushy and literally fall apart in your hands. If more than 50% of the root system is black and squishy, you're dealing with severe root rot that needs immediate intervention.
The good news? Pothos are incredibly resilient. I've rescued plants that looked completely dead and had them growing new leaves within 6 weeks.
Step 1: Remove Plant and Assess Root Damage
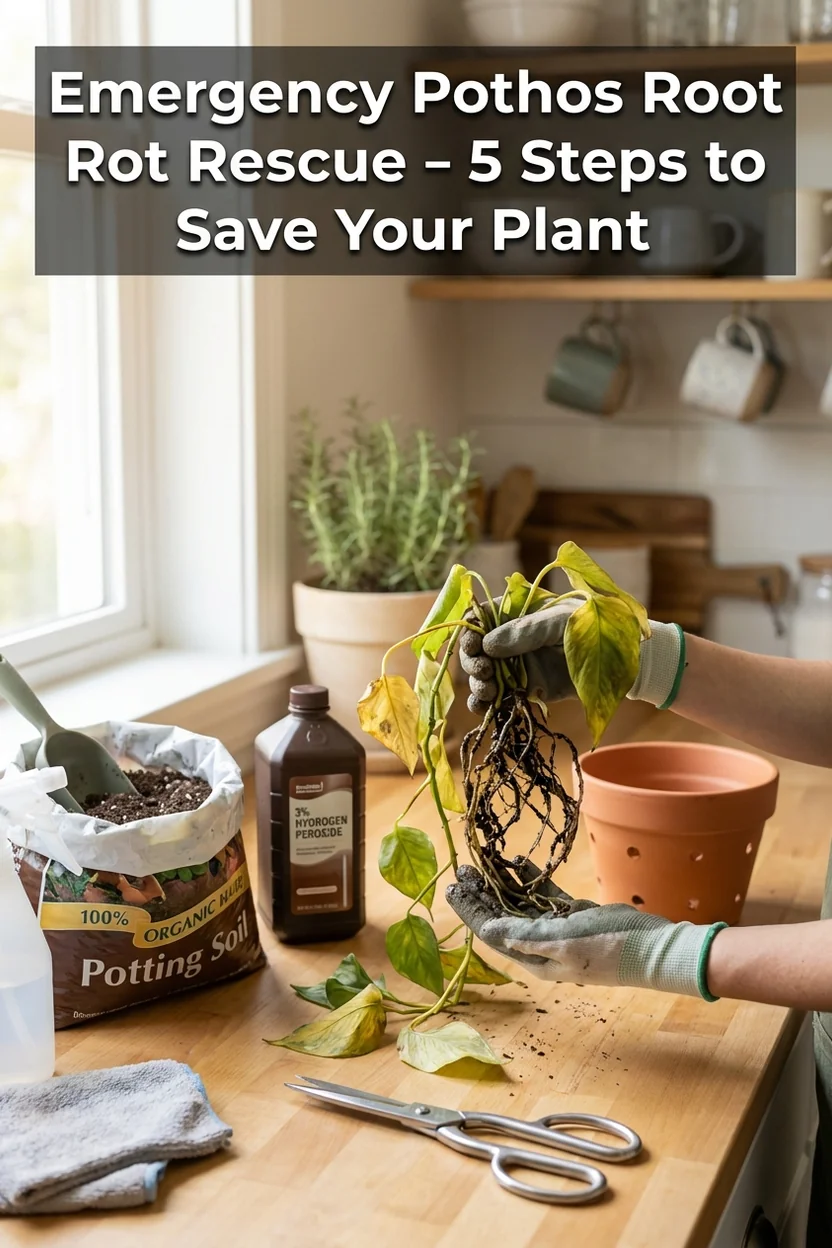
Time to get your hands dirty—literally. You'll need clean scissors or pruning shears, hydrogen peroxide (3% solution), fresh potting soil, a new pot with drainage holes, and latex gloves if you're squeamish about touching rotted roots.
Work in a well-ventilated area because root rot can smell pretty awful. Remove your pothos from its current pot by gently turning it upside down and supporting the base of the plant. The root ball might fall apart—that's actually helpful for seeing the damage.
Shake off old soil completely. Don't try to save any of it. That soil is contaminated with the fungal or bacterial pathogens causing the rot, and reusing it guarantees the problem returns. Rinse the entire root system under lukewarm running water to remove all soil particles.
Assess the damage honestly: - Less than 30% rot: Excellent recovery odds - 30-60% rot: Good recovery odds with proper care - More than 60% rot: Take propagation backups immediately as insurance - More than 80% rot: Focus on saving healthy stem cuttings via How to Propagate Pothos: Water Method Step-by-Step
Step 2: Trim All Black and Mushy Roots
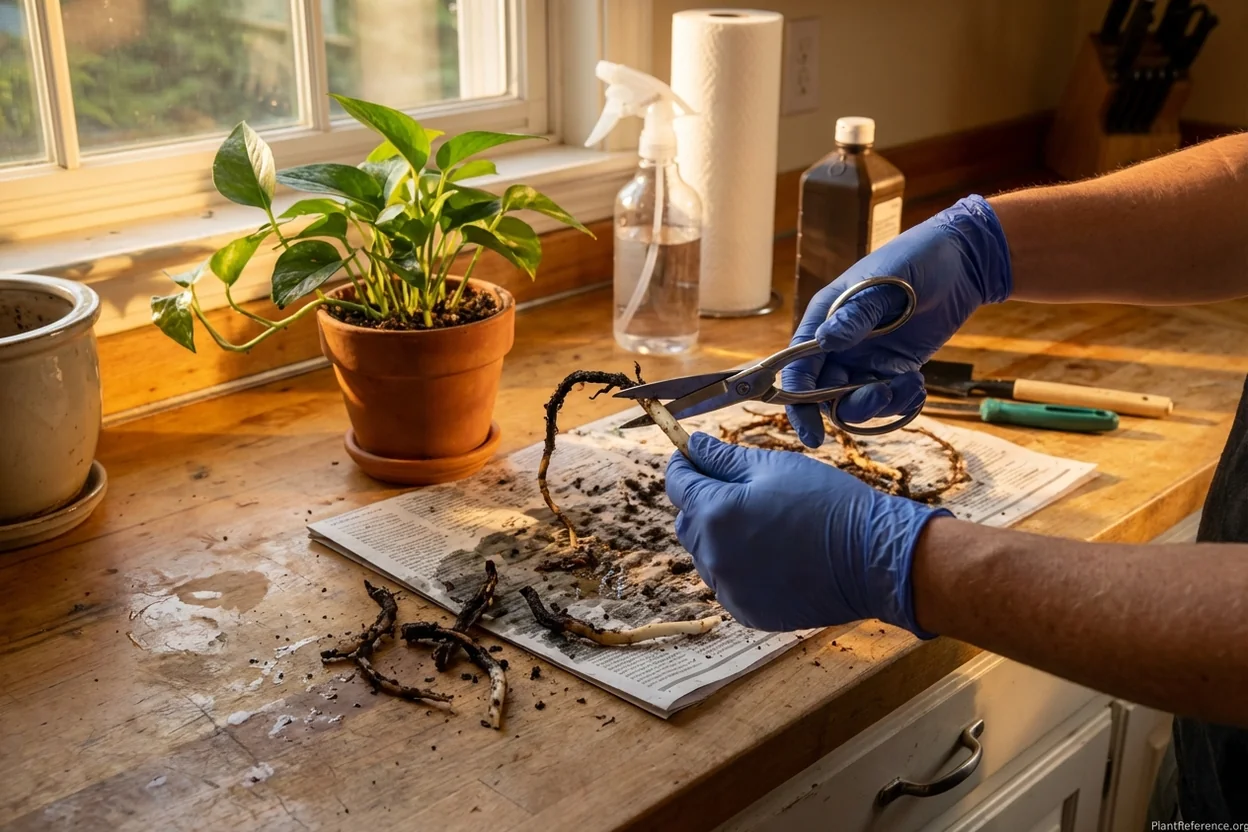
This step separates plant rescuers from plant killers. You need to be ruthless about removing every bit of rotted root. I know it looks like you're destroying the plant, but leaving any black or mushy roots guarantees the rot will spread and kill the whole plant.
Cut cleanly above any discoloration. Use sharp, clean scissors and make cuts on healthy white tissue. If a root is half-healthy and half-rotted, cut it back to completely healthy tissue even if that means removing 75% of the root. Healthy roots feel firm and snap cleanly when bent—they don't squish or fall apart.
Sterilize scissors with rubbing alcohol between cuts to prevent spreading infection
Remove any roots that smell sour or feel slimy
Cut individual roots rather than hacking at the whole root ball
Don't worry about removing "too much"—pothos regrow roots quickly
Keep at least some healthy roots if possible, but prioritize complete rot removal
If you end up with mostly bare stem and very few roots, don't panic. Pothos can survive with minimal root systems and will regrow rapidly in proper conditions.
Step 3: Treat Remaining Healthy Roots
After trimming, you need to disinfect the remaining healthy roots to kill any lingering pathogens. 3% hydrogen peroxide (the kind from any pharmacy) works perfectly for this.
Soak the entire root system in a diluted hydrogen peroxide solution for 10-15 minutes. Mix 1 part 3% hydrogen peroxide with 2 parts water in a bowl. The solution will foam slightly—that's normal and actually shows it's working to kill bacteria and fungi.
After soaking, rinse thoroughly under running water to remove the peroxide solution. The roots should look clean and white/cream colored. Let the plant sit in open air for 30-60 minutes to allow cut surfaces to callous over slightly before repotting.
Pro tip: While your plant air-dries, this is the perfect time to take propagation backups (Step 5). Even if your rescue is successful, having backup plants growing gives you peace of mind.
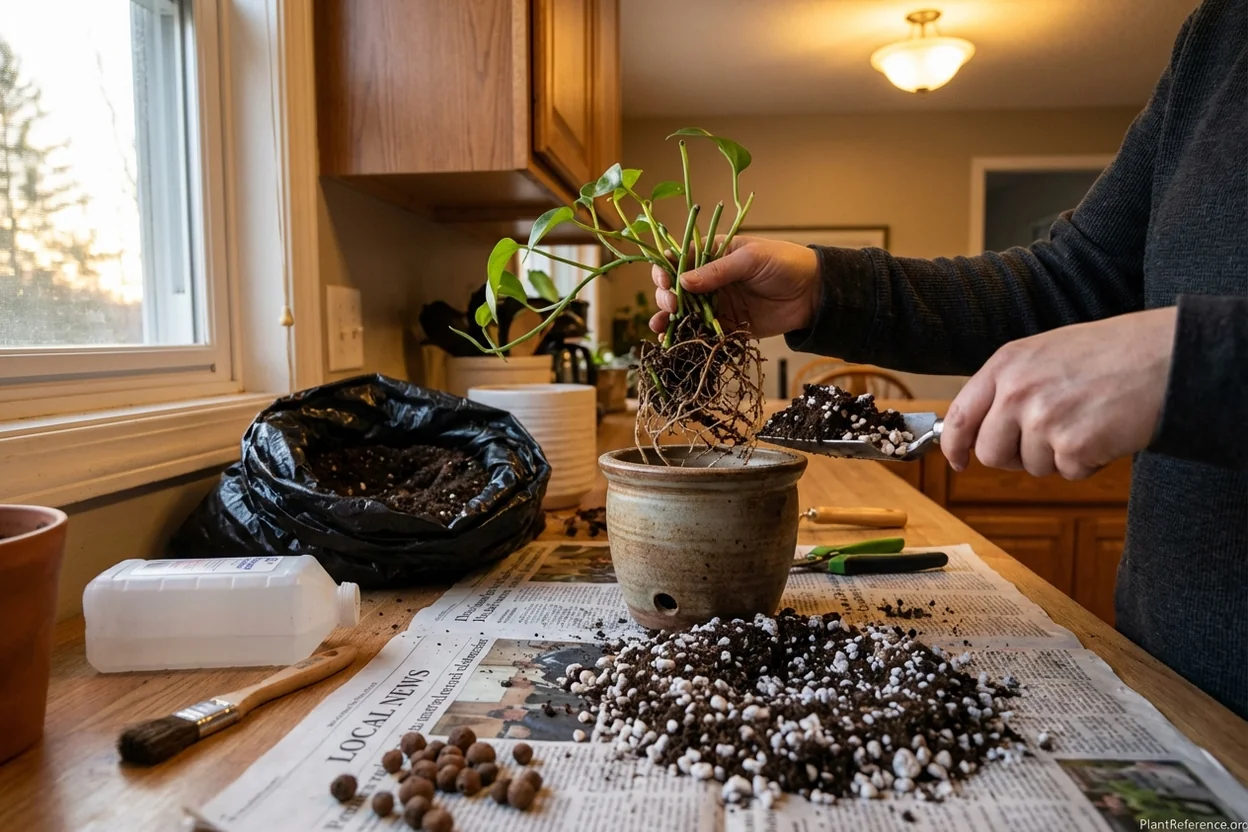
Step 4: Repot in Fresh, Well-Draining Soil
Choose a pot that's slightly smaller than the original since you've removed significant root mass. The new pot must have drainage holes—non-negotiable for preventing future root rot. If you love that decorative pot without holes, use it as a cachepot with a proper drainage pot inside.
Use fresh, high-quality potting mix designed for houseplants. I recommend mixing regular potting soil with 25-30% perlite for extra drainage. Pothos prefer slightly loose, well-draining soil that dries out between waterings.
Fill pot 1/3 with fresh soil mix
Position plant at same depth it was growing before (don't bury stem)
Fill around roots gently, avoiding air pockets but not compacting soil
Water lightly to settle soil—just enough to moisten, not soak
Place in bright, indirect light away from direct sun while recovering
Don't fertilize for at least 4-6 weeks after repotting. The plant needs to focus energy on growing new roots, not supporting new leaf growth.
→ BUYMAX Ceramic Pots with Drainage 4-Pack ($18-25) - Essential drainage prevents reinfection
Set of four 5-inch ceramic pots with proper drainage holes and matching saucers. Modern minimalist design in white prevents root rot through excellent drainage. Saucers protect furniture while allowing excess water to escape. Perfect size for rescued pothos plants with reduced root systems. Durable ceramic construction resists cracking and staining.
Step 5: Take Water Propagation Backups
This step is your insurance policy. Even if your root rot rescue succeeds perfectly, having backup plants growing gives you peace of mind. Plus, water propagation is basically foolproof with pothos.
Cut 4-6 inch stem cuttings from the healthiest-looking vines. Each cutting needs at least 2-3 nodes (those bumpy spots where leaves emerge). Remove leaves from the bottom 2 inches of stem to prevent rotting in water.
Place cuttings in clean water and change the water every 3-4 days. Within 1-2 weeks, you'll see new white roots emerging from the nodes. These water-grown roots are different from soil roots but will adapt when you eventually plant them.
Keep propagations in bright, indirect light while they develop roots. If your main plant doesn't survive the rescue, these propagations will become your replacement plants.
Pro tip: Take more cuttings than you need. Pothos propagations make excellent gifts, and you can always use extras to make your recovering mother plant look fuller once it's established.
Post-Rescue Care and Recovery Timeline
Your rescued pothos is going through major trauma, so expect a recovery period of 4-8 weeks before you see significant new growth. Here's what to expect:
Week 1-2: Shock phase
Existing leaves may droop or yellow (normal stress response)
Don't water unless soil feels dry 2 inches (5 cm) down
Keep in bright, indirect light—no direct sun
Week 3-4: Root development
New roots begin growing from remaining healthy tissue
Plant may still look rough but should stop declining
Begin checking soil moisture weekly with finger test
Week 5-8: Recovery growth
New leaves emerge smaller than usual (normal)
Watering frequency gradually increases as root system rebuilds
Can resume normal care routine
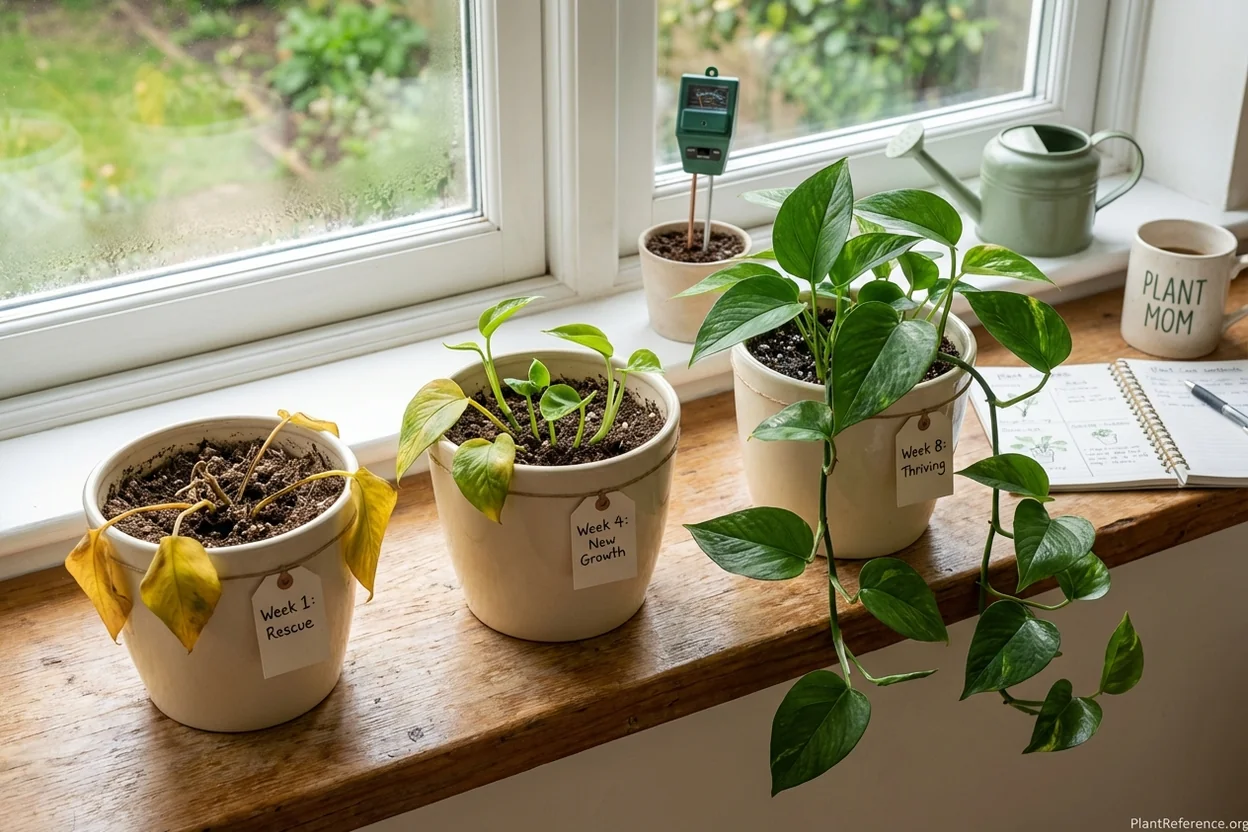
Signs your rescue succeeded:
New leaves emerging from vine tips (even if tiny)
Existing leaves perk up and stop drooping
Soil dries out normally between waterings (every 1-2 weeks)
No more funky smells from the soil
Signs you need to rely on your propagation backups:
Continued yellowing and leaf drop after 3 weeks
Stem becomes soft or black
Soil stays wet despite good drainage
Strong sour smell persists
→ XLUX Soil Moisture Meter ($8-13) - Prevent future overwatering disasters
Instant moisture readings with clear dry/moist/wet zones eliminate guesswork that causes root rot. No batteries required—simply insert 7-inch probe into soil for immediate feedback. Single probe design minimizes root damage during testing. Essential tool for preventing overwatering in recovered plants. Durable construction withstands repeated use in multiple pots.
Preventing Future Root Rot
The hard truth: Most pothos root rot comes from well-meaning overwatering. After going through emergency rescue once, you never want to repeat the experience.
Master the watering test: Stick your finger 2-3 inches (5-7.5 cm) into the soil. If it's still moist, wait another few days. Pothos prefer to dry out significantly between waterings, especially in winter when growth slows.
Improve drainage permanently:
Always use pots with drainage holes—decorative cachepots are fine for outer containers
Mix 25-30% perlite into regular potting soil for faster drainage
Empty saucers within 30 minutes of watering to prevent soggy soil
Choose terracotta or ceramic over plastic for better moisture evaporation
Repot every 1-2 years with fresh soil that hasn't broken down
Seasonal adjustments matter: Reduce watering frequency by 50% in winter when pothos growth slows. A plant that needs water weekly in summer might only need watering every 2-3 weeks in winter.
Learn your plant's thirsty signals: Healthy pothos will droop slightly when they need water—use this visual cue rather than watering on a schedule. The leaves perk up within hours of proper watering.
For more detailed watering guidance, check out How to Water Pothos: The Foolproof Beginner Method to master the basics and prevent future emergencies.
Water quality matters too: If your tap water is heavily chlorinated or contains fluoride, let it sit out overnight before watering, or use filtered water. Chemical buildup in soil can stress roots and make them more susceptible to rot.
Frequently Asked Questions
Reading about plants and recognising them are different skills. These three build the second.
- Daily PlantIdentify the day’s mystery plant from a close-up photograph.
- Keyed OutWork a dichotomous key, lead by lead, to name a hidden specimen.
- Name That PlantName a specimen from botanical clues dealt hardest first.
Free to play, no account needed
TJ stumbled into plant parenthood when a coworker gave him a neglected pothos. That single plant sparked an obsession that led him to quit his corporate marketing job and start a plant care service for busy professionals in Chicago. TJ maintains over 150 plants for residential clients and runs monthly plant swap meetups at local coffee shops. He's self-taught through YouTube, plant forums, and plenty of expensive mistakes (RIP to his variegated monstera). TJ specializes in troubleshooting common houseplant problems and is known for his blunt, no-BS advice: "Your plant isn't dying because Mercury is in retrograde—you're overwatering it." He's particularly skilled with finicky tropical plants like fiddle leaf figs and calatheas.