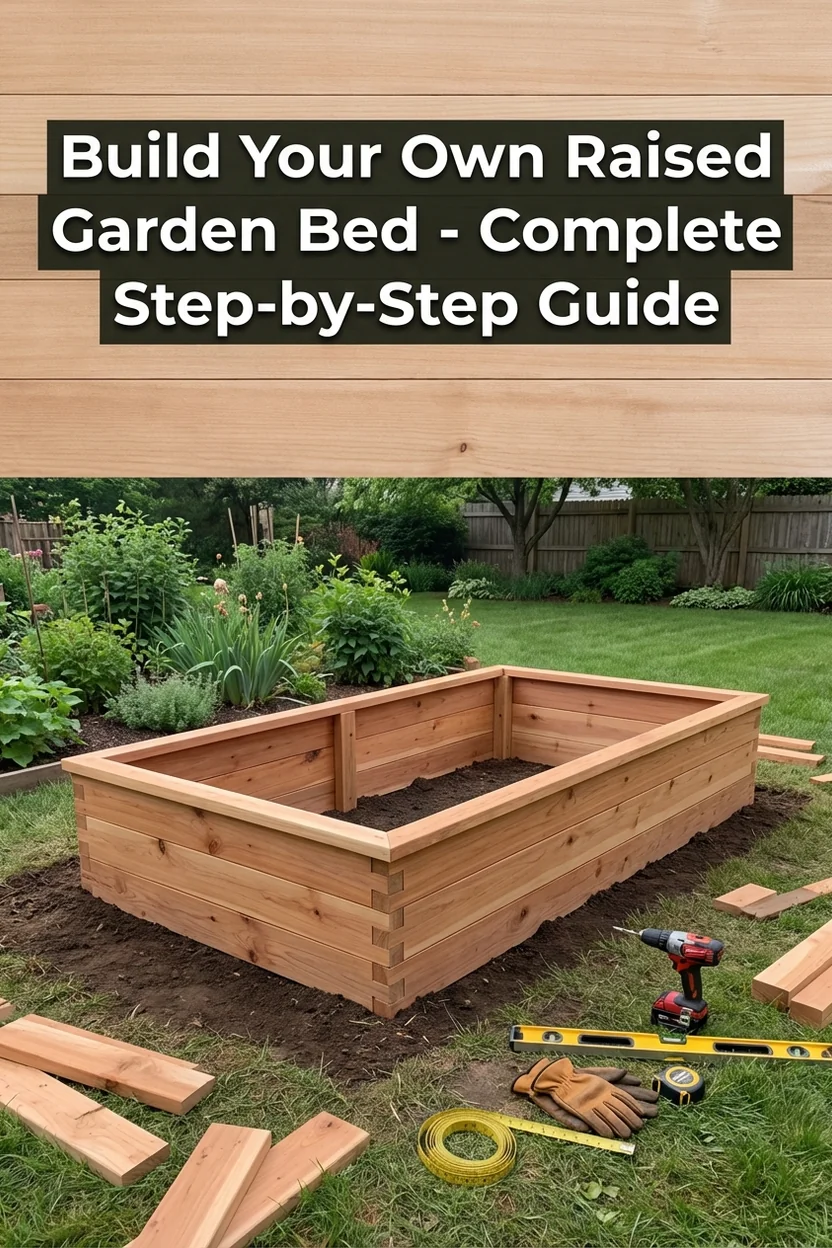
How to Build a Raised Garden Bed: Step-by-Step Construction Guide
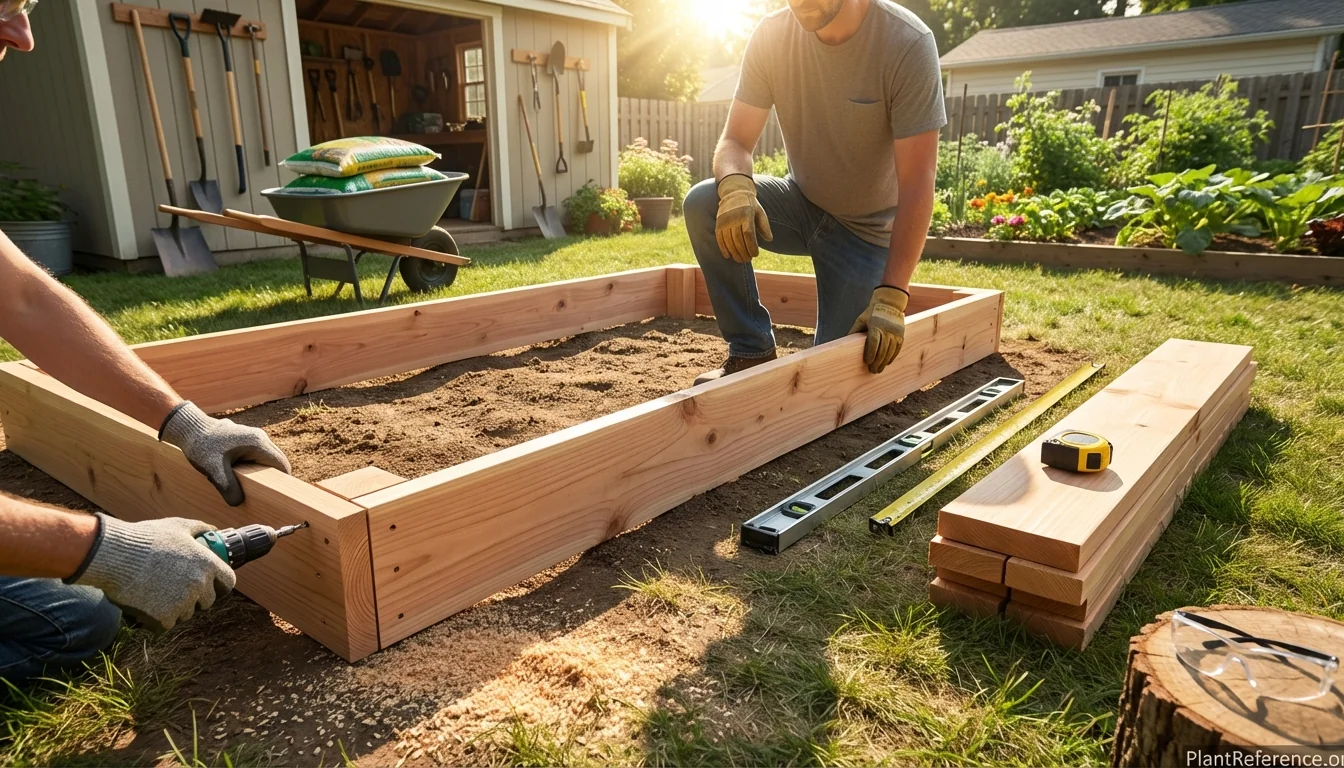
— Image © Plant Reference 2026
Building your own raised garden bed delivers both immediate satisfaction and decades of gardening success. After constructing over 200 raised beds for clients and my own property, I can guide you through every step to create a professional-quality bed that'll outlast your mortgage. This comprehensive guide covers everything from material selection through final soil placement, ensuring your first build becomes a foundation for years of productive growing.
Planning Your Raised Garden Bed Build
Before picking up a single board, successful raised bed construction starts with smart planning. I've seen too many weekend warriors rush to the lumber yard only to realize they've missed critical measurements or chosen inappropriate materials for their specific situation.
Determining Optimal Dimensions
The most popular size I build is 4x8 feet (120x240 cm) using standard 8-foot lumber. This eliminates cuts while providing 32 square feet (3 square meters) of growing space. Width should never exceed 4 feet (120 cm) – you need to reach the center from either side without stepping on soil.
For wheelchair accessibility or elevated beds, I build 24-30 inches (60-75 cm) tall using 2x12 boards stacked. Standard vegetable beds work perfectly at 10-12 inches (25-30 cm) deep using single 2x10 or 2x12 boards.
Site Selection Considerations
Choose your location before purchasing materials. Raised beds perform best with 6-8 hours direct sunlight, level ground, and convenient water access. Avoid low spots where water pools and areas under large trees competing for nutrients and light.
I always check for underground utilities before digging. One call to 811 prevents expensive disasters and potential injury.
Essential Materials and Tools
Quality materials make the difference between a bed lasting 5 years versus 20 years. I've tested every available option, and here's what actually works for long-term success.
Lumber Selection Guide
Cedar remains my top recommendation for raised beds. Western red cedar costs $25-30 for an 8-foot 2x10, but it naturally resists rot and insects without chemical treatment. I've seen 15-year-old cedar beds with minimal deterioration.
Redwood offers superior longevity but costs significantly more – expect $35-45 per board in most markets. The natural tannins provide excellent rot resistance, making it worth the investment for permanent installations.
Composite lumber delivers the longest lifespan at $40-60 per board. Made from recycled wood fibers and plastic, it won't rot, warp, or require maintenance. However, it lacks the natural aesthetics many gardeners prefer.
Avoid pressure-treated lumber if you're growing edibles. While modern treatments are safer than historical arsenic-based preservatives, untreated options eliminate any chemical concerns.
Hardware and Fasteners
Galvanized carriage bolts (3/8" x 4") with washers and nuts – 8 per bed
Galvanized wood screws (2.5" or 3") – 1 pound box
Metal corner brackets (optional for extra strength) – 4 per bed
Galvanized corner braces – 8 per bed for reinforcement
Essential Tools Required
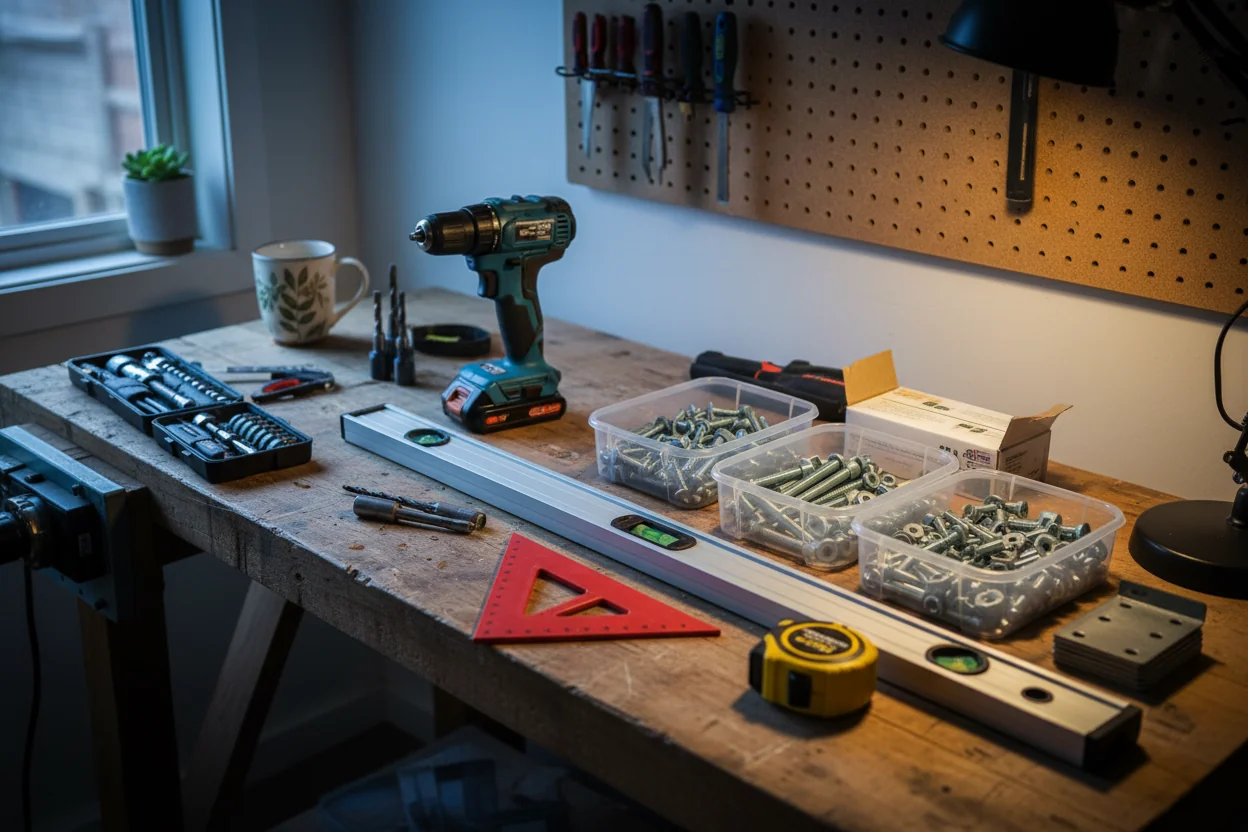
You'll need these tools for professional results:
Circular saw or miter saw for cutting lumber
Power drill with screwdriver bits and 3/8" drill bit
4-foot level for checking ground and assembly
Measuring tape (25-foot minimum)
Speed square for marking accurate cuts
Socket wrench set for tightening bolts
Work gloves and safety glasses
Site Preparation and Ground Leveling
Proper ground preparation determines whether your bed sits level and drains effectively. I spend extra time on this step because fixing problems later requires complete disassembly.
Clearing and Leveling the Area
Mark your bed location using spray paint or stakes and string. Clear all grass, weeds, and debris from an area 6 inches (15 cm) larger than your bed dimensions on all sides.
For grass removal, I use a sharp spade to cut 2-inch (5 cm) deep strips, rolling up the sod for composting or relocating. This creates clean edges and removes competitive roots.
Check level using a 4-foot level placed across the area in multiple directions. Small variations under 2 inches (5 cm) work fine – you can adjust with soil. Larger slopes require moving soil from high to low areas or building stepped beds.
Creating Proper Drainage
Raised beds need excellent drainage to prevent root rot and soil compaction. Never place beds directly on concrete, asphalt, or other impermeable surfaces without drainage holes.
For beds on patios or decks, drill 1/2-inch (12 mm) holes every 12 inches (30 cm) in the bottom board. Place beds on blocks or feet to allow airflow underneath.
On natural soil, the bed's open bottom provides adequate drainage. Add a 2-inch (5 cm) coarse sand or fine gravel layer if your soil has heavy clay content.
Cutting Lumber to Size
Precise cuts create tight joints and professional appearance. Measure twice, cut once – this old carpenter's saying prevents expensive mistakes.
Standard Cut List for 4x8 Foot Bed
2 pieces at 96 inches (240 cm) – long sides
2 pieces at 45 inches (115 cm) – short sides (accounts for 1.5" board thickness)
Alternative: 2 pieces at 48 inches (120 cm) if using external corner brackets
Cutting Techniques for Clean Results
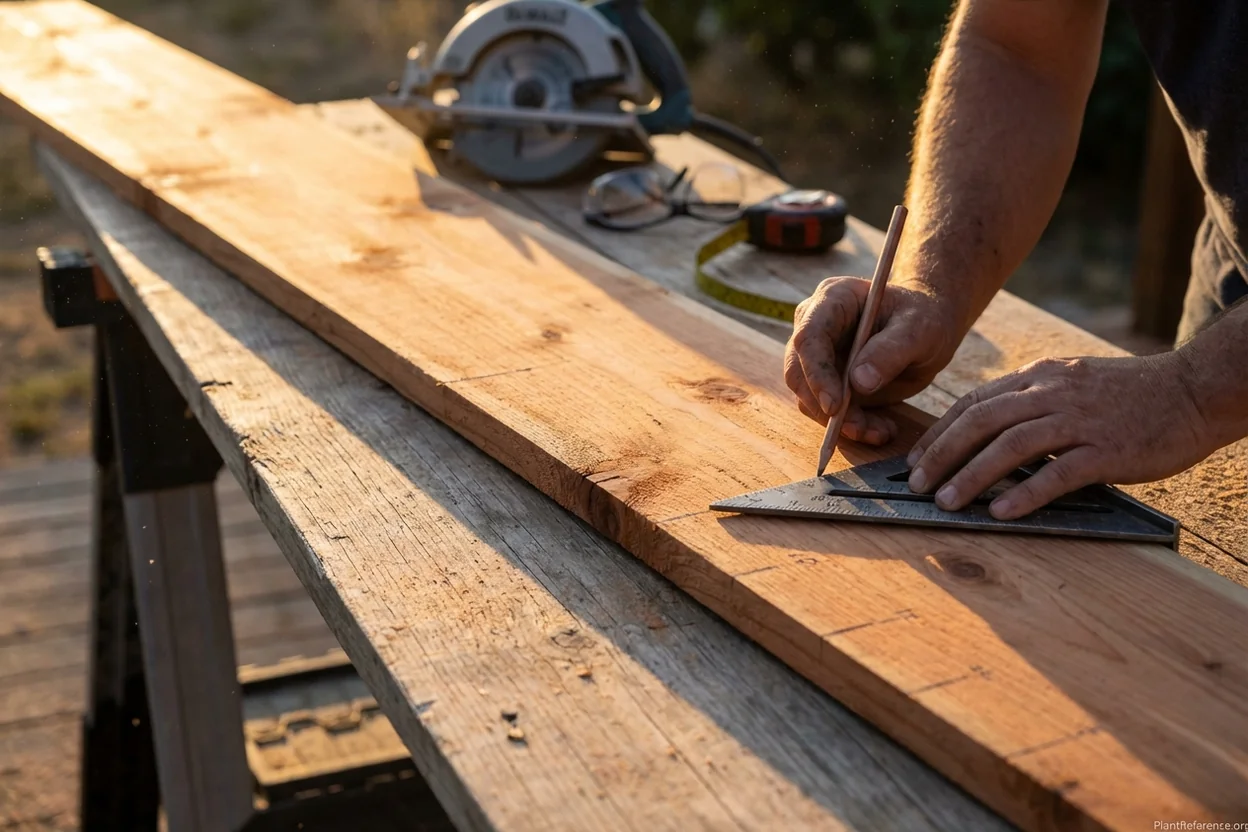
Mark cuts using a speed square and sharp pencil. The square ensures 90-degree angles while the pencil line shows exactly where to cut.
For circular saws, use a sharp carbide blade designed for lumber. Support both sides of the cut to prevent binding and splintering. Let the saw reach full speed before starting the cut, and maintain steady pressure without forcing.
Miter saws deliver the most accurate cuts for corner joints. Set stops for repeated cuts to ensure identical lengths.
Assembly Techniques and Corner Joints
Strong corner joints determine your bed's longevity and stability. I've refined these techniques through hundreds of builds to eliminate weak points that cause premature failure.
Pre-Drilling for Strength
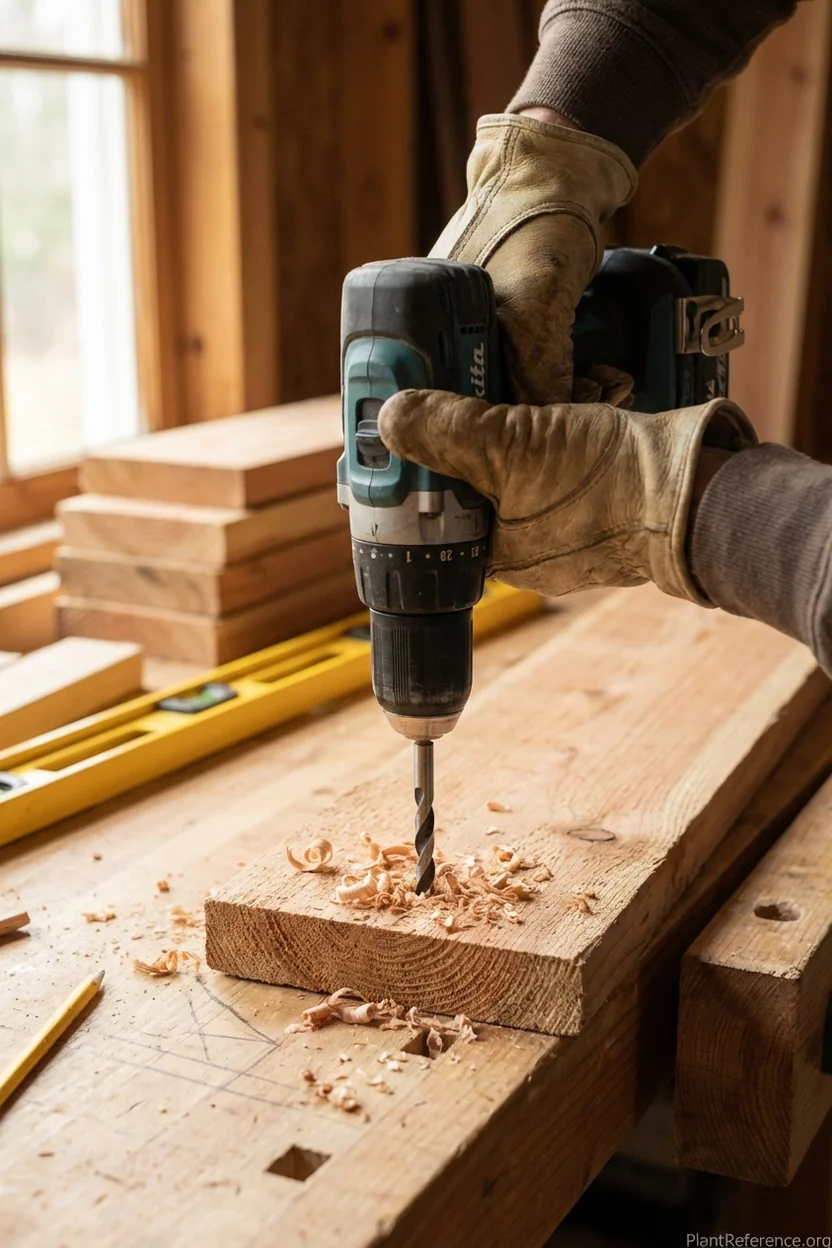
Always pre-drill holes for screws and bolts. Cedar and redwood split easily, especially near board ends. Use a drill bit slightly smaller than your fastener diameter – 1/8 inch for #10 screws, 5/16 inch for 3/8 inch bolts.
Drill from the outside face to prevent tear-out on the visible surface. Countersink bolt heads slightly so they sit flush with the wood surface.
Corner Joint Options
Butt joints offer the simplest assembly. The short boards fit between the long boards, creating a 45-inch internal width when using 48-inch short boards (accounting for 1.5-inch board thickness).
Lap joints provide maximum strength by overlapping boards at corners. Cut 1.5-inch deep notches in each board end using a circular saw and chisel. This technique requires more skill but creates incredibly strong corners.
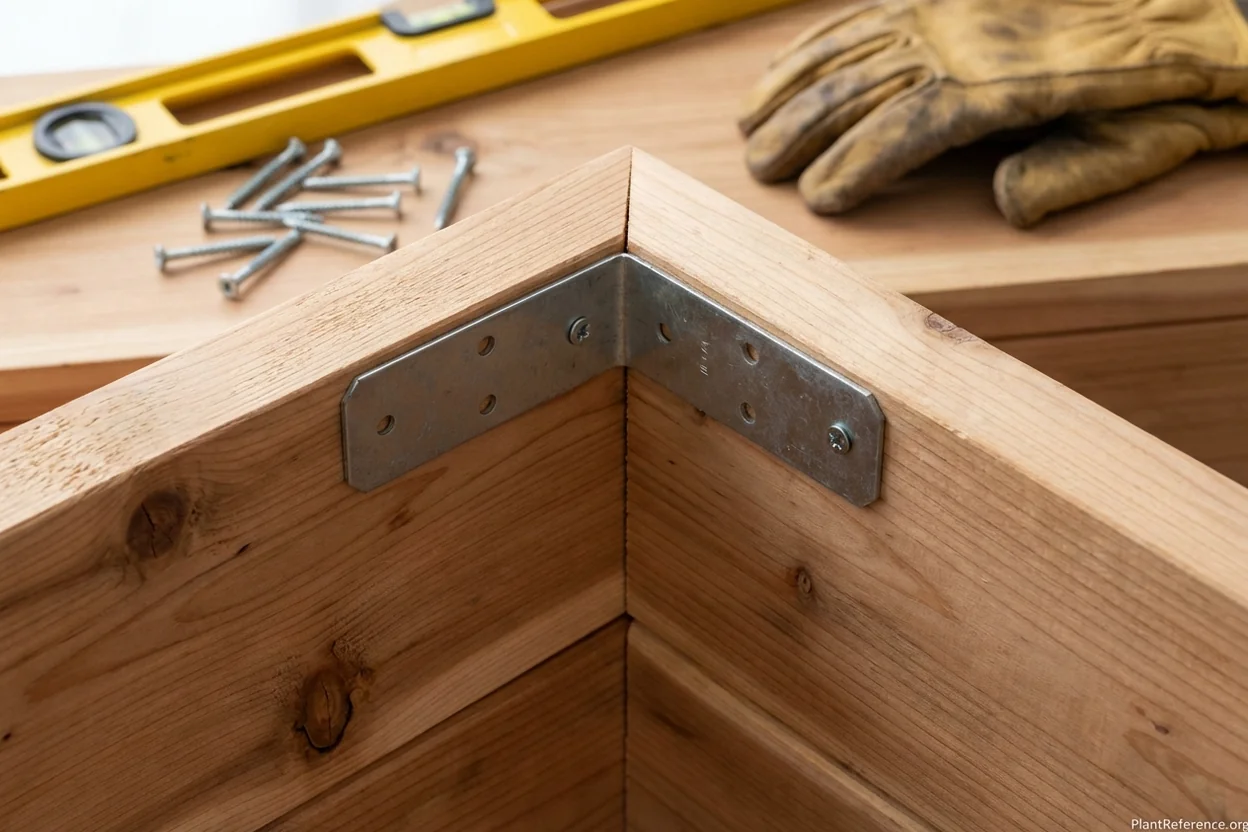
Metal corner brackets simplify assembly while adding strength. L-shaped brackets attach to the inside corners with screws, eliminating the need for precision cuts or complex joinery.
Assembly Sequence
Start assembly on a flat surface near your final bed location. Moving a fully assembled bed risks joint failure and back injury.
Lay out all four boards in position
Pre-drill all screw holes
Apply exterior wood glue to joint surfaces (optional but recommended)
Insert screws or bolts, tightening gradually
Check diagonal measurements – equal diagonals confirm square assembly
Test fit on prepared ground before final tightening
Installing Corner Brackets and Hardware
Professional-grade hardware transforms a basic lumber frame into a durable garden bed. I use specific fasteners that resist weather and provide decades of reliable service.
Galvanized Carriage Bolts
For maximum strength, I install 3/8-inch carriage bolts through each corner. These create mechanical connections stronger than screws alone.
Drill holes completely through both boards, insert bolts from the outside, and tighten with washers and nuts on the inside. The square section under the bolt head prevents spinning during tightening.
Position bolts 2-3 inches (5-7.5 cm) from board ends and center them vertically. Two bolts per corner provide adequate strength for beds up to 12 inches (30 cm) tall.
Reinforcement Brackets
Metal corner brackets add significant strength for minimal cost. Install them on the inside corners where they're hidden after soil placement.
Use galvanized or stainless steel brackets rated for outdoor use. Standard 4-inch brackets work for most applications, with 6-inch brackets for taller beds.
Position brackets flush with the top edge and secure with 1.5-inch galvanized screws. Pre-drill to prevent splitting.
Final Assembly and Positioning
Moving from assembly to final positioning requires careful planning to avoid damage and ensure proper placement. A completed 4x8 bed weighs 40-60 pounds (18-27 kg) depending on lumber choice.
Test Fitting and Adjustments
Before final tightening, position the assembled frame on your prepared site. Check that all corners sit level and the frame doesn't rock. Minor ground irregularities can be corrected by adding or removing soil beneath corners.
Use your 4-foot level diagonally across corners and along each side. The bubble should center in both directions. Shim low corners with flat stones or pressure-treated shims.
Final Positioning Tips
Once positioned correctly, mark the ground around the bed's perimeter using spray paint. This allows you to lift the bed for final ground preparation without losing placement.
For beds on slopes, orient the long sides across the slope rather than up and down. This creates better water distribution and prevents soil washout.
Securing to Ground
Most raised beds don't require ground anchoring, but windy locations or lightweight materials benefit from stakes or rebar pins.
Drive 18-inch (45 cm) pieces of rebar through pre-drilled holes in the bottom boards into the ground. This prevents shifting during filling and seasonal freeze-thaw cycles.
Adding Drainage and Weed Barriers
Proper drainage and weed prevention create the foundation for healthy plant growth. These steps require careful material selection and installation techniques I've refined over years of troubleshooting problem beds.
Weed Barrier Options
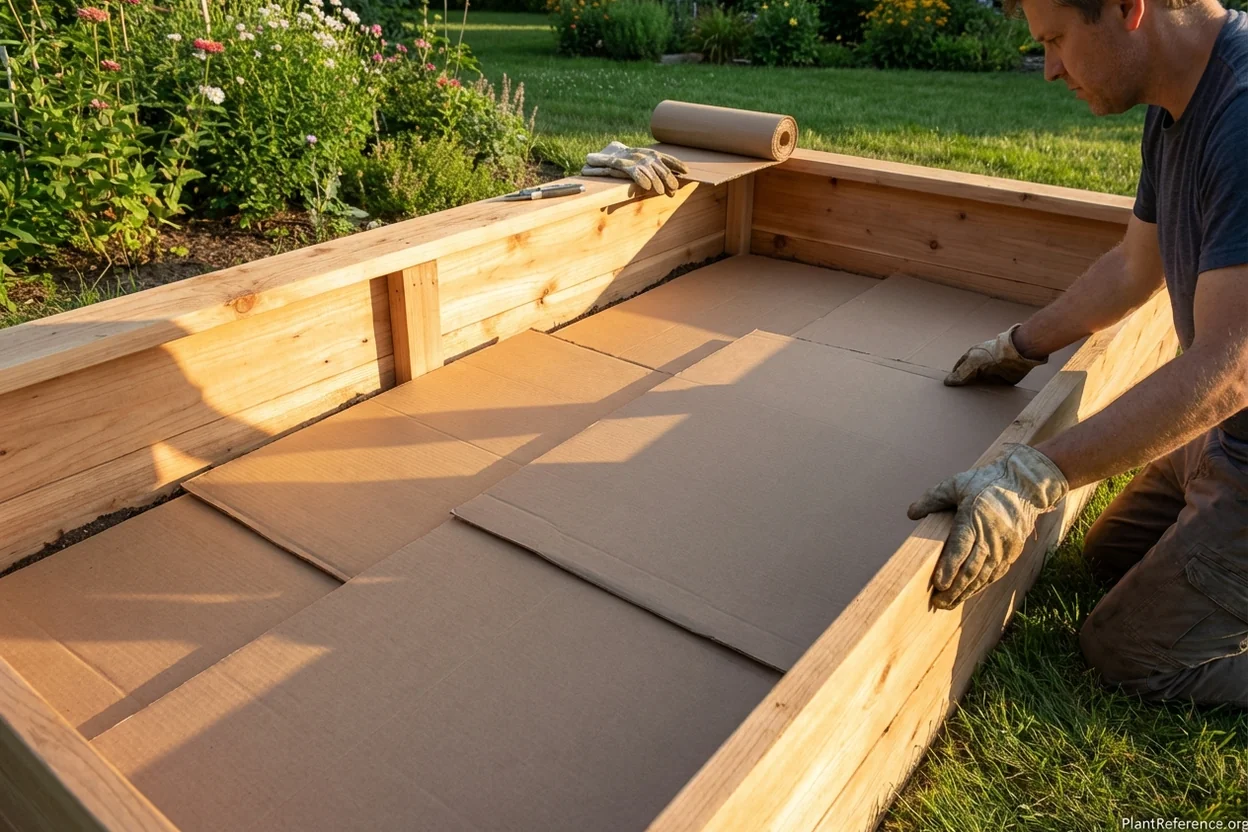
Cardboard remains my preferred weed barrier. It's free, blocks weeds effectively for 6-8 months, then decomposes to improve soil. Overlap pieces by 6 inches (15 cm) and remove all tape and staples.
Landscape fabric provides longer-lasting weed control but can impede drainage and beneficial soil organisms. If using fabric, choose permeable versions and secure with landscape pins.
Never use plastic sheeting as a weed barrier. It prevents drainage and creates anaerobic soil conditions that harm plant roots.
Hardware cloth (1/4-inch mesh) installed beneath cardboard protects from burrowing pests like voles and gophers. Essential in areas with significant rodent pressure.
Drainage Layer Installation
A drainage layer isn't necessary for most locations but benefits beds on heavy clay soil or concrete surfaces.
Create a 1-2 inch (2.5-5 cm) layer using coarse materials:
Pea gravel (3/8 inch diameter)
Crushed stone (#57 or #67)
Coarse sand (not fine sand which impedes drainage)
Expanded clay pebbles for lightweight applications
Level the drainage layer with a rake before adding soil. The goal is improved drainage, not perfect uniformity.
Soil Volume Calculations and Filling
Calculating soil needs accurately prevents over-purchasing or multiple trips to the garden center. I use a simple formula that accounts for settling and provides slight excess for future topdressing.
Volume Calculation Formula
Multiply length × width × depth in feet, then multiply by 1.1 for settling allowance:
4 feet × 8 feet × 0.83 feet (10 inches) × 1.1 = 29.3 cubic feet
Convert to cubic yards by dividing by 27: 29.3 ÷ 27 = 1.09 cubic yards
Most suppliers sell by the cubic yard, making this conversion essential for bulk orders.
Soil Mix Recommendations
The best raised bed soil combines drainage, nutrition, and structure. My standard recipe works for 95% of vegetables and herbs:
1/3 high-quality compost
1/3 topsoil (not "fill dirt")
1/3 coarse material (perlite, coarse sand, or aged bark)
Avoid 100% compost which compacts poorly and creates drainage issues. Pure topsoil also compacts and may lack organic matter for plant nutrition.
Filling Techniques
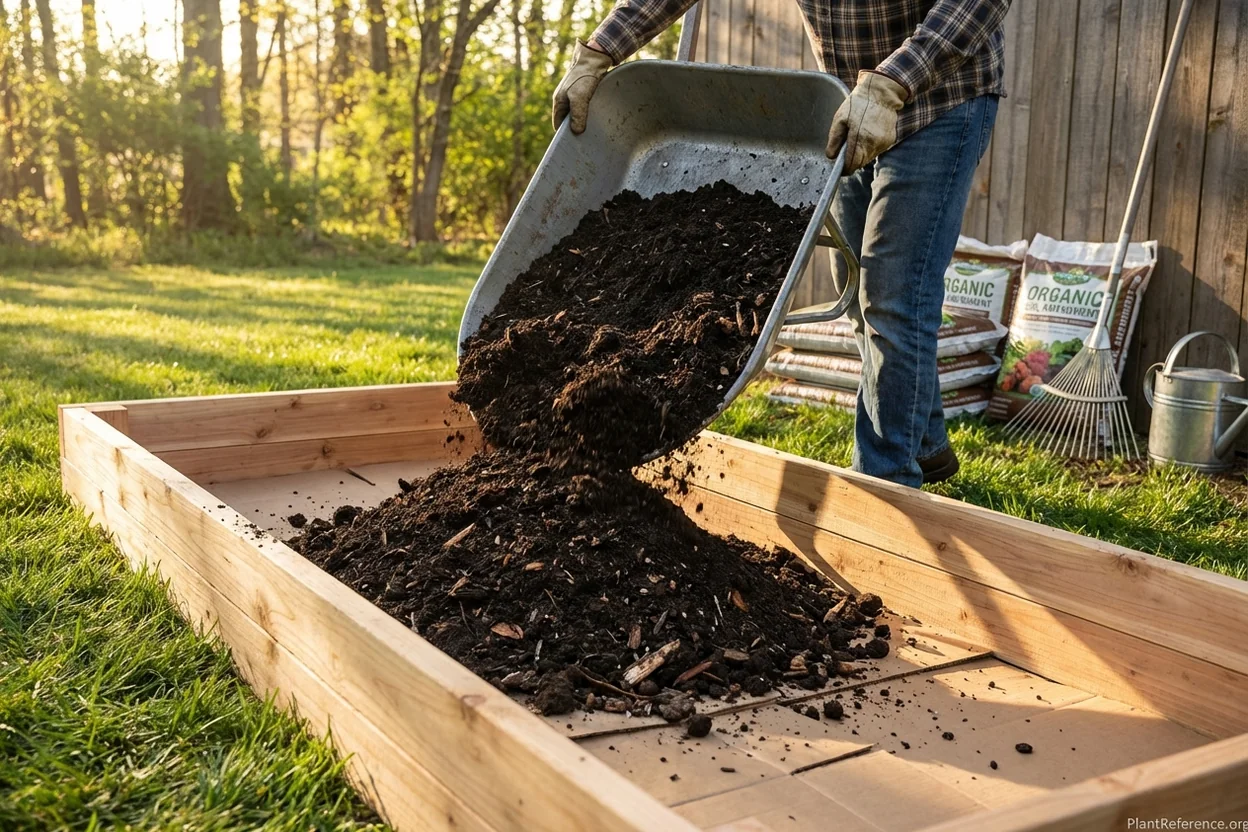
Fill beds gradually in 4-6 inch (10-15 cm) lifts, watering lightly between layers. This prevents air pockets and ensures even moisture distribution.
Leave 2-3 inches (5-7.5 cm) between soil surface and bed rim. This provides space for mulch and prevents soil spillover during watering.
Expect 10-20% settling in the first season as organic matter decomposes. Plan to topdress with additional compost in fall or early spring.
Maintenance and Seasonal Care
A well-built raised bed requires minimal maintenance but benefits from annual attention to ensure decades of service. I inspect my clients' beds yearly and address small problems before they become expensive repairs.
Annual Inspection Schedule
Spring inspection (March-April) checks for winter damage:
Examine corners for loosening or separation
Check hardware for corrosion or missing fasteners
Assess wood condition for rot or insect damage
Verify bed remains level and stable
Test soil depth and plan topdressing needs
Fall maintenance (October-November) prepares beds for winter:
Tighten loose hardware after seasonal wood movement
Add 1-2 inches (2.5-5 cm) compost topdressing
Remove spent plants and diseased materials
Apply winter mulch if desired
Cover crops or green manures for soil improvement
Wood Preservation
Cedar and redwood naturally resist decay but benefit from occasional treatment. I apply food-safe linseed oil or tung oil every 3-4 years to maintain appearance and water resistance.
Avoid stains or sealers that might leach chemicals into soil. Natural oils penetrate wood fibers without creating surface films that trap moisture.
Hardware Maintenance
Galvanized fasteners resist corrosion for 15-20 years in most climates. Coastal areas or regions with acid rain may require earlier replacement.
Check bolts and screws annually, tightening as needed. Wood movement during seasonal moisture changes can loosen connections gradually.
Long-Term Replacement Planning
Even quality cedar beds eventually require replacement. Plan for 15-20 year lifespans with proper maintenance, 10-15 years in harsh climates.
Replace individual boards as they fail rather than entire beds when possible. This spreads costs over time and maintains soil established in healthy sections.
Troubleshooting Common Issues
Bed separation at corners usually indicates inadequate fasteners or ground settling. Add corner brackets and check ground level.
Bowing sides result from soil pressure on insufficient bracing. Install mid-span stakes or upgrade to thicker lumber.
Drainage problems manifest as standing water or plant yellowing. Improve with additional organic matter or drainage amendments.
Frequently Asked Questions
Reading about plants and recognising them are different skills. These three build the second.
- Daily PlantIdentify the day’s mystery plant from a close-up photograph.
- Keyed OutWork a dichotomous key, lead by lead, to name a hidden specimen.
- Name That PlantName a specimen from botanical clues dealt hardest first.
Free to play, no account needed
Mike's been designing residential landscapes in the Seattle area, with a particular focus on Pacific Northwest natives and sustainable practices. He's a Washington State Master Gardener and worked in construction before landscaping, which gives him a practical edge when it comes to building raised beds and hardscaping projects. He runs a small side business propagating and selling unusual perennials at farmers markets on weekends. His property serves as a testing ground for low-maintenance, wildlife-friendly garden designs. Mike's philosophy: if it requires weekly maintenance, it's not sustainable.