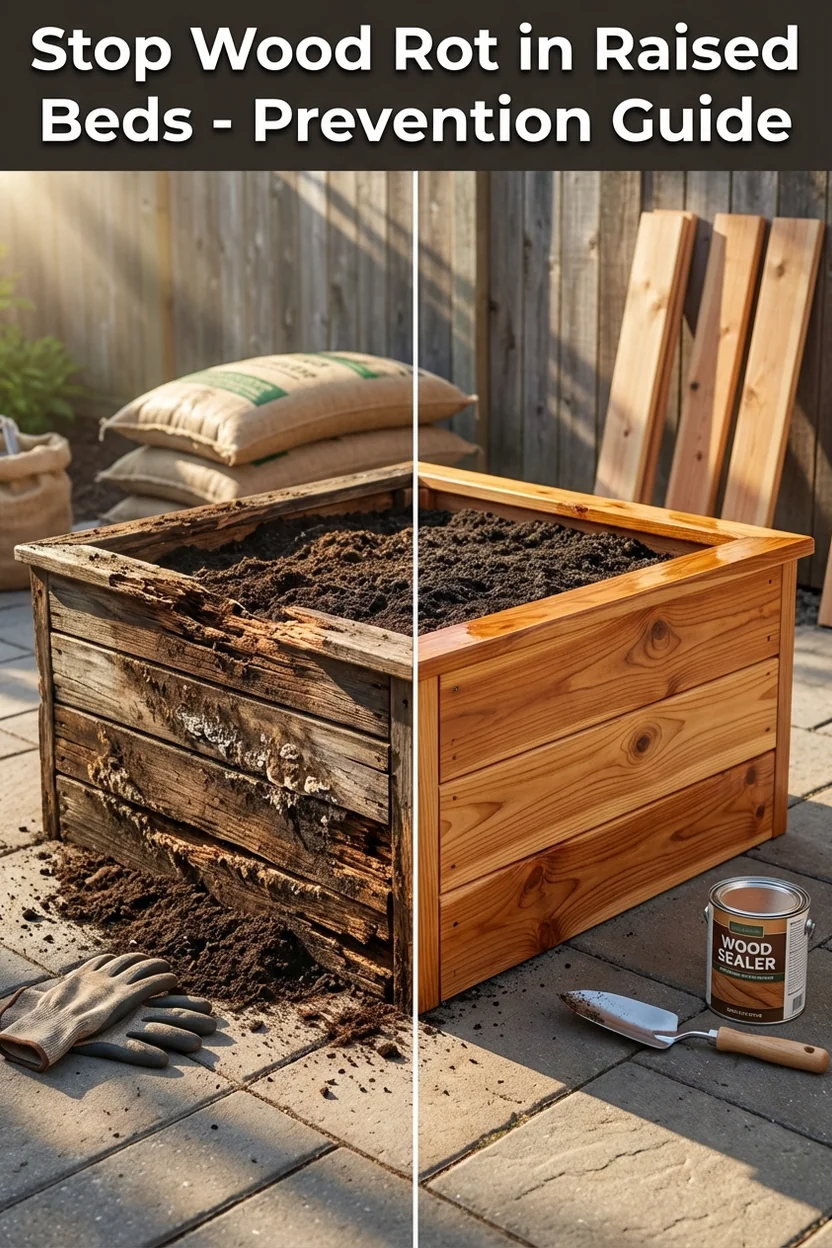
Raised Bed Wood Rot: Extending Bed Lifespan and Replacement Options
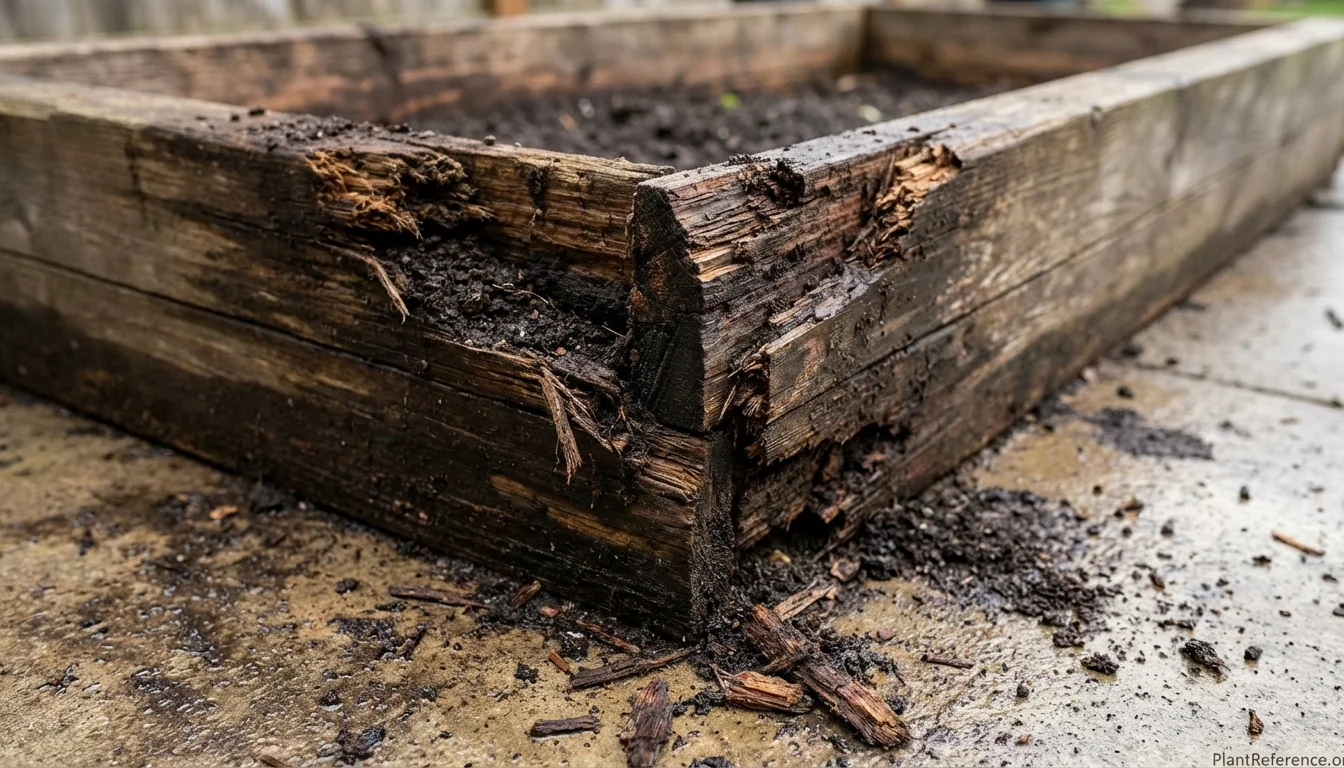
— Image © Plant Reference 2026
Watching your carefully built raised bed deteriorate from wood rot is frustrating—especially when you thought you'd chosen quality materials. Wood rot is the leading cause of premature raised bed failure, but it's completely preventable with the right approach and materials. This guide covers everything from early identification through permanent solutions that'll outlast your mortgage.
I've built and rebuilt dozens of raised beds over two decades, and I've learned the hard way that cutting corners on wood selection or maintenance always costs more in the long run. Here's how to protect your investment and build beds that last.
Signs Your Raised Bed Wood is Rotting
Early detection saves you from complete bed reconstruction. Wood rot progresses gradually, but once it takes hold, it accelerates rapidly during wet conditions.
Visual indicators include:
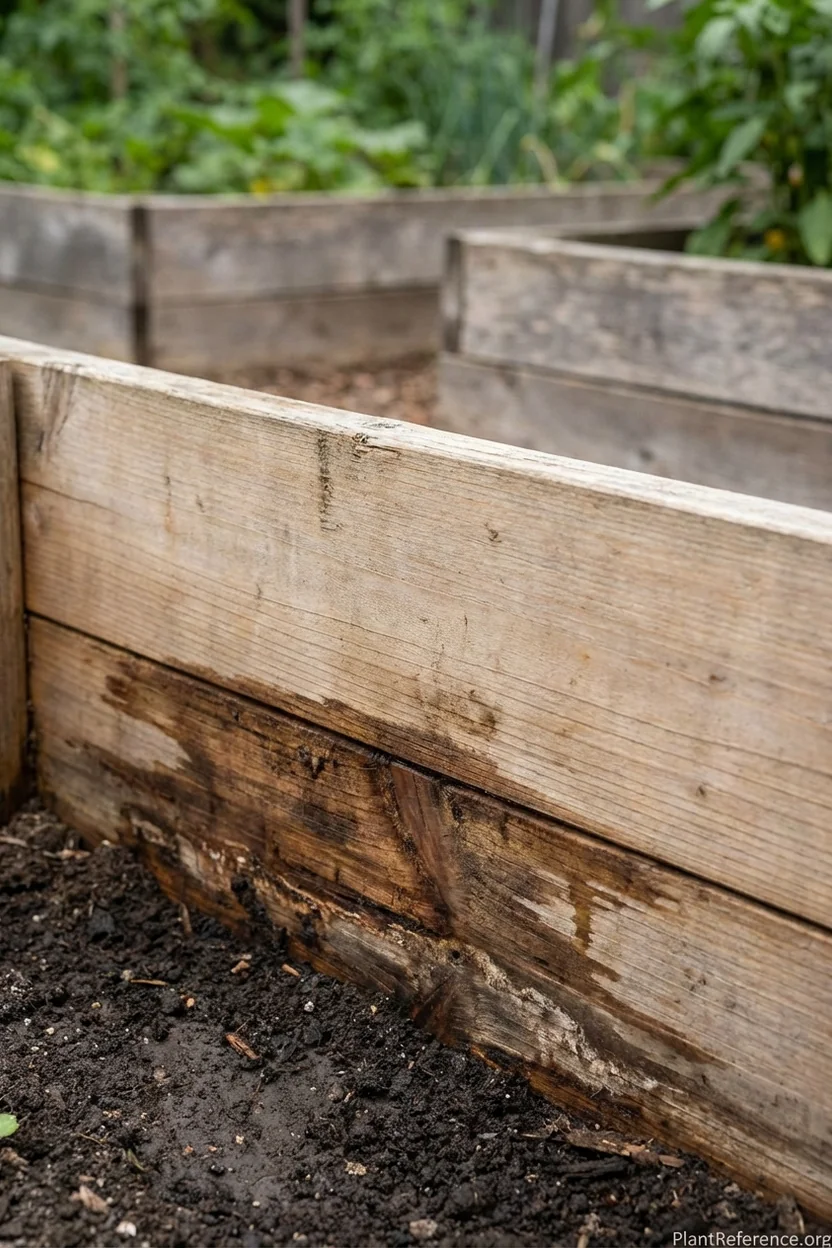
Dark brown or black discoloration spreading along wood grain
Soft, spongy texture when pressed with your thumb
Horizontal cracks running parallel to wood grain
White, cotton-like fungal growth in damp conditions
Crumbling or flaking wood at corners and joints
Separation between wood layers in plywood or composite lumber
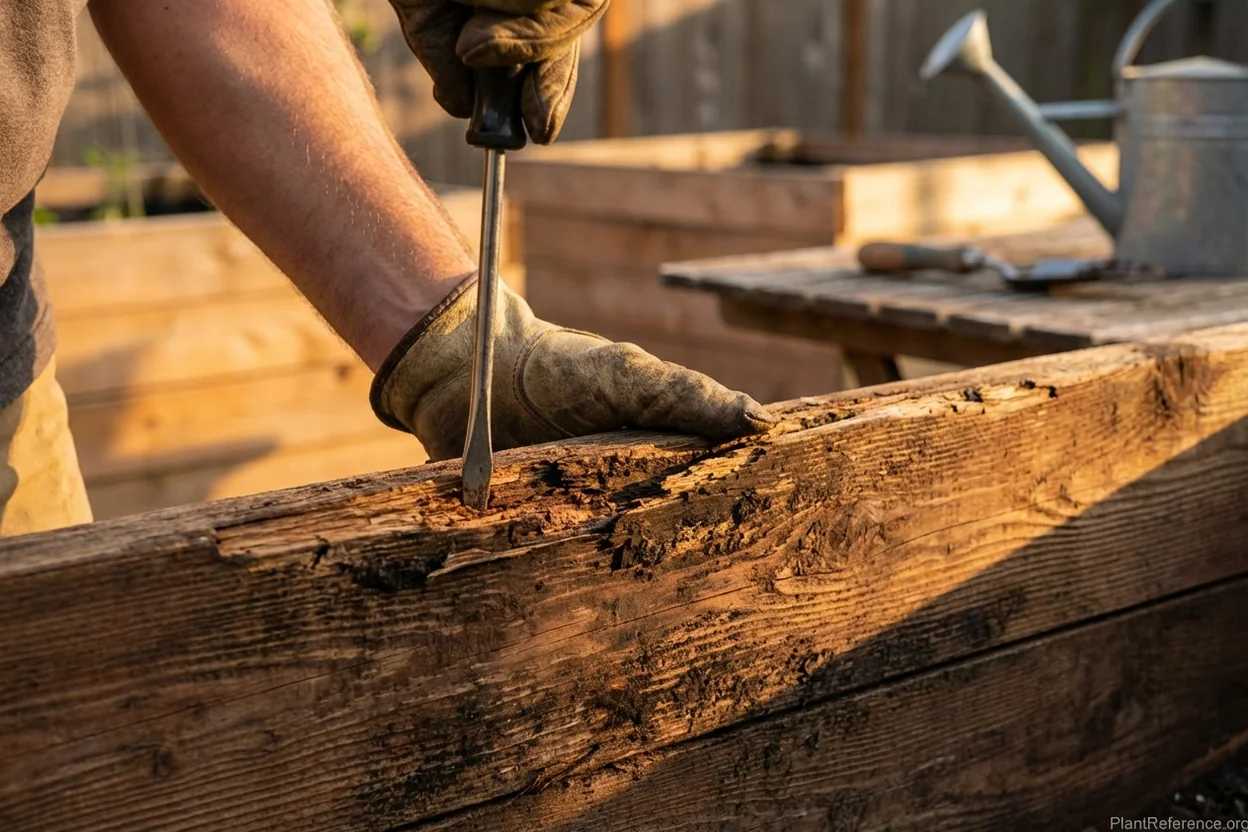
The screwdriver test provides the most reliable assessment. Insert a screwdriver perpendicular to the wood grain—healthy wood resists penetration, while rotted wood allows the screwdriver to sink in easily. Test every 6 inches along suspicious areas, particularly at soil level where moisture damage concentrates.
Pay special attention to corner joints, where water collects, and bottom boards, which experience constant soil contact. These areas typically show rot symptoms first, giving you early warning before structural failure spreads.
Moisture-related symptoms appear before visible rot sets in. Watch for boards that remain damp hours after rain, dark staining that doesn't dry, or musty odors near the bed. These early warning signs indicate conditions favoring rot development—address them immediately.
What Causes Wood Rot in Raised Beds
Understanding rot causes prevents future problems and guides material selection for repairs. Wood rot requires three elements: moisture, oxygen, and temperatures between 40-100°F (4-38°C). Raised beds create ideal conditions unless properly designed.
Primary moisture sources:
Direct soil contact against wood surfaces
Poor drainage allowing water to pool around boards
Sprinkler or irrigation water splashing on wood regularly
Inadequate air circulation trapping humidity
Ground moisture wicking up through bottom boards
Rain water collecting in corner joints and crevices
Wood selection mistakes accelerate rot. Pine, fir, and other softwoods lack natural rot resistance and deteriorate within 3-5 years in soil contact. Even pressure-treated lumber eventually fails when protective chemicals leach out over time.
The biggest error I see is using thin boards (1 inch or less actual thickness). Thicker boards (1.5 inches minimum) resist bowing and create fewer gaps where water penetrates. They also provide more material to rot through before structural failure occurs.
Construction details either promote or prevent rot. Boards installed flush against the ground trap moisture underneath, while elevating beds on a gravel base allows air circulation. Corner joints sealed with caulk trap water inside, accelerating rot from within.
How to Assess Structural Damage
Before deciding between repair and replacement, evaluate the extent of damage. Partial rot affects appearance but maintains structural integrity, while advanced rot compromises the bed's ability to hold soil safely.
Structural integrity tests:
Apply firm pressure to corners and joints—healthy beds shouldn't flex more than 1/4 inch (6 mm). Excessive movement indicates weakened corner connections or rotted through-sections requiring immediate attention.
Check load-bearing capacity by pressing down on the top edge while someone pushes against the side. Compromised beds will bow outward or show gap opening at joints. This test reveals hidden damage not visible from surface inspection.
Measure rot depth using a thin probe like an ice pick or awl. Insert at multiple points to map the damage extent. Surface rot (less than 1/4 inch deep) can be sanded and treated, while damage penetrating more than halfway through board thickness requires replacement.
Corner joints deserve special attention since they hold the entire structure together. Rot at corners often means complete board replacement, even if other sections remain healthy. Don't risk structural failure by attempting to salvage rotted corner connections.
Preventing Wood Rot Before It Starts
Prevention costs far less than replacement and starts with proper wood selection. Natural rot resistance varies dramatically between species, making material choice your first line of defense.
Top rot-resistant wood choices:
Cedar: 15-20 year lifespan, naturally occurring oils repel insects and resist rot
Redwood: 10-20 year lifespan, high tannin content provides natural preservation
Black locust: 20+ year lifespan, extremely dense wood with natural preservatives
White oak: 15+ year lifespan, tight grain structure resists moisture penetration
Construction techniques that prevent rot include elevating beds 2-3 inches (5-8 cm) above ground level using gravel or concrete blocks. This allows air circulation underneath and prevents ground moisture from wicking up into wood.
Install drainage gaps at corners by leaving 1/8 inch (3 mm) spacing between boards. Water can escape instead of pooling in joints. Avoid caulking or sealing these natural drainage points.
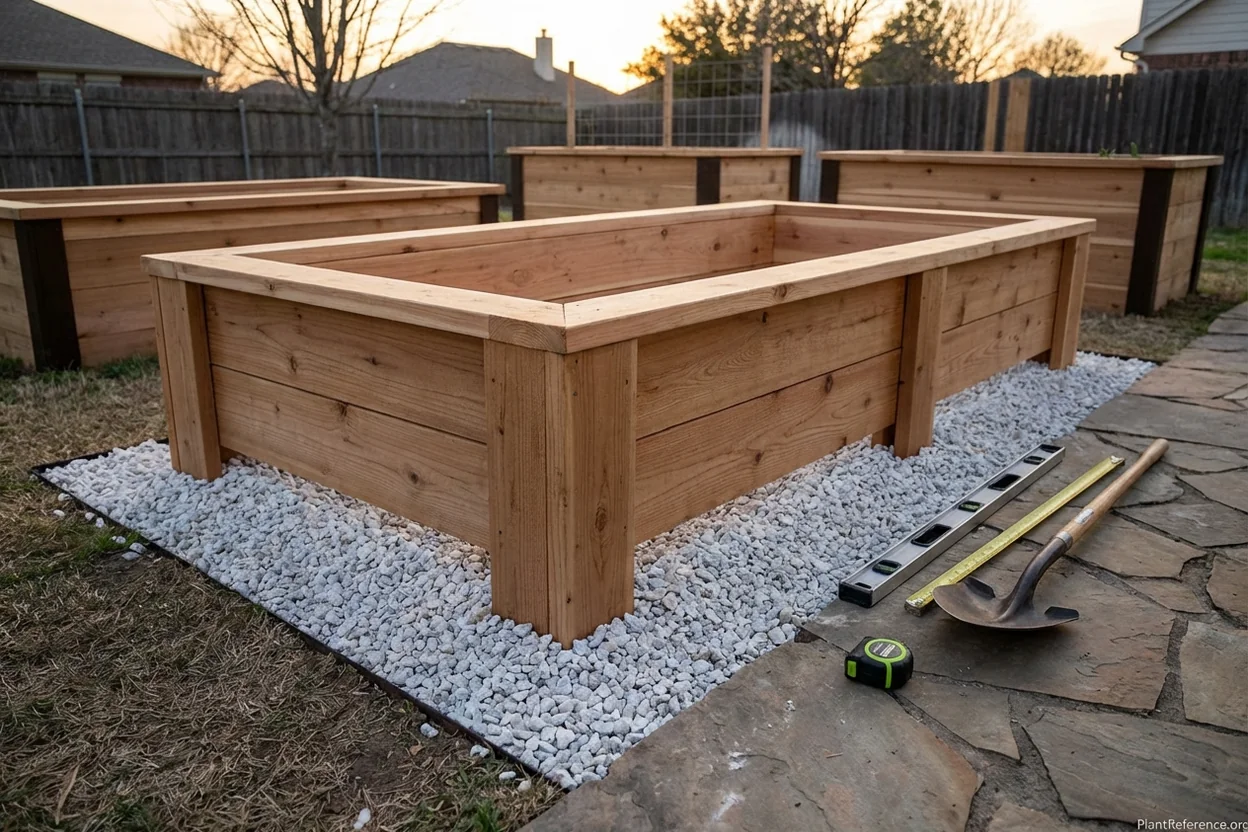
Annual maintenance keeps wood healthy longer. Apply clear wood sealer every spring to create a moisture barrier. Linseed oil or tung oil penetrate wood fibers and provide protection from within, while surface sealers create an external moisture barrier.
Clean beds annually by removing soil buildup from board exteriors and clearing debris from corner joints. Use a stiff brush to remove algae or moss growth that holds moisture against wood surfaces.
Repairing Partial Wood Rot Damage
Surface rot and early-stage damage respond well to repair techniques that restore structural integrity and prevent spread. These methods work for rot penetrating less than 25% of board thickness.
Wood hardener treatment rebuilds damaged fibers using penetrating epoxy resins. Clean out loose, punky wood with a chisel or wire brush, then apply hardener according to manufacturer instructions. Products like Best Wood for Raised Garden Beds: Material Comparison and Longevity Test recommend can restore strength to compromised sections.
Partial board replacement works when rot affects only one section. Cut out the damaged area 6 inches (15 cm) beyond visible damage on each side. Install backing boards behind the cut to support replacement pieces, then secure with galvanized screws.
For corner damage, reinforce with metal corner brackets after cleaning out rotted material. L-shaped brackets distribute loads across healthy wood and compensate for lost strength in damaged corners.
Surface sanding and sealing addresses superficial discoloration and early moisture penetration. Sand to remove darkened wood, apply wood hardener if needed, then seal with penetrating oil finish. This treatment adds 3-5 years to board life when caught early.
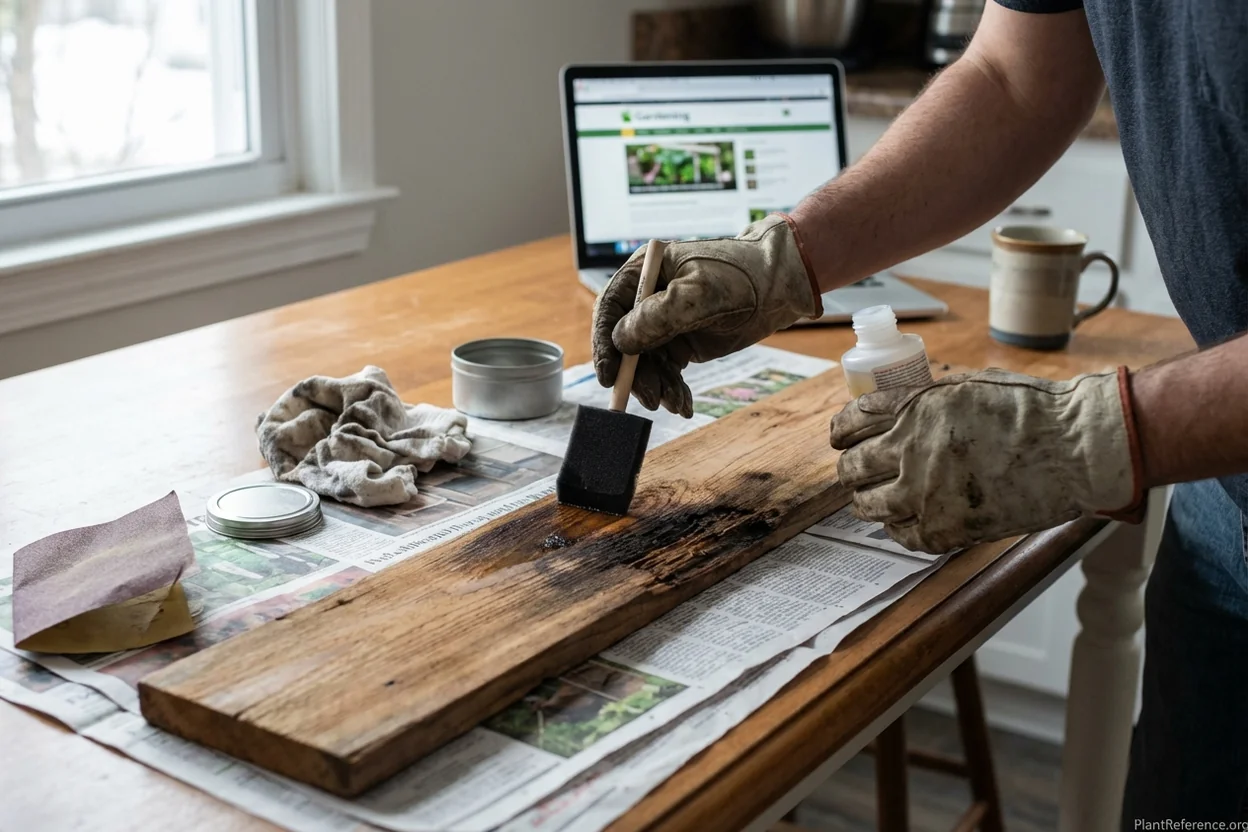
Monitor repaired sections closely during the first season. Properly treated areas should show no further discoloration or softening. If rot returns, complete board replacement becomes necessary.
Complete Board Replacement Process
Advanced rot requires complete board replacement to restore structural integrity. This process seems daunting but follows straightforward steps when approached systematically.
Before starting replacement:
Empty the bed completely—soil weight makes board removal impossible
Take measurements for exact replacement boards
Purchase identical or upgraded materials
Gather tools: drill, screws, level, measuring tape
Removal sequence matters for maintaining bed structure. Never remove adjacent boards simultaneously—this causes collapse. Remove one board completely and install its replacement before moving to the next section.
For corner boards, remove screws or hardware carefully to preserve usable fasteners. Corner joints bear the most stress, so use upgraded hardware during reassembly. Replace standard wood screws with carriage bolts for permanent connections.
Installation tips ensure long-term success. Pre-drill holes to prevent splitting, especially near board ends. Use galvanized or stainless steel fasteners rated for exterior use. Apply wood sealer to cut ends before installation.
Level each replacement board carefully—twisted or bowed boards create gaps where water collects. Use shims if necessary to achieve proper alignment with existing boards.
Best Long-Lasting Wood Alternatives
Learning from rot experience, many gardeners upgrade to materials offering superior longevity. These alternatives cost more initially but provide decades of maintenance-free service.
Composite lumber combines recycled wood fibers with plastic polymers, creating boards that won't rot, split, or require sealing. Expect 25+ year lifespans with minimal maintenance. Popular brands include Trex and TimberTech, both safe for food crops.
Recycled plastic lumber offers the longest lifespan—essentially unlimited when protected from UV damage. Made from recycled milk jugs and grocery bags, it's environmentally friendly and completely rot-proof. Some brands incorporate UV inhibitors for fade resistance.
Metal alternatives include galvanized steel and cor-ten steel beds. Steel won't rot but does conduct heat, potentially overheating roots in summer. Proper insulation or partial shading addresses this concern in hot climates.
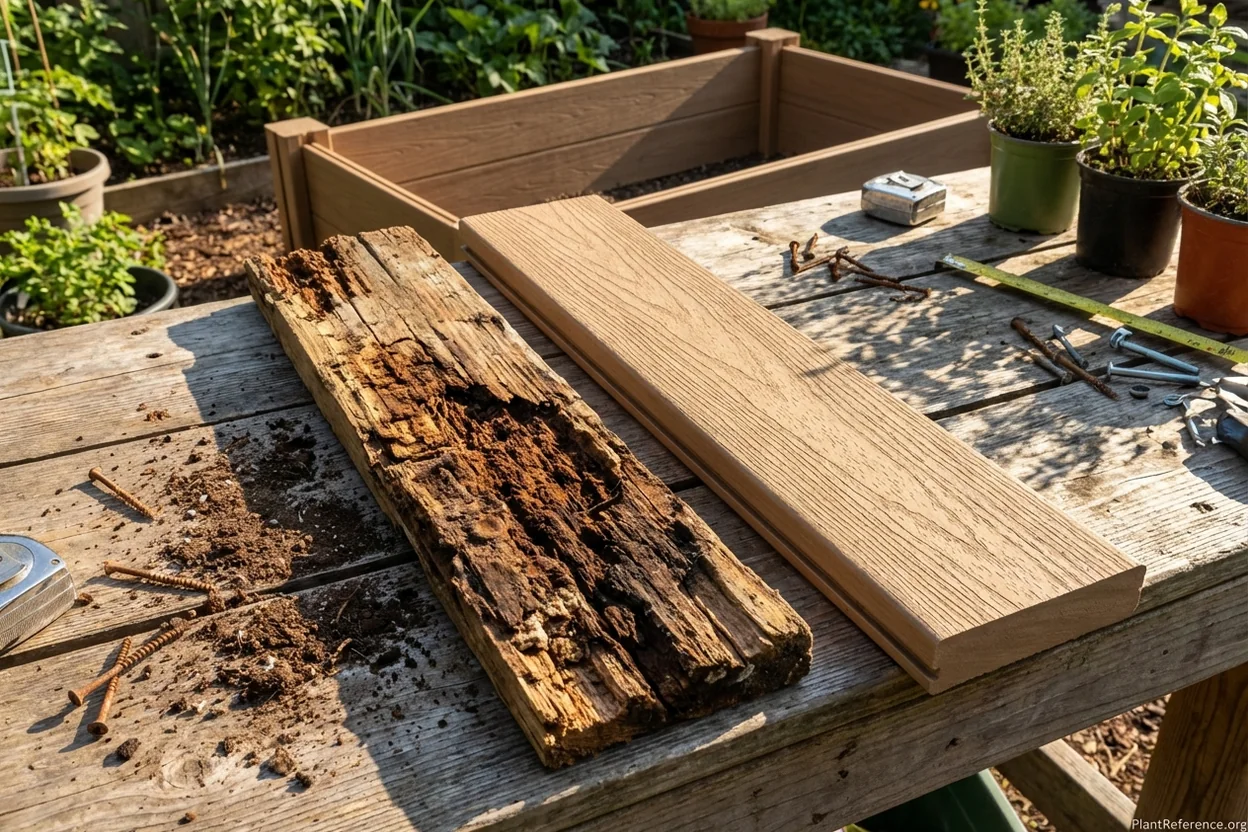
Natural stone and concrete blocks provide unlimited lifespans but require different construction techniques. Consider these for permanent installations where appearance matters more than portability.
The Complete Guide to Raised Bed Gardening for Beginners covers additional material options and their specific applications for different garden situations.
Cost Analysis: Repair vs Replace
Economic decisions depend on damage extent, bed age, and future plans. This analysis helps determine the most cost-effective approach for your situation.
Partial repair costs:
Wood hardener: $15-25 per treatment
Replacement hardware: $10-20
New sealer/finish: $15-35
Labor time: 4-6 hours
Total: $50-100 plus time
Complete wood replacement runs $75-200 depending on bed size and materials chosen. Cedar boards cost $2-4 per linear foot, while composite alternatives range $4-8 per linear foot.
Long-term value calculations favor quality materials. Cedar beds requiring replacement every 10-15 years cost more over 30 years than composite beds lasting 25+ years. Factor in labor time for repeated replacements when comparing options.
Consider the opportunity cost of repeated repairs. Time spent rebuilding beds could be used for gardening, and stressed plants in failing beds produce lower yields.
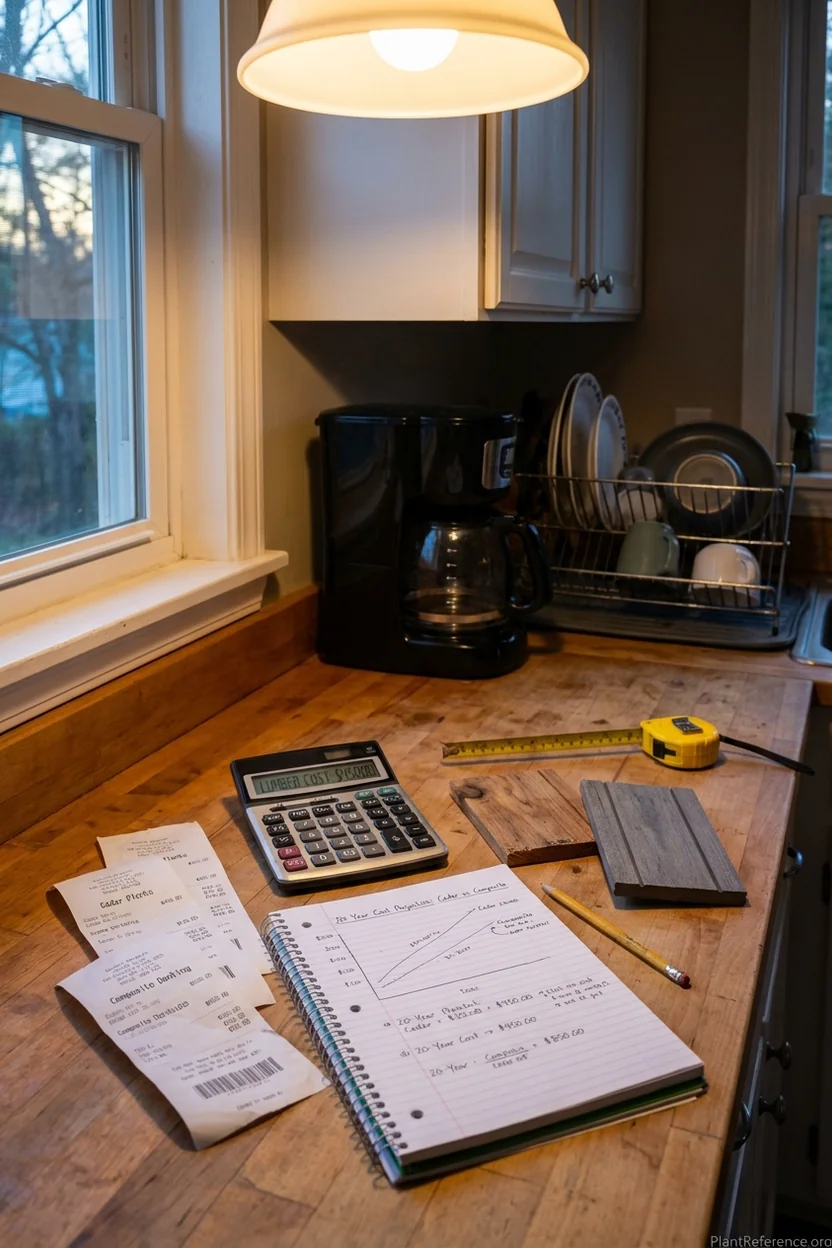
For beds under 5 years old with limited damage, repairs often make sense. Beyond 10 years, or with extensive rot, replacement with upgraded materials provides better value.
The key is catching problems early. Annual inspections cost nothing but prevent expensive emergency replacements when beds fail during peak growing season.
Frequently Asked Questions
Reading about plants and recognising them are different skills. These three build the second.
- Daily PlantIdentify the day’s mystery plant from a close-up photograph.
- Keyed OutWork a dichotomous key, lead by lead, to name a hidden specimen.
- Name That PlantName a specimen from botanical clues dealt hardest first.
Free to play, no account needed
Mike's been designing residential landscapes in the Seattle area, with a particular focus on Pacific Northwest natives and sustainable practices. He's a Washington State Master Gardener and worked in construction before landscaping, which gives him a practical edge when it comes to building raised beds and hardscaping projects. He runs a small side business propagating and selling unusual perennials at farmers markets on weekends. His property serves as a testing ground for low-maintenance, wildlife-friendly garden designs. Mike's philosophy: if it requires weekly maintenance, it's not sustainable.