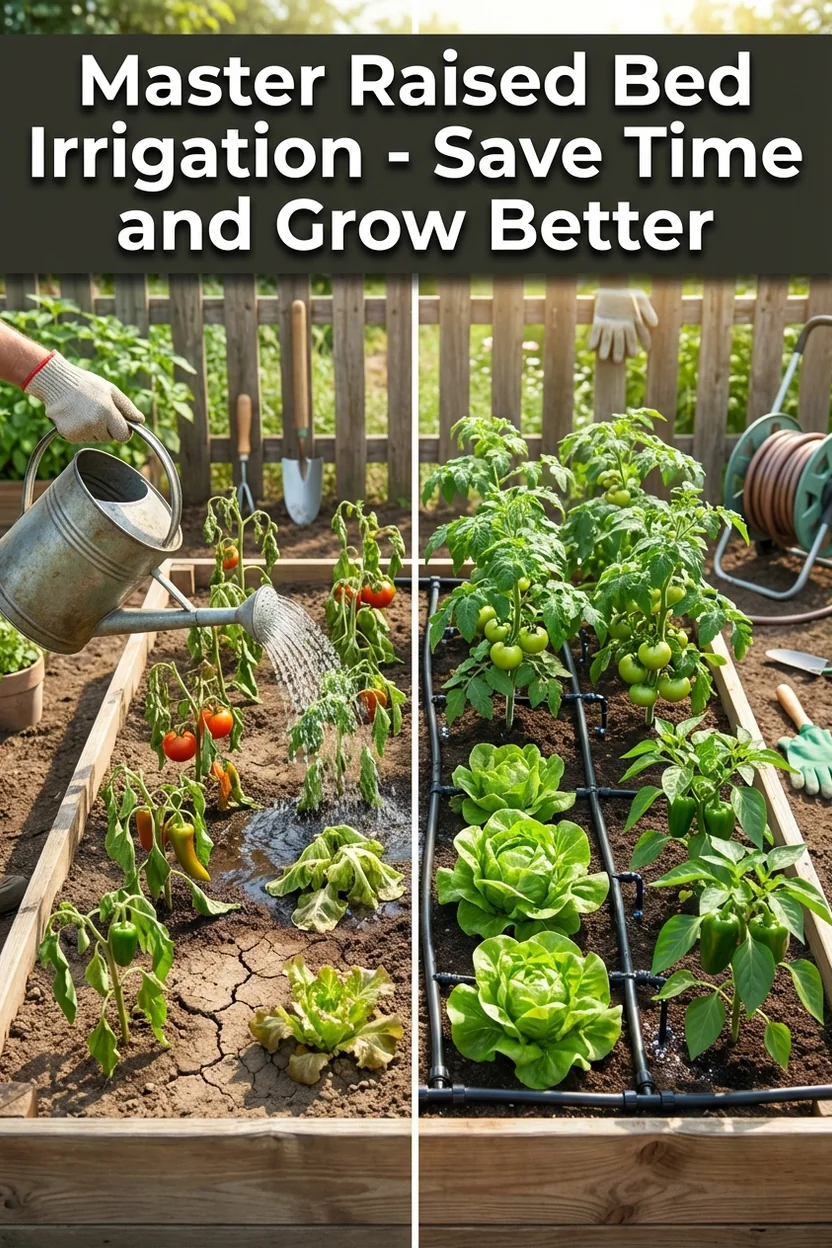
Raised Bed Irrigation Systems: Watering Solutions for Consistent Growth
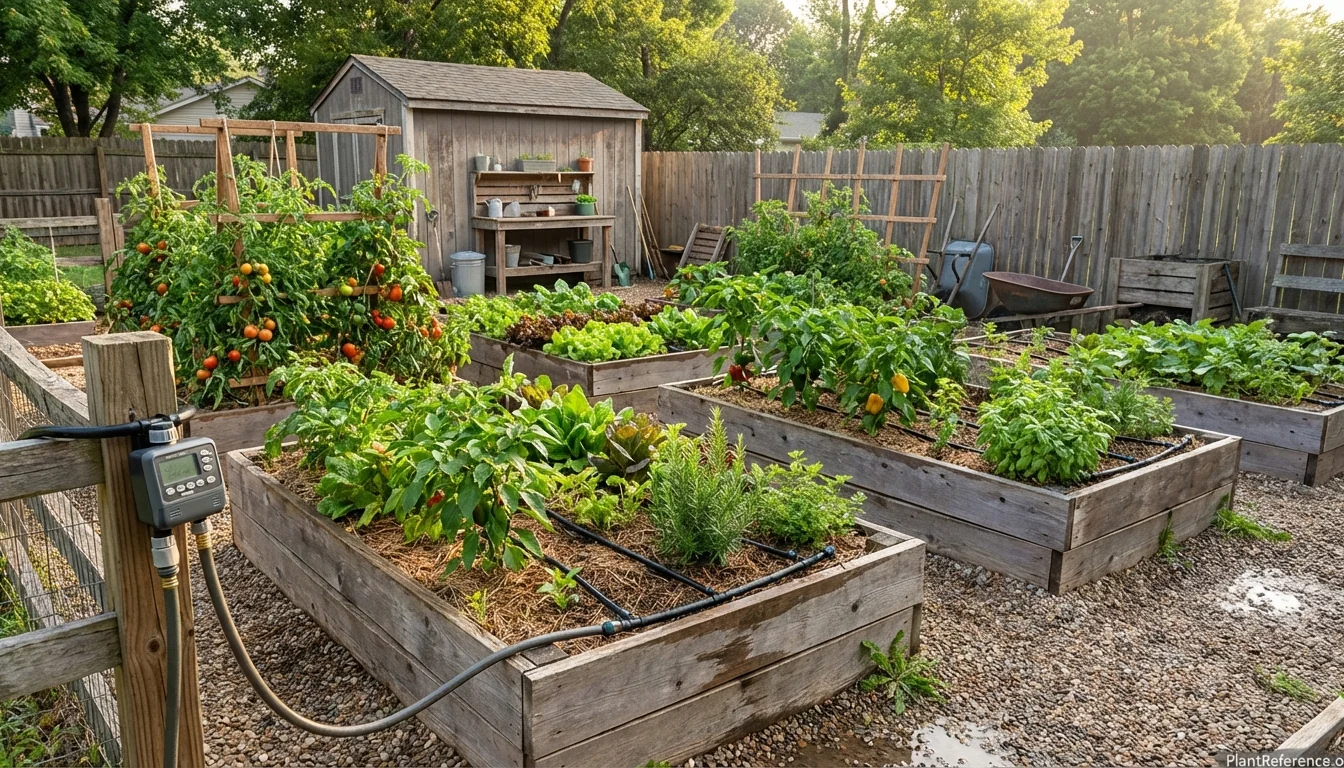
— Image © Plant Reference 2026
Inconsistent watering stresses raised bed vegetables. Proper raised bed irrigation isn't just about convenience—it supports healthy growth. Raised beds can drain and dry faster than surrounding soil, making proper irrigation absolutely critical for success.
Whether you're hand-watering your first season or ready to invest in automated systems, the right watering approach can support productive growth while reducing hands-on watering time. Here's everything you need to know about irrigation systems that actually work in raised bed environments.
Understanding Raised Bed Water Needs
Raised beds may need more frequent watering than in-ground gardens because of their unique drainage characteristics and elevated position. Drainage depends on the fill and underlying soil, not a universal one-third compost, topsoil, and coarse-amendment recipe.
Most vegetables in raised beds use roughly 1-2 inches (2.5-5 cm) of water per week as a starting range, including effective rainfall; adjust frequency to soil moisture, weather, and crop stage. Germinating seeds and new transplants may need lighter, more frequent watering. Deep watering encourages roots to grow downward into the bed rather than spreading shallow near the surface where they're vulnerable to heat stress.
For overhead watering, early morning allows plants to uptake moisture before heat stress begins, while reducing evaporation loss and fungal disease pressure. Avoid leaving foliage wet overnight; drip watering that keeps leaves dry does not have the same timing restriction.
Different crops have varying water requirements even within the same bed. Leafy greens need consistent moisture to limit water stress, though heat and long days can still trigger bolting. Tomatoes need even moisture to reduce splitting rather than deliberate drying followed by heavy watering. Root vegetables like carrots need steady moisture for straight growth, but too much water can contribute to forked, misshapen roots.
Understanding your specific climate also drives irrigation decisions. High-humidity regions can extend time between waterings, while arid climates may require daily irrigation during peak summer. Wind exposure significantly increases water loss through evaporation—check exposed beds more often rather than adding a fixed percentage.
Hand Watering: Foundation Techniques and Best Practices
Before investing in automated systems, master hand watering techniques that work specifically for raised beds. Even with automated irrigation, you'll need hand watering skills for new transplants, spot treatments, and emergency situations.
The key to effective hand watering is delivering water slowly enough for complete soil penetration. Water applied faster than the soil can absorb it runs off instead of wetting the root zone. Use a watering wand with a gentle shower head pattern rather than a high-pressure nozzle that compacts soil and splashes water away from target areas.
Water at soil level, not on leaves, to reduce disease pressure and evaporation
Apply water in layers, allowing each application to soak in before adding more
Water to moisten the active root zone; do not use outflow beneath an open-bottom bed as your target
Focus extra attention on corners and edges where soil dries fastest
Check soil moisture 2-3 inches (5-7.5 cm) deep before watering
For large gardens, hand watering becomes time-consuming and inconsistent. For a 4x8 foot (1.2x2.4 m) bed, measure flow and check the wetted depth to set a useful run time; drip irrigation reduces hands-on watering but still needs inspection.
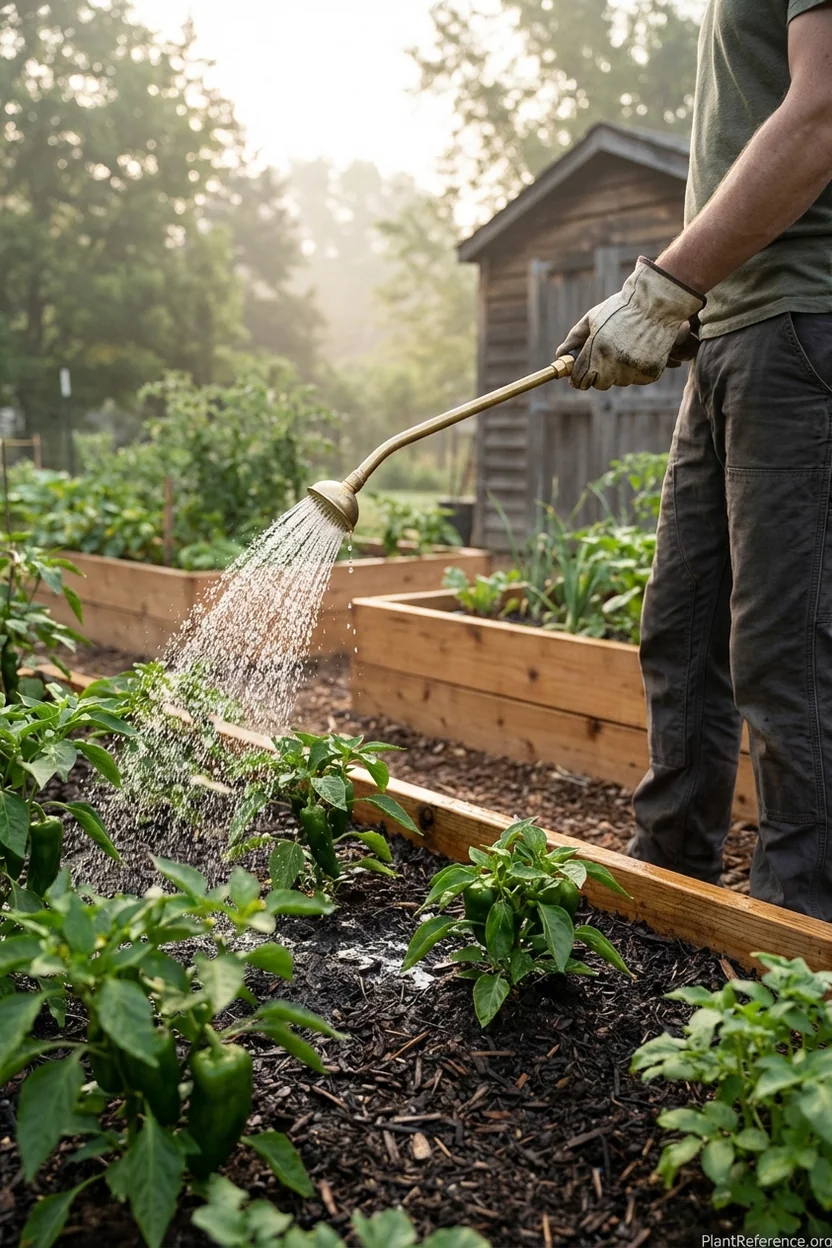
Container selection matters for hand watering efficiency. A 2-gallon (7.5 L) watering can provides good coverage without excessive weight, while larger cans become unwieldy when full. Look for cans with long spouts that reach bed centers without stepping on soil, and removable rose heads for different water flow patterns.
Inconsistent watering is a common problem with hand watering. Plants perform best with regular moisture cycles rather than drought followed by saturation. Keep a simple log of watering dates and amounts, especially during your first season when you're learning your garden's specific needs.
Drip Irrigation Systems: The Gold Standard for Raised Beds
Drip irrigation can deliver water efficiently to raised bed root zones when properly designed and scheduled. I recommend drip systems as a practical long-term investment for serious gardeners.
The system works by distributing water through a network of tubes and emitters that deliver precise amounts directly to plant root zones. Pressure-compensating emitters maintain consistent flow within their rated pressure range, subject to line-length and elevation limits, critical for consistent results across multiple beds.
For raised beds, I recommend 1/4-inch (6 mm) dripline with built-in emitters spaced every 6-12 inches (15-30 cm). Check the wetted pattern to confirm coverage while allowing flexibility for different plant spacings. Use the selected dripline’s rated flow to calculate run time; emitter output varies by model and pressure.
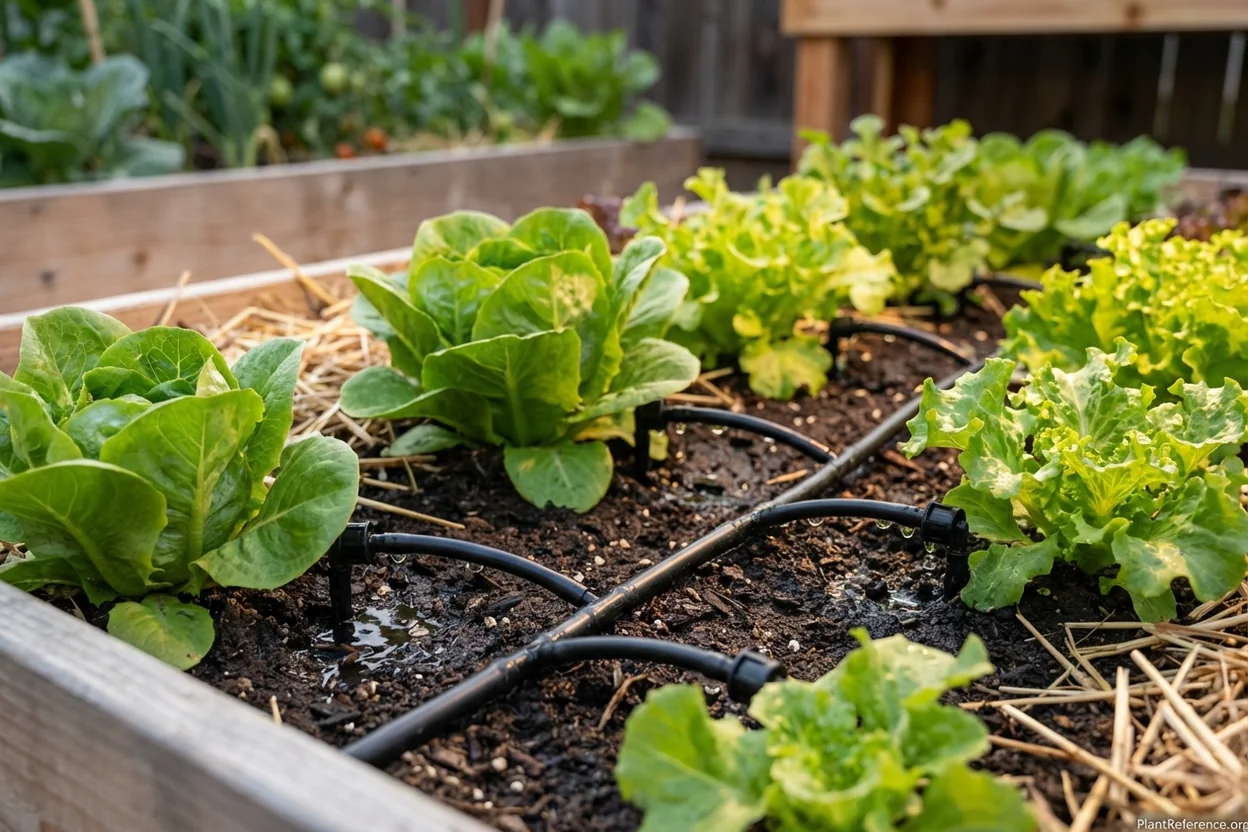
System design starts with calculating water requirements. A 4x8 foot (1.2x2.4 m) bed receives about 20 gallons (76 L) per inch of water, or 40 gallons (151 L) for 2 inches. Subtract effective rainfall and adjust to soil moisture.
Installation begins with a main supply line—typically 1/2-inch (13 mm) tubing—running to your bed area from the water source. Use a filter and pressure regulator matched to the selected dripline, plus backflow protection specified by your water supplier or local code to protect drinking water. From the mainline, 1/4-inch distribution lines branch to individual beds using tee fittings and goof plugs for adjustments.
The beauty of drip irrigation lies in its scalability and precision. Start with one bed to learn the system, then expand by adding more distribution lines and zones. Each zone can have different timing schedules—set each from emitter flow, soil moisture, and crop stage rather than fixed lettuce or tomato run times.
Quality components matter significantly for long-term reliability. Choose emitters rated for your layout and water quality. Pressure compensation helps control flow, but does not itself guarantee longer life or prevent clogging.
Soaker Hoses: Budget-Friendly Automation Alternative
Soaker hoses offer a middle ground between hand watering and full drip irrigation systems, providing a simple low-flow option when paired with a suitable timer. For gardeners on tight budgets or those wanting to test automation before investing in drip systems, soaker hoses can provide excellent results with proper setup.
Unlike drip irrigation's precise emitter placement, soaker hoses seep water along their entire length through thousands of tiny pores. This creates a continuous moisture band perfect for closely spaced crops like carrots, lettuce, and herbs. For larger plants like tomatoes, loop the hose in a spiral around each plant's base.
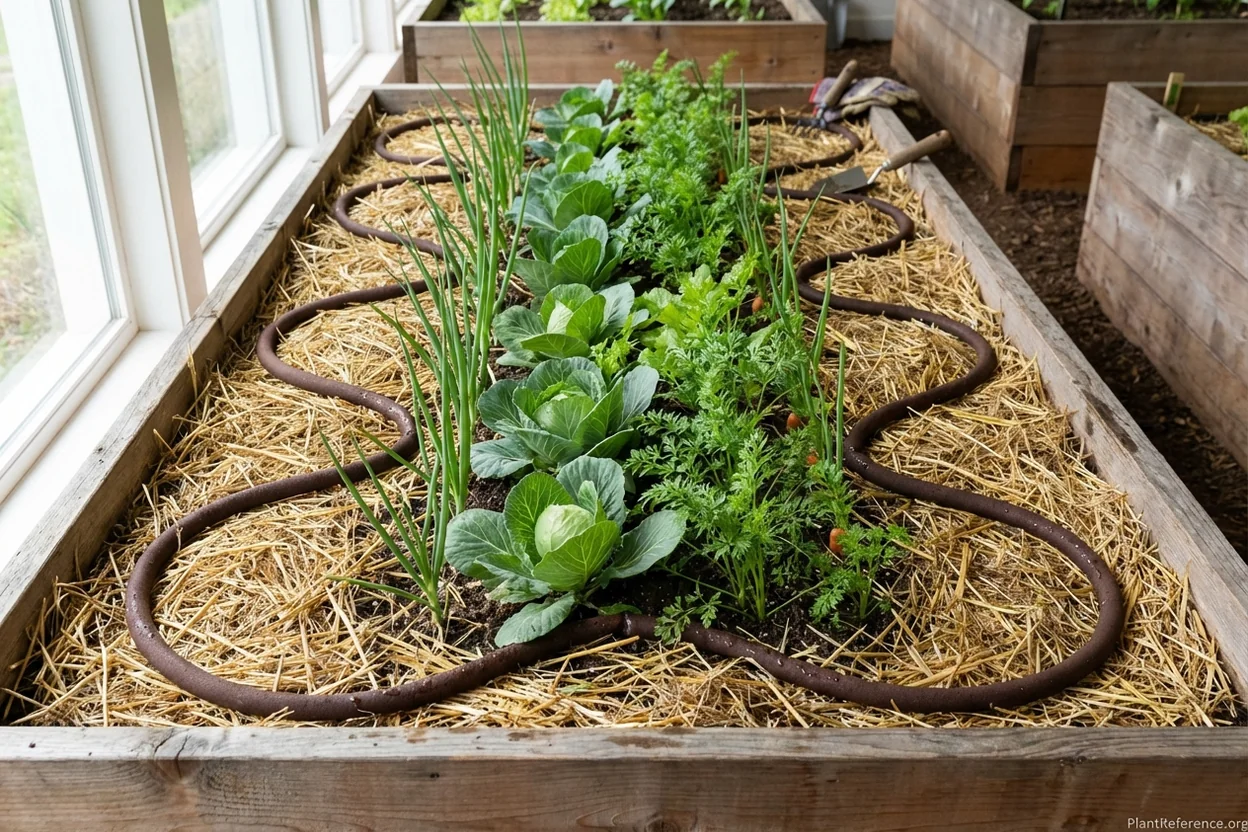
Installation requires careful attention to water pressure and hose length. Use the hose manufacturer’s pressure rating and a compatible regulator where required. Correct pressure helps control seepage, but even watering also depends on hose length, slope, and run time.
Hose length limitations require strategic planning. Keep porous hose runs short and level; Colorado State suggests generally 25 feet (7.6 m) or less for even seepage. Check the chosen hose’s instructions separately from solid supply-line limits. For multiple beds, use a manifold system with separate hose runs rather than trying to snake one long hose through the entire garden.
Lay hoses when soil is moist and pliable to prevent damage during installation
Space parallel hose runs to overlap their wetted areas; check coverage in your soil
Cover hoses with 2-3 inches (5-7.5 cm) of mulch to prevent UV degradation
Test water distribution before planting by running system and checking moisture patterns
Clean hose ends monthly to prevent clogging from soil and debris
The main limitations of soaker hoses include less precise water delivery and vulnerability to damage from garden tools. For small gardens, short hose runs paired with a compatible timer offer a simple watering option.
Smart Timers and Controllers: Automating Your Watering Schedule
Irrigation timers transform any watering system from manual chore to automated precision, but choosing the right controller type determines long-term satisfaction and plant health. Match the controller to your water source and valves before buying.
Basic mechanical hose timers shut water off after a manually started session, without an electrical outlet. Connect a compatible timer at the faucet and turn its run-time dial. They do not start a recurring daily schedule.
Digital programmable timers offer multiple programs, different scheduling for different days, and rain delay functions. Program counts vary by model. Set run times from measured water delivery and soil moisture, with separate zones where crop needs differ.
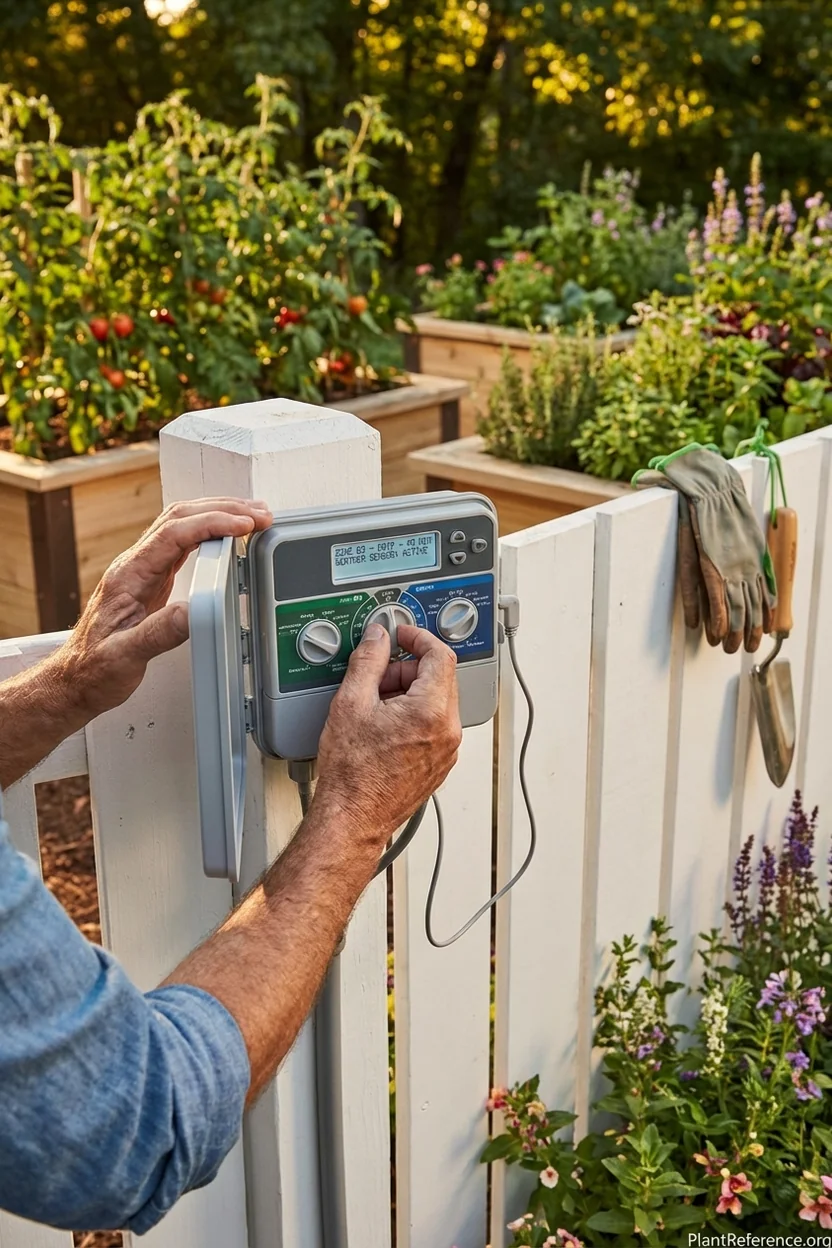
Smart controllers represent the current frontier in irrigation automation, connecting to WiFi networks for smartphone control and weather-based adjustments. These systems monitor local weather data and automatically skip watering cycles after rainfall or adjust run times based on temperature and humidity forecasts.
Some controllers support compatible soil-moisture sensors that help avoid unnecessary watering. Models with compatible flow sensors can flag abnormal flow, but may not detect one clogged emitter. Some models even send smartphone alerts when problems occur.
Installation location affects timer reliability and longevity. Mount controllers in shaded areas protected from direct rainfall but accessible for programming. Many gardeners install timers inside sheds or garages, running low-voltage control wires to manifolds and valves located near beds.
Multi-zone capability becomes essential for gardens with diverse plant types or varying sun exposure. Each zone can have completely different watering schedules—adjust shaded beds to their measured moisture, keep germinating seed zones moist, and water established root zones as conditions require.
Moisture Monitoring: Testing and Maintaining Optimal Levels
Successful raised bed irrigation requires understanding actual soil moisture levels rather than guessing based on surface appearance or fixed schedules. Even the best irrigation systems need monitoring and adjustment based on weather, season, and plant growth stages.
Moisture meters supplement soil checks. Match probe depth to the crop, and readings to the sensor and soil; salinity and poor contact can distort results. Display readings are not a universal moisture percentage.
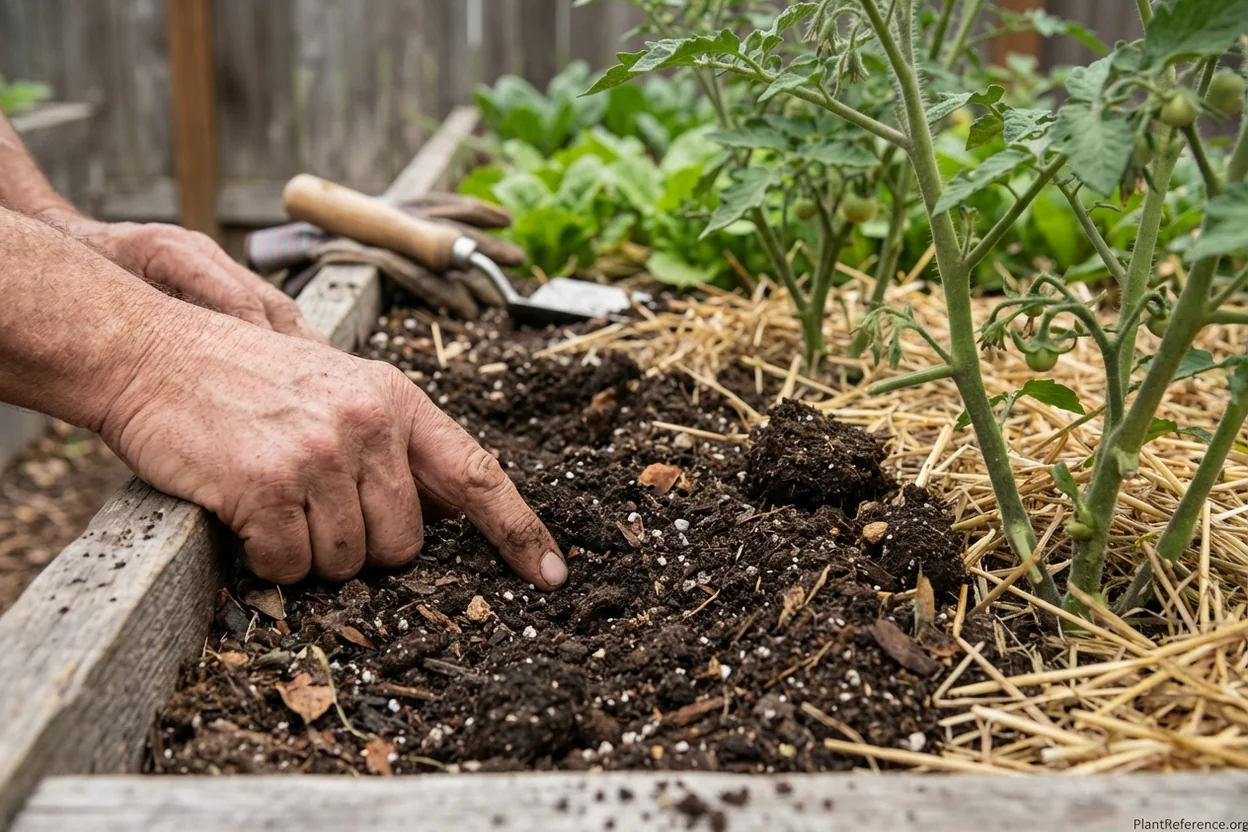
The finger test remains the most practical daily monitoring method—insert your index finger 2-3 inches (5-7.5 cm) into soil near plant bases. Soil should feel moist but not soggy, similar to a wrung-out sponge. Check deeper soil before deciding that a dry surface layer needs water, while muddy or waterlogged soil suggests overwatering or drainage problems.
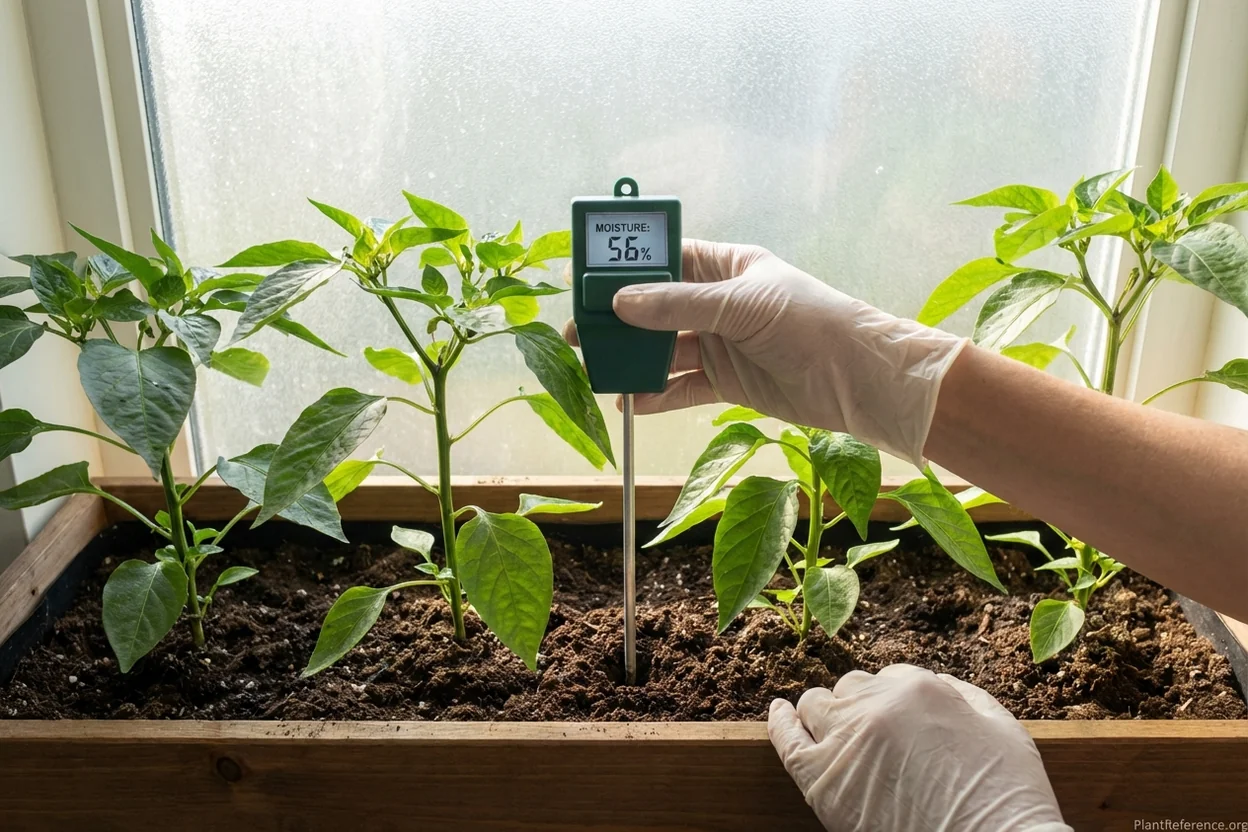
Seasonal monitoring adjustments account for changing plant needs and weather patterns. Spring requires frequent monitoring as root systems establish and weather fluctuates unpredictably. Summer monitoring focuses on maintaining consistent moisture during heat stress periods. Fall monitoring gradually reduces as temperatures cool and plant growth slows.
Create monitoring zones within your garden based on sun exposure, plant types, and soil composition variations. South-facing beds typically dry faster than north-facing areas, while beds containing lots of compost hold moisture longer than sandier mixes. Check each zone at least twice weekly during active growing season, and more often during heat or seedling establishment.
Keep simple records of monitoring results to identify patterns and optimize irrigation scheduling. Note which beds consistently test drier or wetter than others, seasonal variations in water needs, and correlation between weather conditions and soil moisture changes. This data guides irrigation adjustments and prevents both drought stress and overwatering problems.
System Design and Installation: Planning Your Irrigation Layout
Proper irrigation system design starts with mapping your garden layout, water source location, and understanding the specific requirements of different bed areas. I always recommend drawing a scaled garden plan before purchasing any components—this prevents costly mistakes and ensures adequate system capacity.
Start by measuring distances from your water source to each bed location. Add 20% to these measurements for connection flexibility and future expansion. A typical 4-bed garden layout might require 100-150 feet (30-45 m) of main supply line plus individual bed distribution lines.
Water pressure and flow rate determine system capacity. Test your water source pressure with a gauge and measure flow rate by timing how long it takes to fill a 5-gallon (19 L) bucket. Match operating pressure to the selected components and add up emitter flow for each zone; there is no universal 2-4 GPM minimum for small beds.
Zone beds by water requirements: group thirsty plants together for efficient scheduling
Plan for expansion: install larger mainlines and manifolds than currently needed
Include shutoff valves for individual beds to allow maintenance without system shutdown
Position components for easy access: timers, filters, and pressure regulators need regular attention
Consider seasonal changes: account for plant growth affecting coverage patterns
Installation sequence matters for professional results and system reliability. Fit the required backflow protection, filtration, and pressure regulation at the water source in the manufacturer- and local-code-specified order, then install mainline routing to bed areas. Add distribution manifolds and individual bed lines last, after confirming main system pressure and flow.
Component quality directly impacts long-term satisfaction and maintenance requirements. Choose fittings matched to the tubing size and operating pressure, and inspect connections for leaks; price alone does not establish reliability.
Ask irrigation suppliers whether they offer design services and what any fee covers. For complex gardens or first-time installations, professional design prevents expensive mistakes and ensures optimal coverage and efficiency.
Winterization and Seasonal Maintenance
Seasonal maintenance and proper winterization protect irrigation investments and ensure reliable operation year after year. In freeze-prone climates, winterization prevents costly damage from ice expansion in lines and components.
Fall winterization begins with system shutdown and complete water drainage. Start by turning off water supply, releasing pressure, and draining as the system instructions direct. Not every system needs compressed air; if a blowout is required, use a qualified irrigation professional.
Remove and store detachable timers, regulators, and filters as directed. Leave permanently installed controllers in place on their specified winter setting. Follow cleaning and battery-storage instructions.
Spring startup requires systematic inspection and testing before full operation begins. Check all connections for winter damage, replace any cracked or damaged tubing, and clean clogged emitters. Test each zone individually to verify proper operation and coverage patterns.
Inspect and clean filters monthly during growing season to maintain proper flow
Check regulated pressure and service or replace the regulator according to its instructions if it fails
Trim vegetation around emitters and lines to prevent damage during maintenance
Check timer programming after power outages to ensure schedules remain accurate
Monitor system performance and adjust emitter placement as plants grow and change
Mid-season maintenance prevents small problems from becoming system failures. Clogged emitters reduce water delivery and create dry spots, while damaged lines waste water and reduce pressure to other zones. Address problems immediately rather than waiting for convenient maintenance windows.
End-of-season evaluation guides improvements for the following year. Note which beds consistently performed best, areas that needed manual supplemental watering, and zones that seemed overwatered. Use this information to adjust emitter spacing, modify run times, or redesign coverage patterns.
Troubleshooting Common Irrigation Problems
Even well-designed systems develop problems over time, but most irrigation issues have straightforward solutions when diagnosed systematically. Understanding common failure modes and their fixes keeps systems running reliably with minimal downtime.
Uneven water distribution is a common problem, typically caused by pressure variations, clogged emitters, or improper system design. Check pressure at various points throughout the system using a gauge—confirm each zone stays within its components’ rated operating range and check emitter output.
Clogged emitters show up as dry spots or slow plant growth in specific areas while other plants thrive. Flush lines and follow the emitter manufacturer’s cleaning instructions; replace clogged emitters when flow cannot be restored. Do not assume an overnight vinegar soak is suitable for every model.
Low water pressure affects entire zones rather than individual emitters. Check for kinked lines, closed valves, dirty filters, or undersized supply lines. Pressure loss often accumulates gradually as systems age—what worked perfectly during installation may need upgrades after several seasons of garden expansion.
System leaks waste water and reduce pressure to all downstream components. Most leaks occur at connection points where fittings work loose over time. Check all joints during monthly maintenance and retighten or replace damaged fittings immediately.
Timer programming errors create either drought stress or overwatering symptoms. Verify current programs match intended schedules, especially after power outages that reset some digital timers. Keep written backup copies of all programming to simplify restoration after electrical problems.
Plant performance problems can have several causes. Wilting can result from dry soil, waterlogged or damaged roots, disease, or heat; timing alone does not diagnose overwatering or underwatering. Monitor soil moisture levels to distinguish between irrigation and other plant health issues.
Frequently Asked Questions
Reading about plants and recognising them are different skills. These three build the second.
- Daily PlantIdentify the day’s mystery plant from a close-up photograph.
- Keyed OutWork a dichotomous key, lead by lead, to name a hidden specimen.
- Name That PlantName a specimen from botanical clues dealt hardest first.
Free to play, no account needed
Mike's been designing residential landscapes in the Seattle area, with a particular focus on Pacific Northwest natives and sustainable practices. He's a Washington State Master Gardener and worked in construction before landscaping, which gives him a practical edge when it comes to building raised beds and hardscaping projects. He runs a small side business propagating and selling unusual perennials at farmers markets on weekends. His property serves as a testing ground for low-maintenance, wildlife-friendly garden designs. Mike's philosophy: if it requires weekly maintenance, it's not sustainable.